[ad3]
Seat posts got techy a few years ago when they started to rise and fall at the command of the rider. The telescoping action is controlled in various ways, in the Rockshox Reverb’s case by a hydraulic remote. In addition to the remote, trail conditions often kick mud and dust up into the seat post system’s seals. We take a look at how to perform a simple clean of the piston and bleed of the remote.
Tools: Rockshox bleed kit & fluid, 6mm and 9 mm spanners, adjustable wrench, circlip pliers, torx t10 & t25.
NOTES :
Before you start, depending on the design of the internal routing in your frame, you may need to perform bleed operations with the hose already routed in the frame, regardless of whether your post has a quick disconnect or not. To better show the procedures, we’re performing the whole operation outside of the bike.
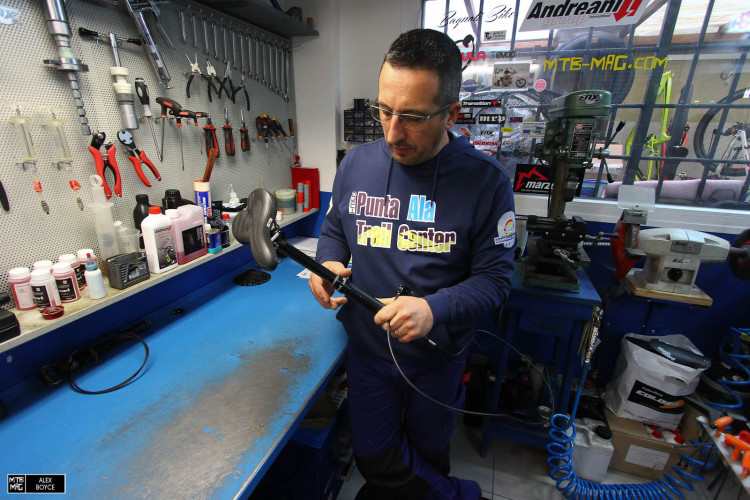
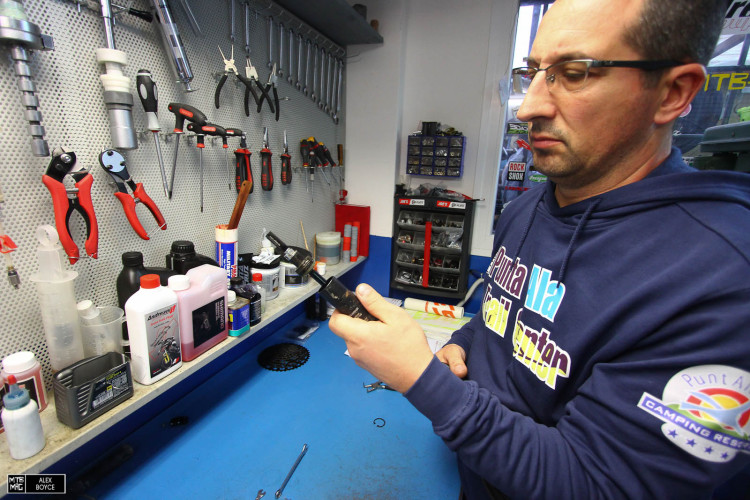
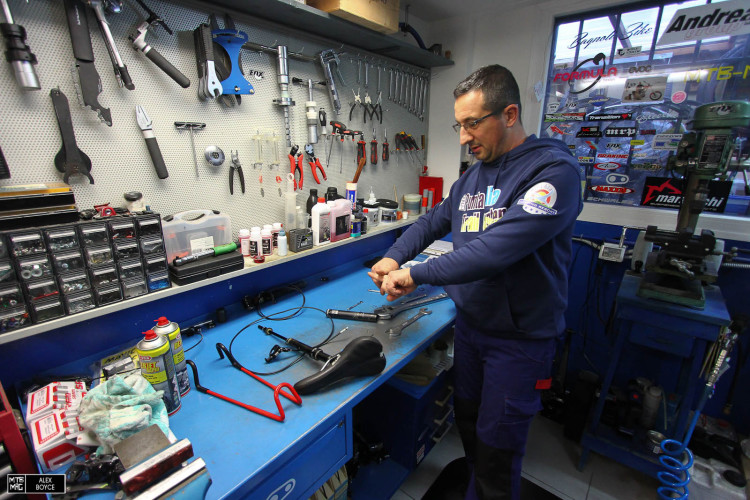
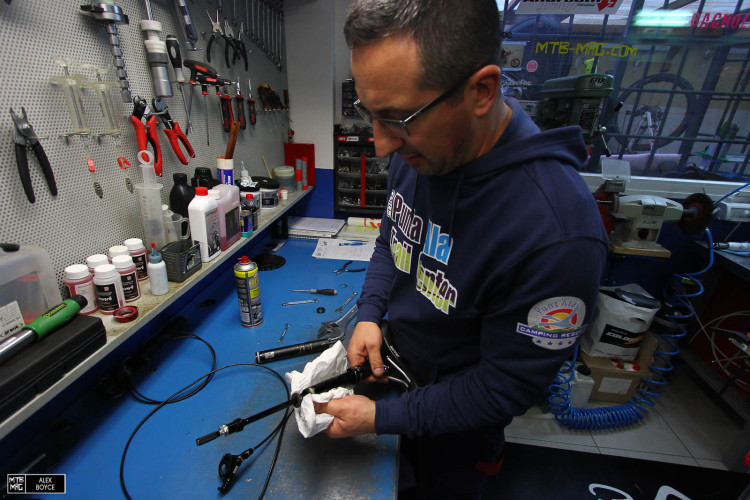
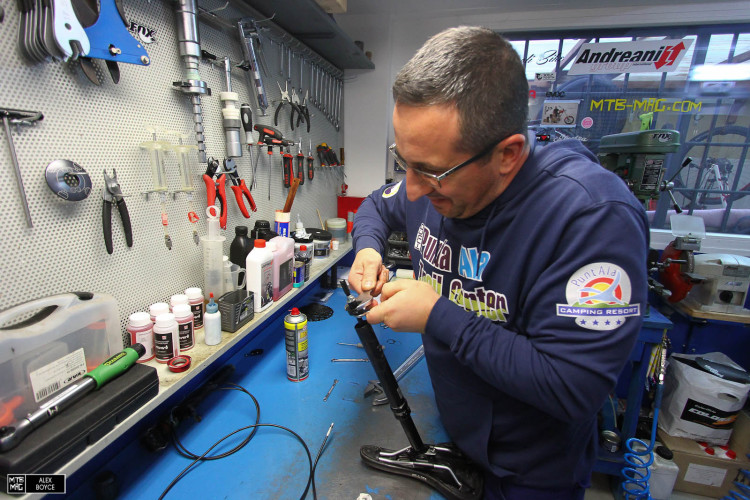
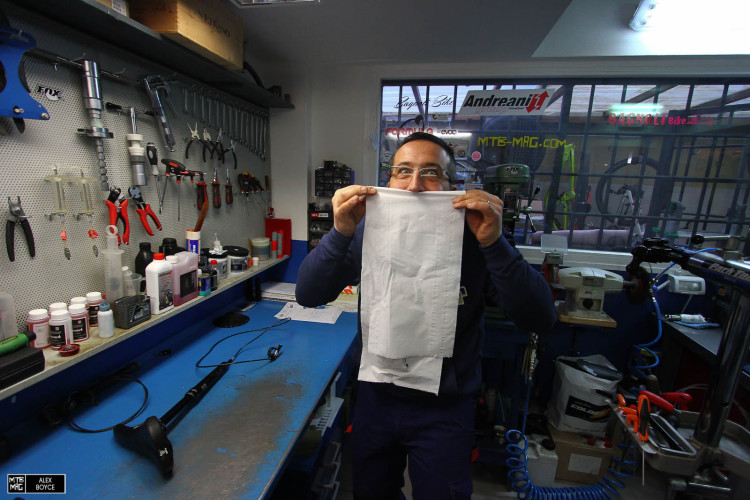
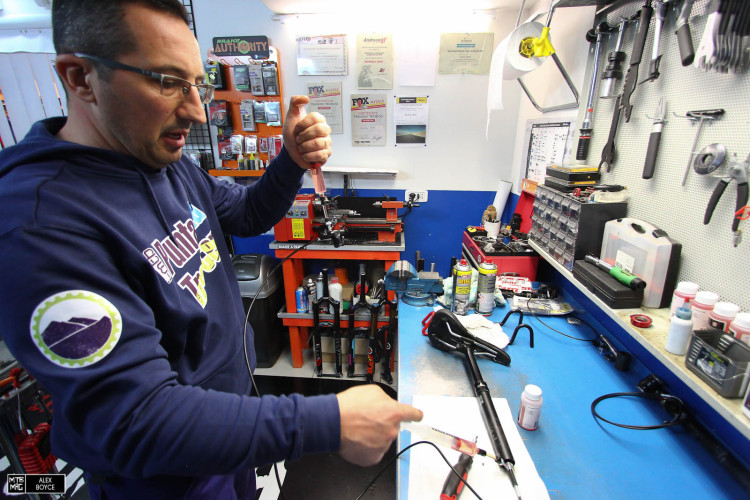
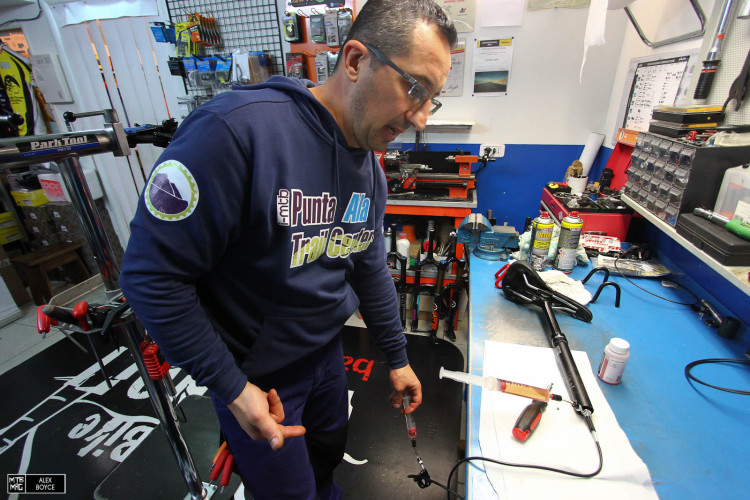
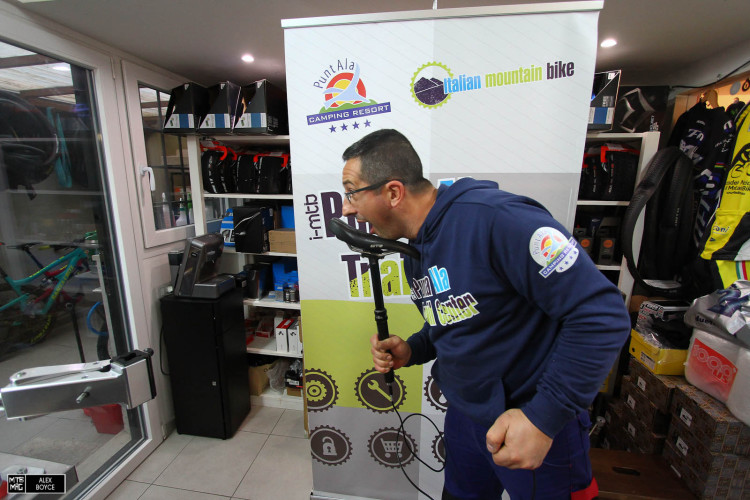
Davide our resident mechanic takes a look and checks the control of the seat post.

The remote is spongy and non functional.
Doing this does nothing/has to be pushed too much.
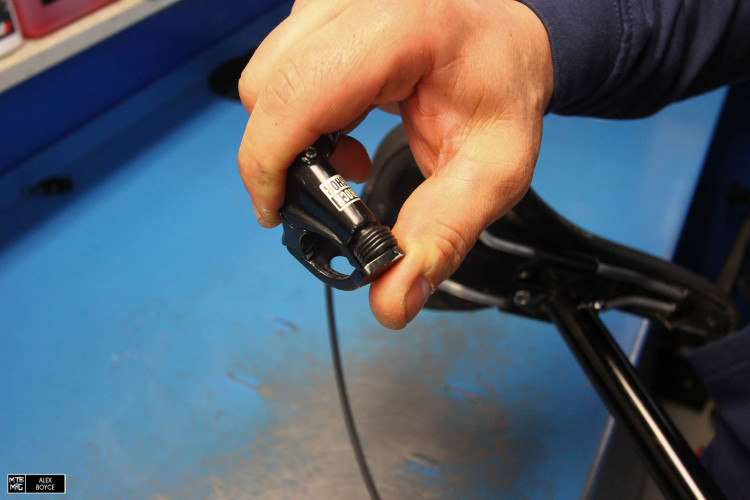
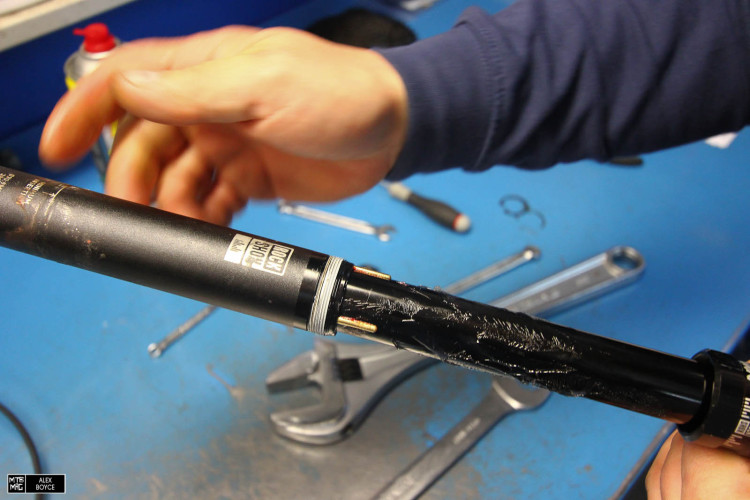
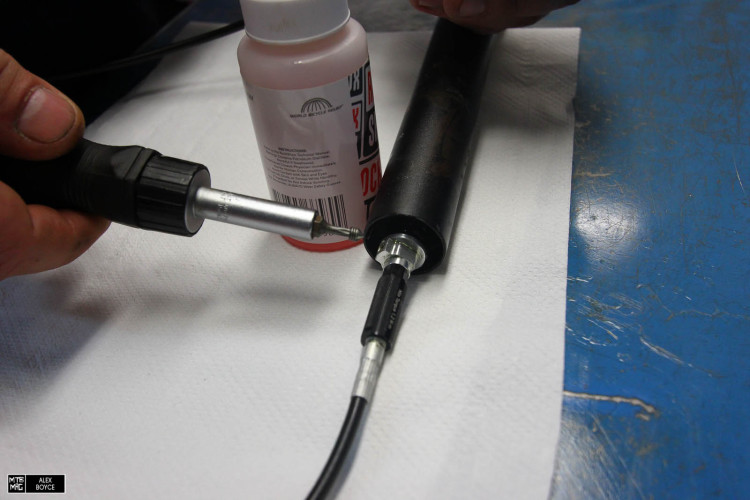
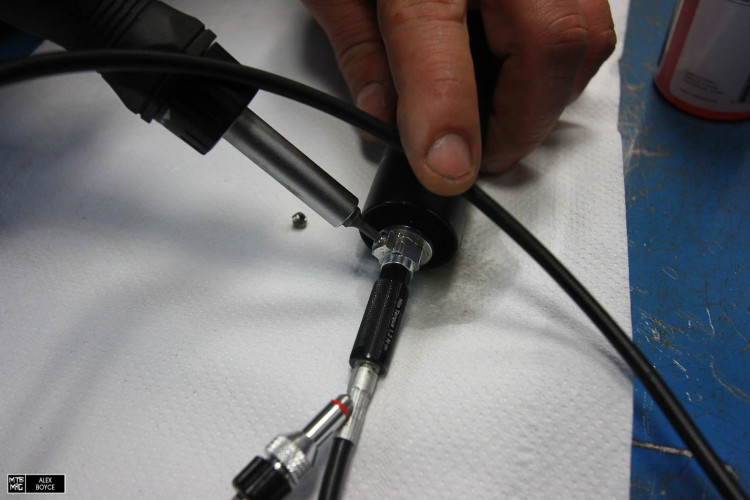
The stealth has a quick disconnect tube, we are first going to disconnect and clean the seat post. BEFORE doing this, deflate the seatpost by way of the schraeder valve found at the top of the post.

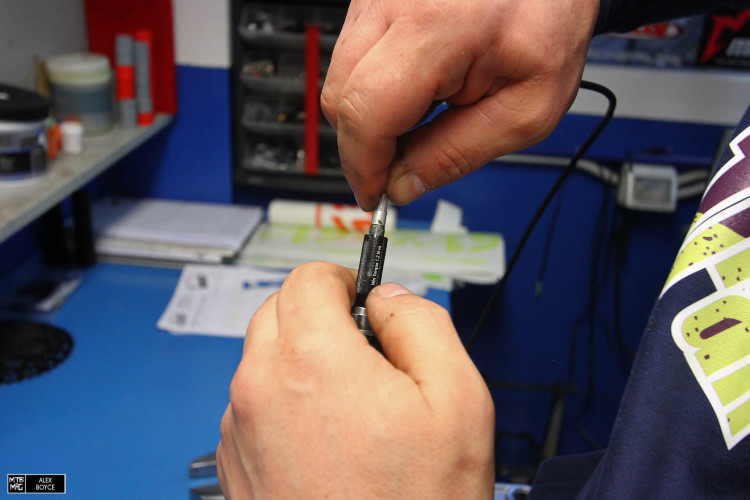
Grab the quick disconnect with the spanners, in this case a 6mm and a 9 mm.
Release the tube.
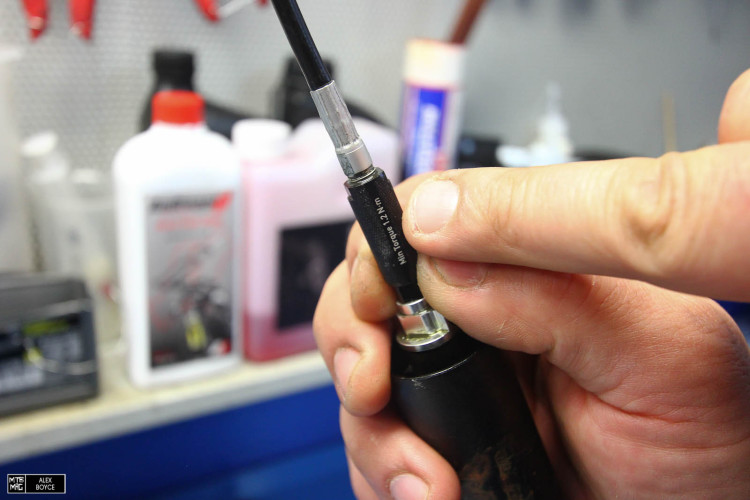
Note the relatively light torque settings : 1-2NM.
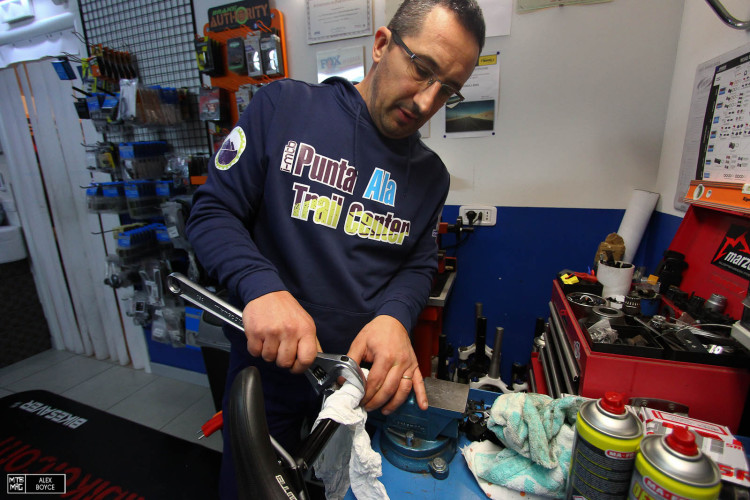
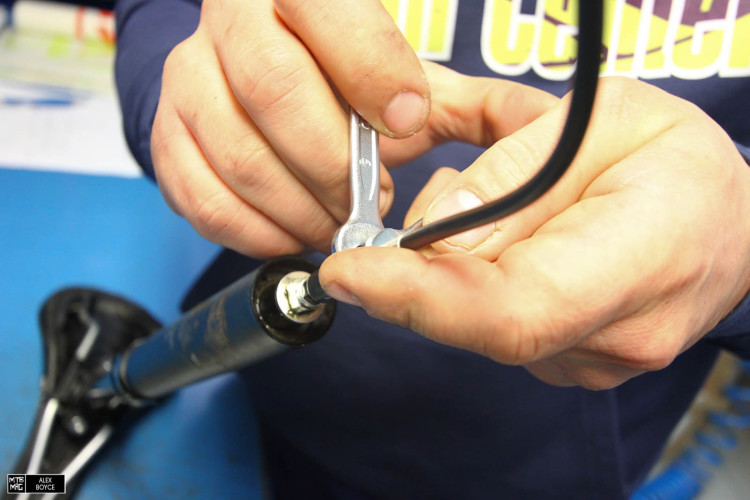
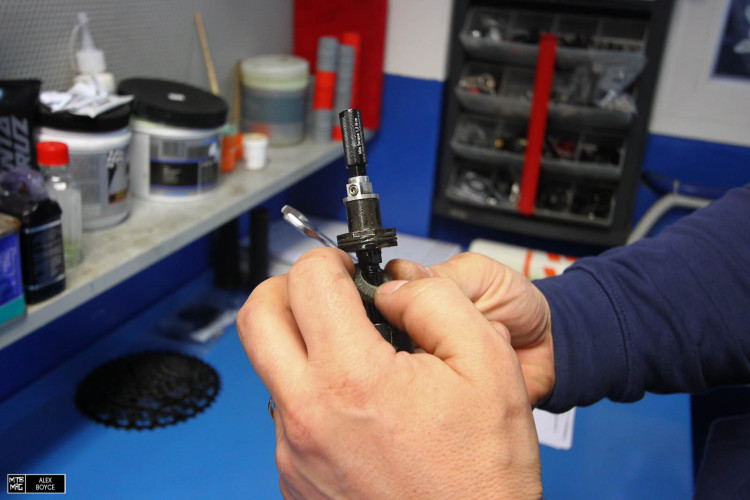
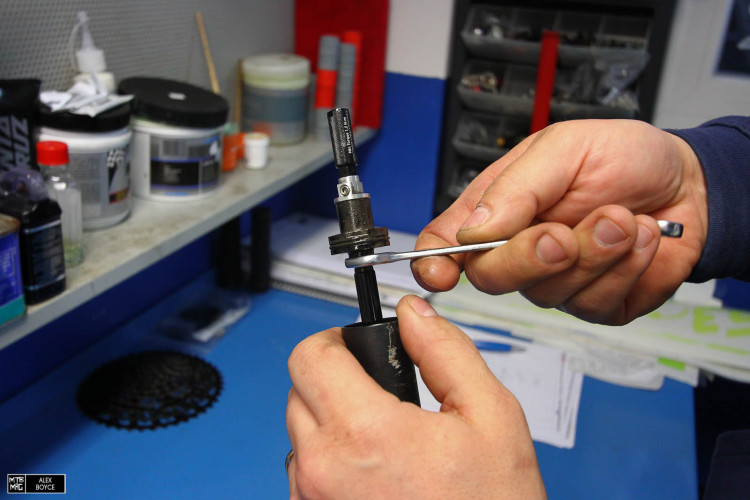
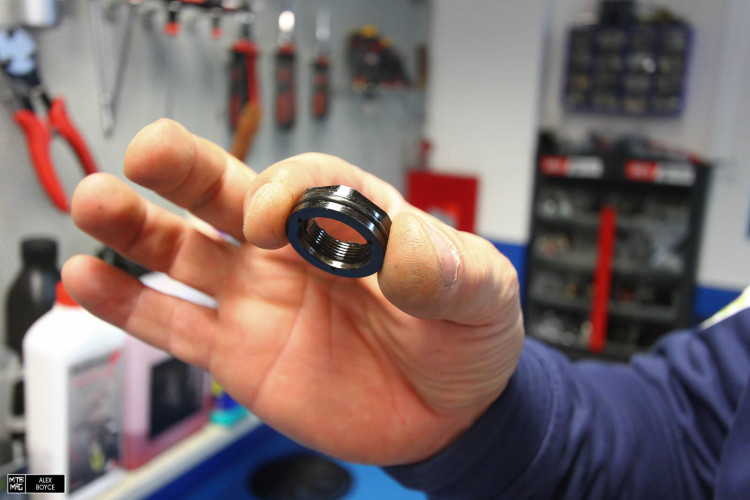
Once disconnected take a large 32mm spanner and with a cloth and the seat post held in a vice release the nut on the main shaft.
Loosen the nut. If this whole top cap assembly is loose, you may need to replace it as a whole so that you have a new bushing and a fresh seal.
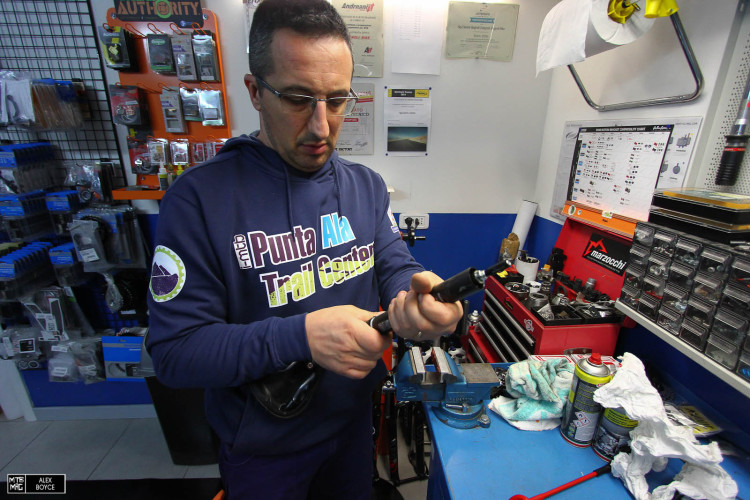
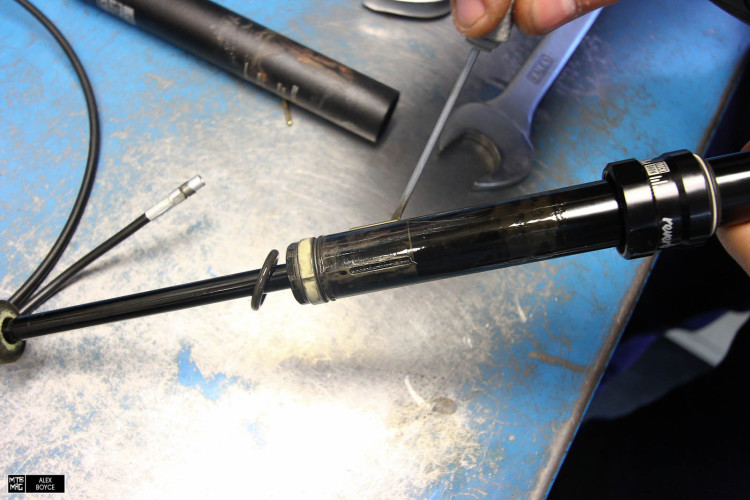
Remove the cir-clip.
Slide the piston out.
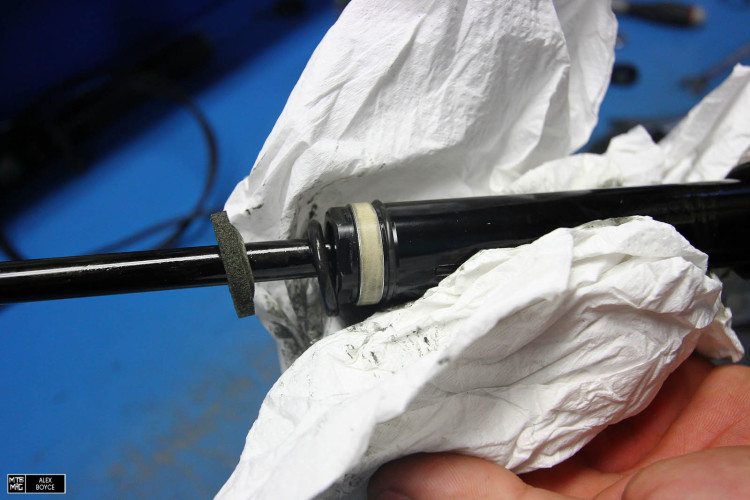
Inspect and release the foam washer.
Release the piston.
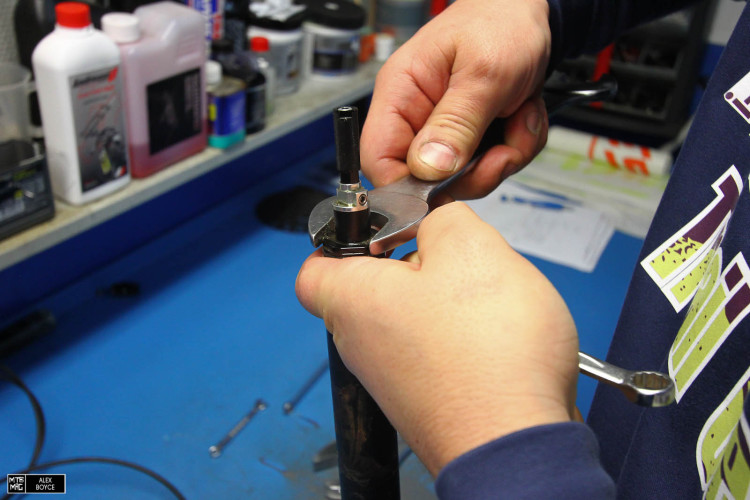
Use a big and small spanner.
Now released, clean.
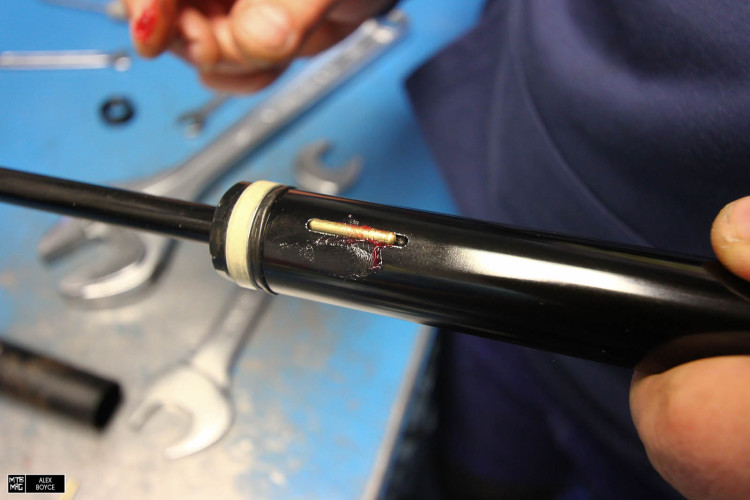
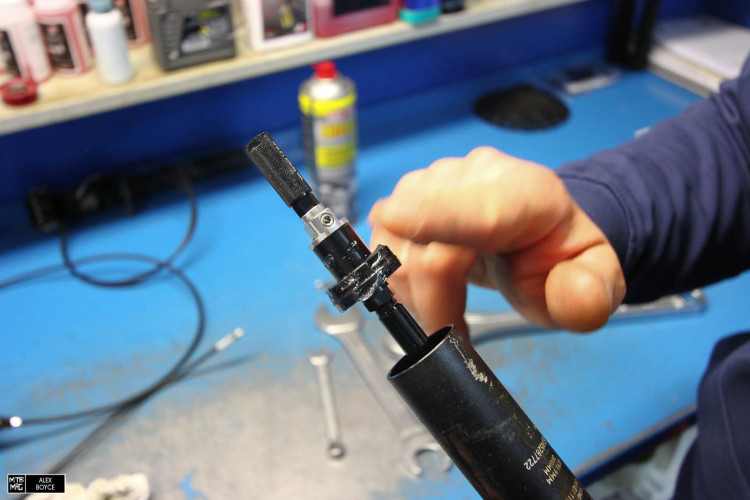
Carefully remove the anti-rotation pins.
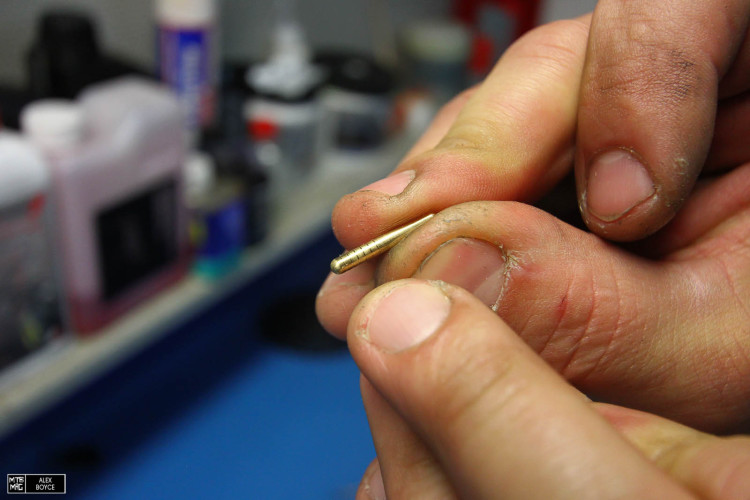
Each one has up to 6 marks, these explain how much wear is left on the pins, 6 means that the maximum diameter has been reached.
Davide shows the sign of the X, this means all home mechanics should stop disassembling here! Anything more we can show you but requires special tools.
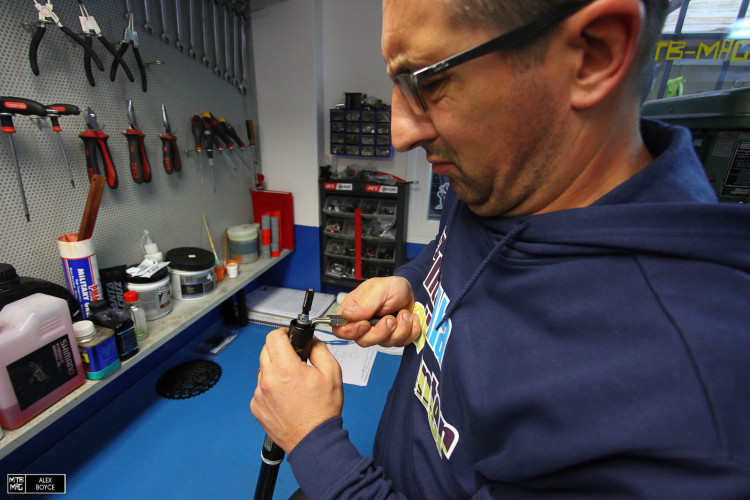
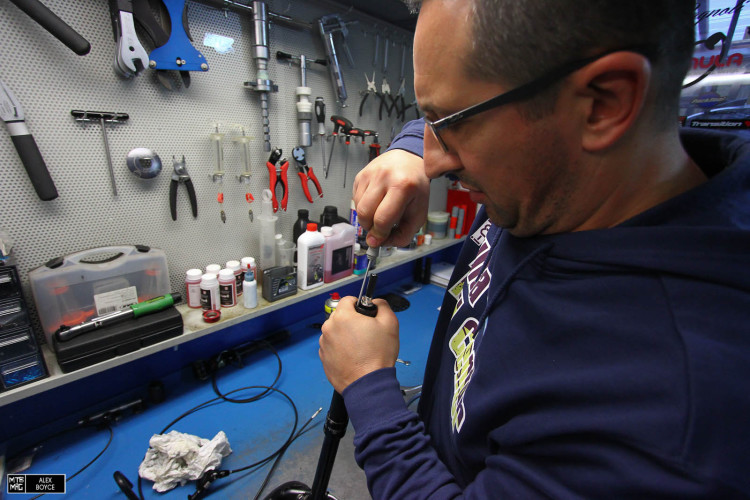
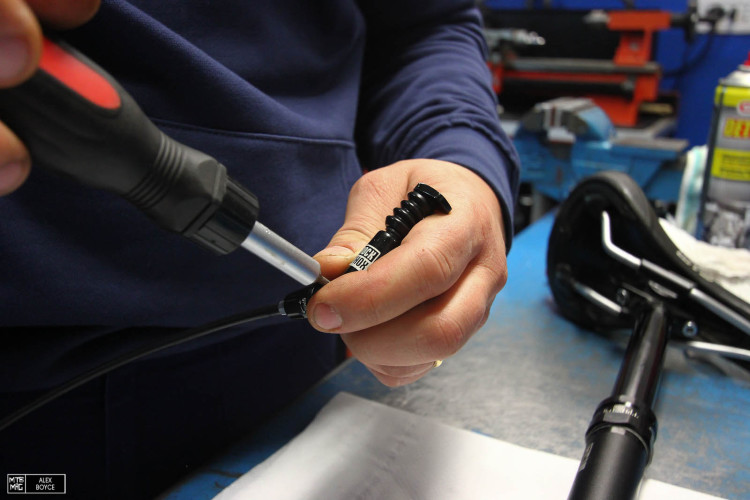
We clean the shafts and seals.
Be careful not to damage the seal.
Put the anti-rotation pins back with grease.
Re-insert with the logo on the back under the saddle.
Ease it into position.
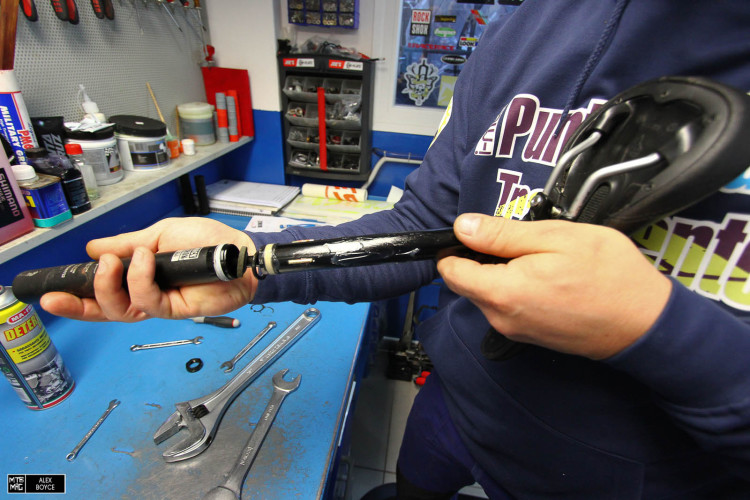
Reattach the piston.
Apply grease and insert.
Re install the cir-clip.
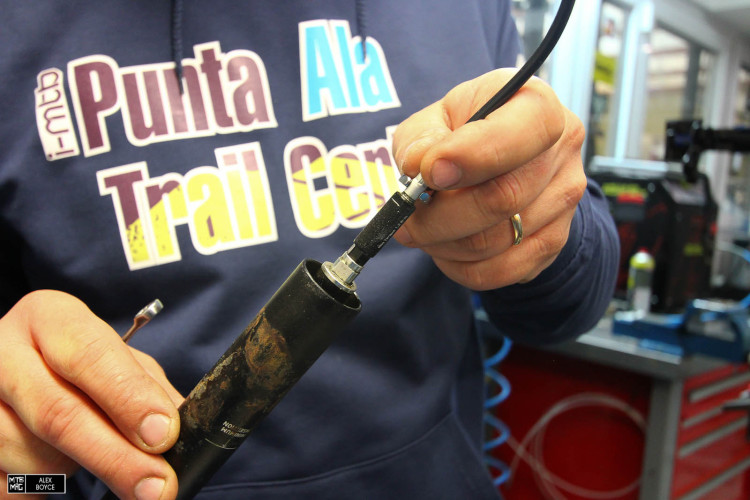
Re-attach the control hose.
Next stage, take a piece of cloth.
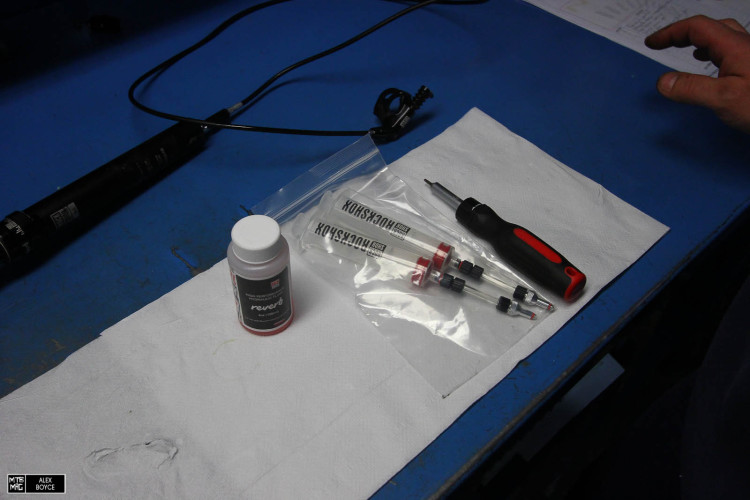
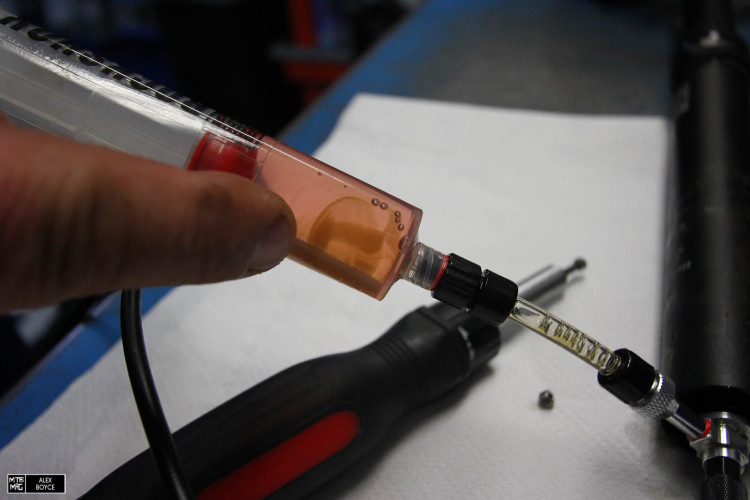
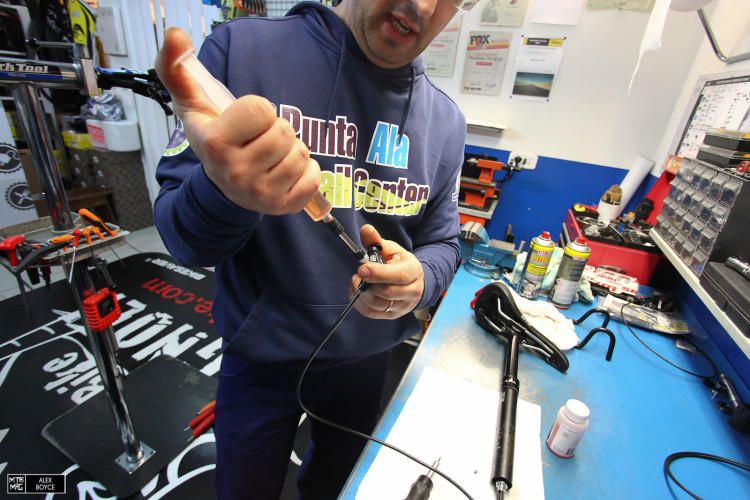
These are the bleed tools you need.
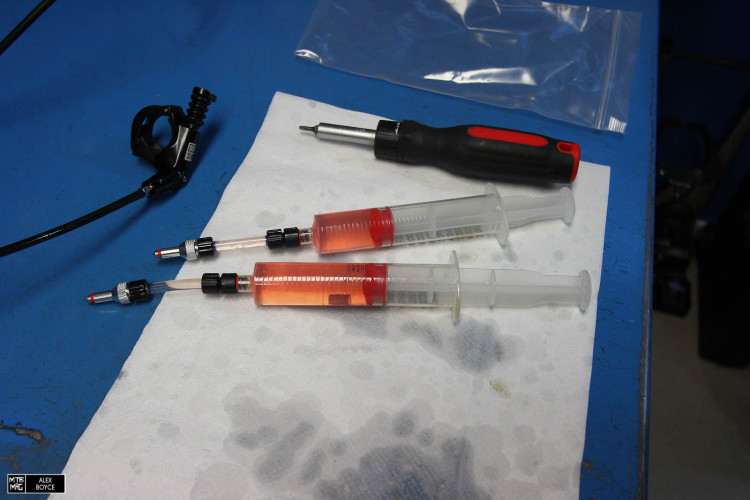
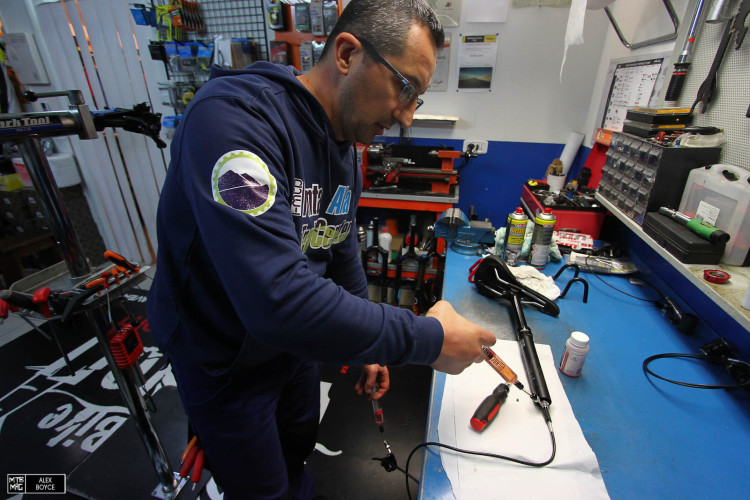
Fill the syringes.
Remove the lower bleed screw.
Remove the upper bleed screw.
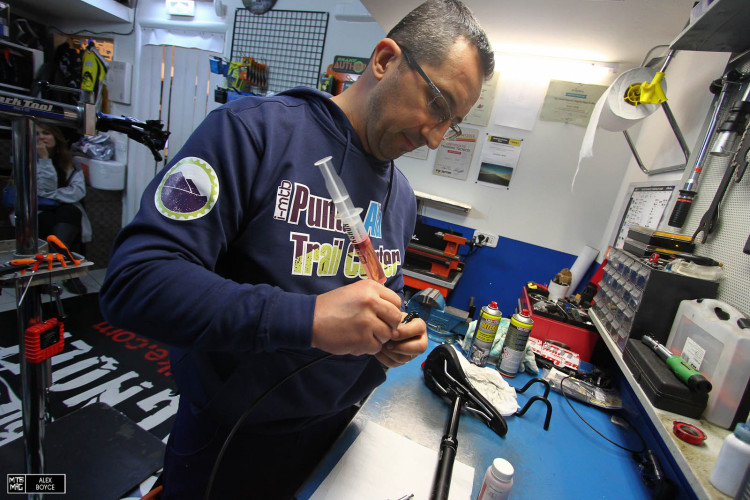
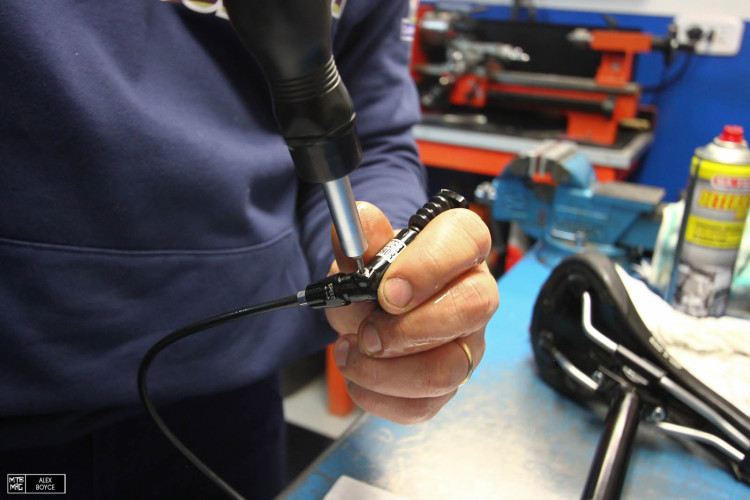
Insert the syringes.
Hold the remote higher than the seat tube.
Squeeze the remote syringe, air and bubbles should exit the system through the lower syringe.
Lower the remote syringe.
…and squeeze the other way.
Re-raise the remote and re-squeeze. Repeat a total of three times. Do this with the speed dial set to highspeed and lowspeed mode.
When all air is removed, insert the bleed screw in the seat-post.
Apply pressure with the syringe and pulse the remote, check that all air has left the system.
Re-insert the bleed screw and you are done.
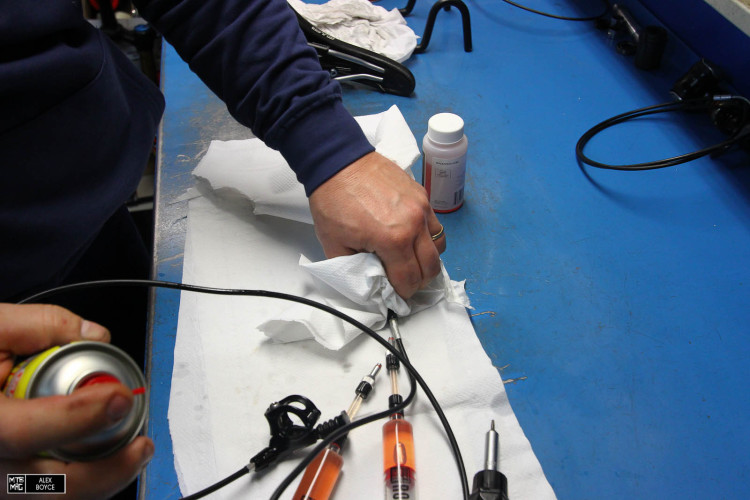
Clean up the hoses of any fluid and check there are no leaks.
Pump up the seat post to your preferred pressure and hopefully when you test it you are not too close as it smoothly slides up and down like new.
These points are the maximum that should be attempted by a home mechanic, anything more and you risk needing specialist tools.
Mechanic: Davide Bagnoli @ Punta Ala Trail Center.