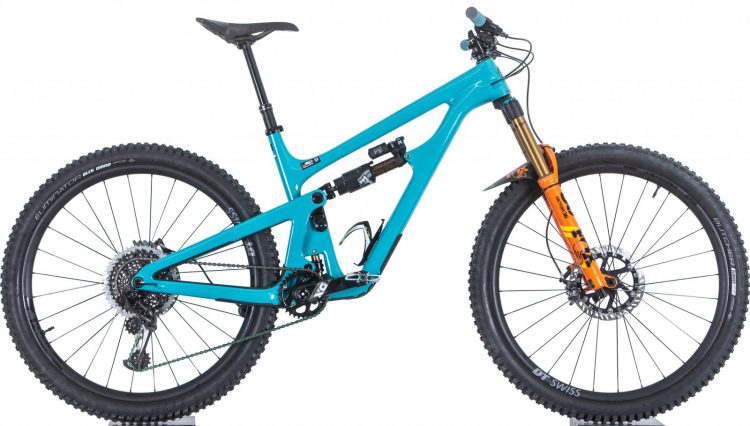
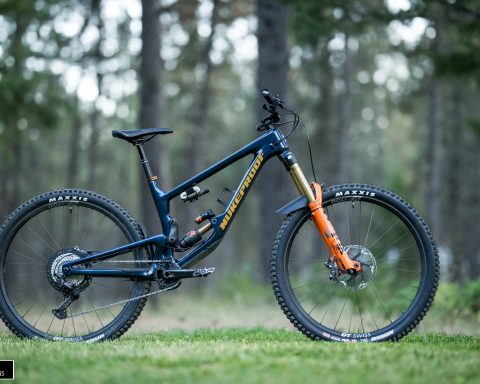
As someone had pointed out, the Yeti SB150 that I presented to a few weeks ago, which I am using for product reviews, was fitted with a Fox 36 fork with “only” 160mm of travel. For this bike Yeti in fact suggests a 170mm fork, so that the so-called vertical travel matches the 150mm of rear travel. The subject was discussed with the engineers of the American brand during the launch of the Yeti SB165.
I reached out to Fox to ask about taking the 36 Grip2 from 160 to 170mm. Receiving a positive response, I was also told that I could do it myself, and that they would send me the necessary parts kit. ” It’s quite simple, just follow the instructions in the video you’ll find on our site.” And so, I took a look on Ridefox.com and I found everything, even which forks can be modified in their travel and how many volume spacers to insert to have the same feeling as when the fork had 160mm of travel.
The video is very well done and our workshop is equipped with every necessary tool so, after a brief bit of research, I got to work!
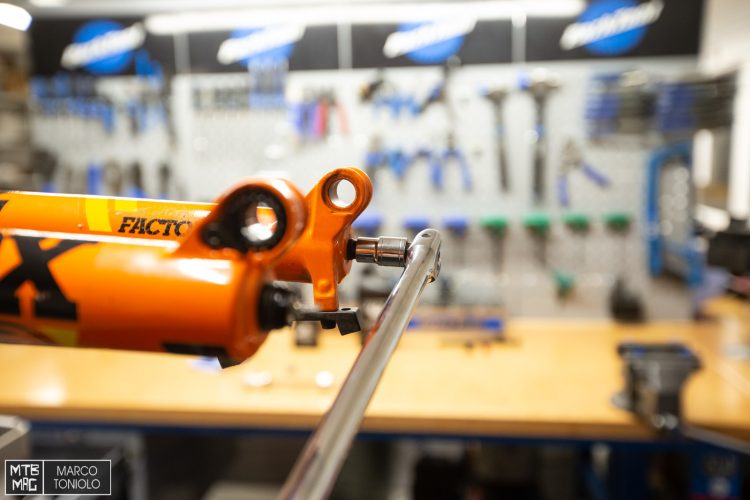
You start by removing the fork from the bike and removing all the air from the positive chamber. Then, clamp it in the stand in a horizontal position (so as not to spill the oil when you remove the lowers), then unscrew the rebound knob and the bolts that hold the lower leg assembly in place.
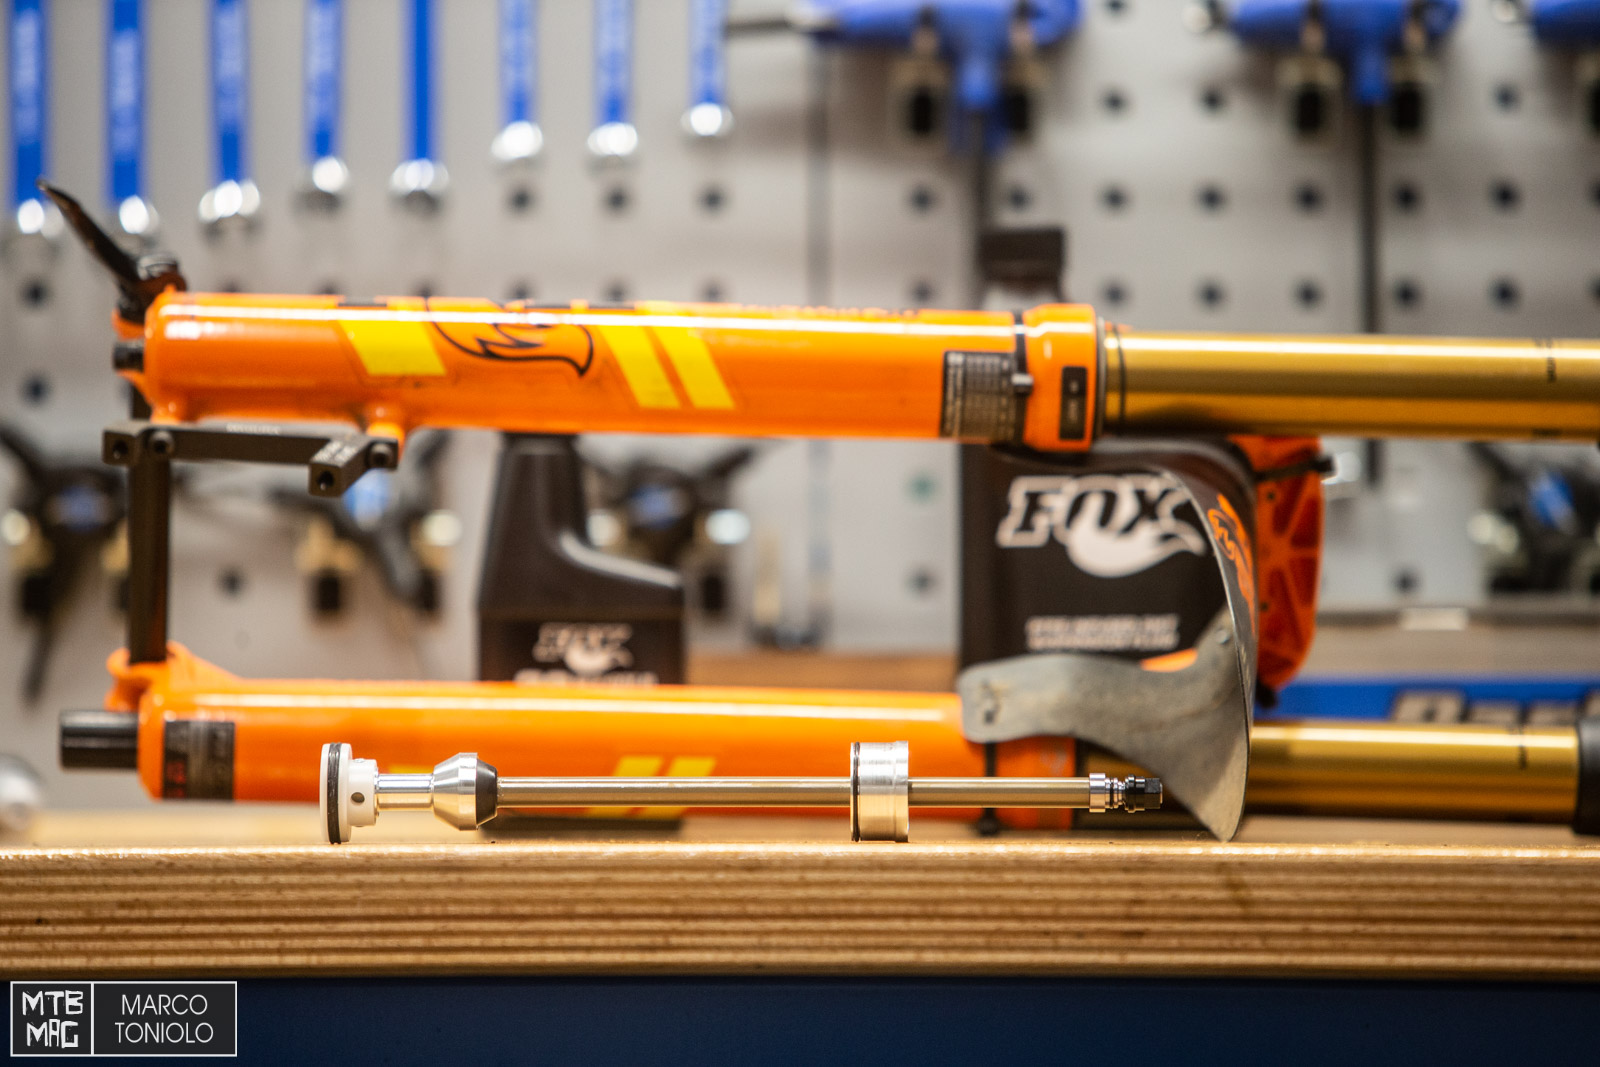
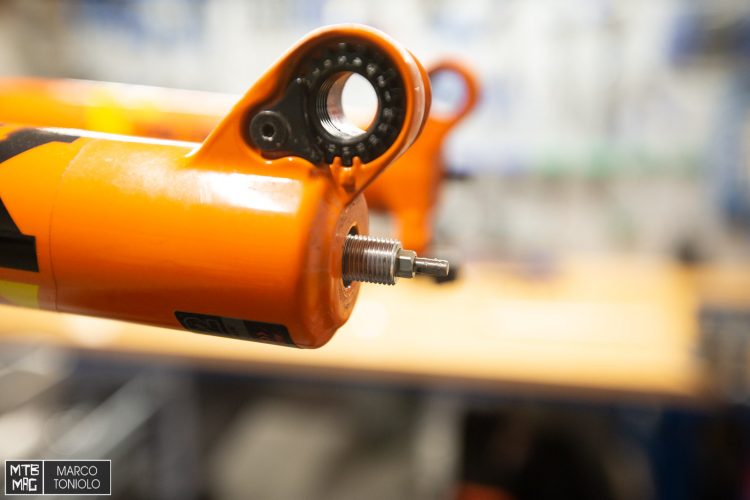
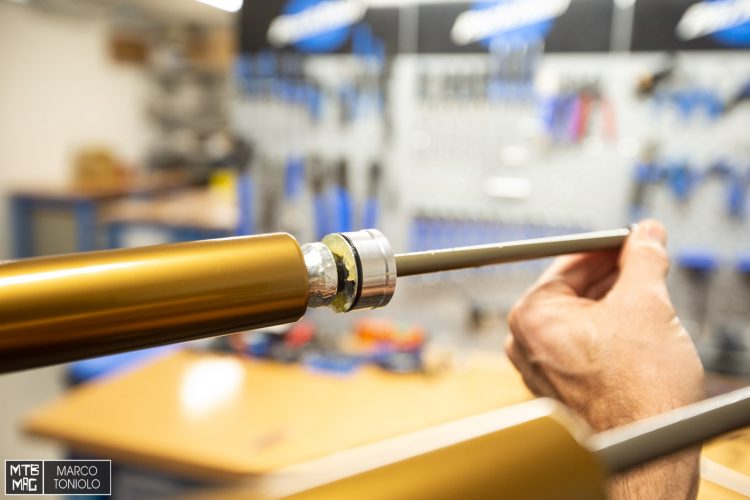
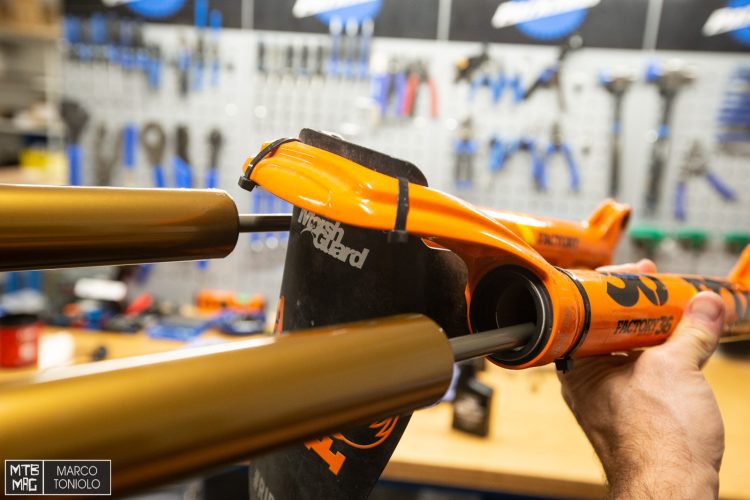
It’s necessary to use a mallet to get the air spring and damper rods to unseat from the lower leg assembly, and there is a special fitting to make the removal easier, which we do not have. I therefore used a small socket bit whose edge is smaller than the threaded part you see below and I tapped with caution.
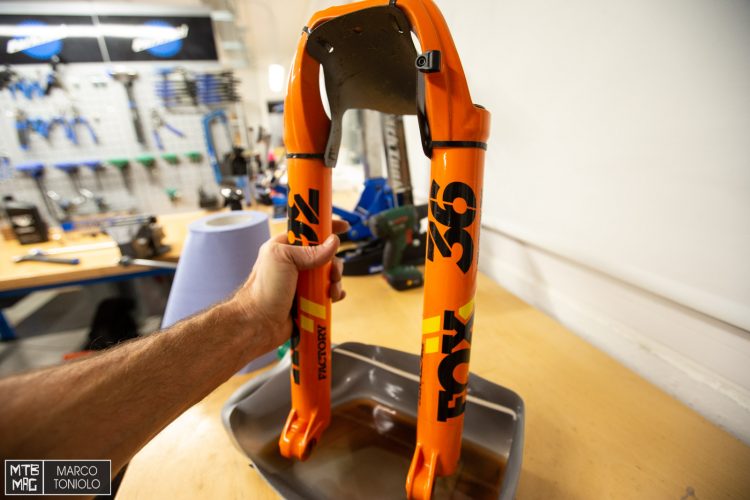
Next, pour the oil from the lowers into a special container, and then pour it into a bottle that will eventually go to the landfill.
The time has therefore come to dismantle the left side air spring assembly.
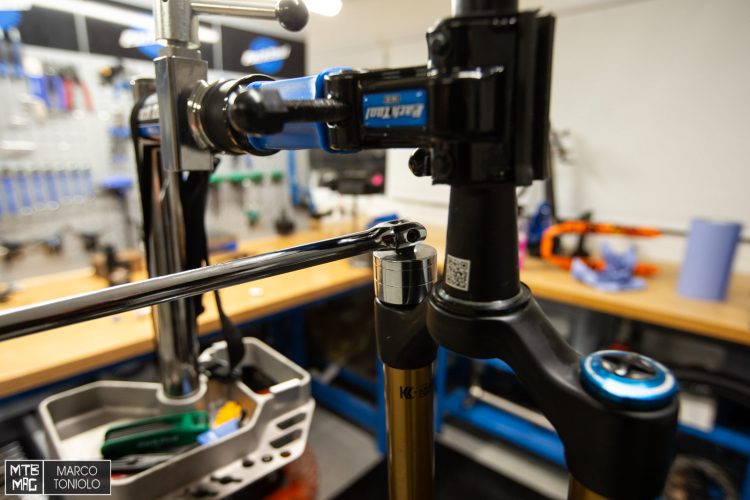
To do this I first have to remove the valve cap at the fork crown and REMOVE ALL OF THE AIR from the positive spring. Then, using the appropriate socket, you can remove the valve cap assembly which the volume reducers attach to.
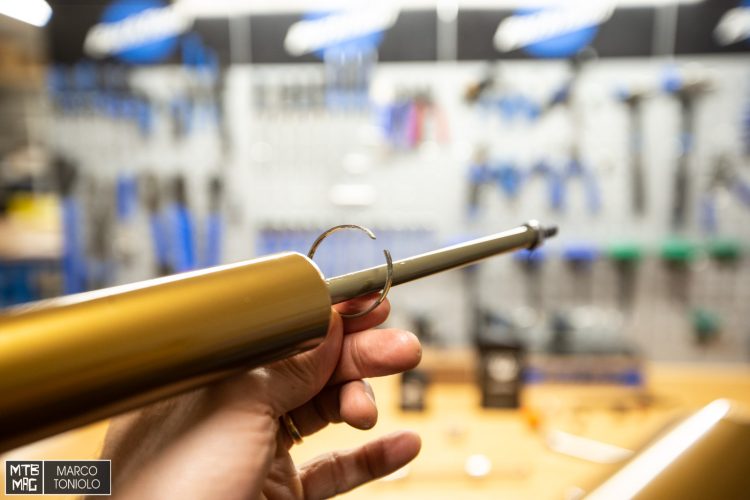
Then I remove the locking ring at the bottom of the stanchion. A thin flat head screwdriver should do the trick.
Now I can take out the piston that I’m going to replace.
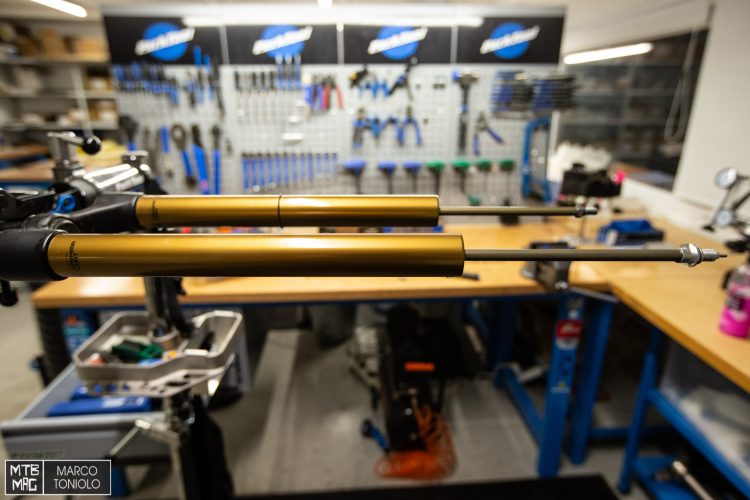
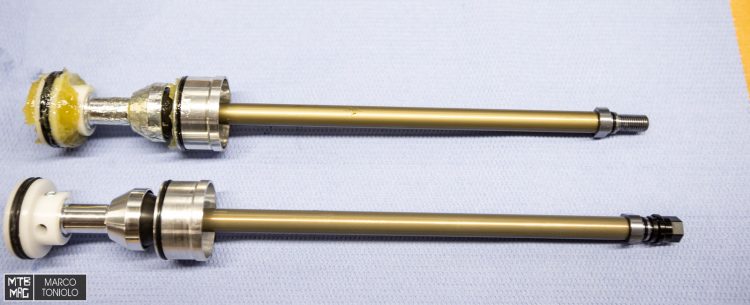
Here they are side by side below: the new 170mm one, not yet greased, and the old 160mm one. The difference between the two is only in length. Notice how the well lubricated and clean it is, despite 8 months of use.
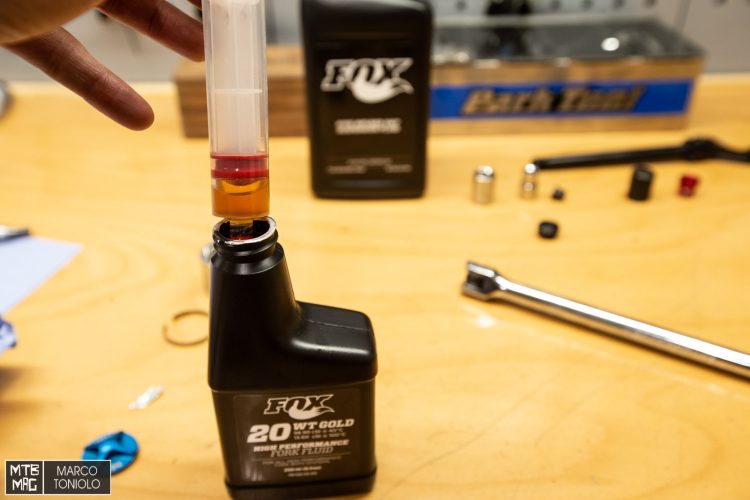
Now it’s time to put fresh oil in the lower leg assembly, starting with a small amount placed above the piston. It only needs 3cc. – the oil, specifically is Fox’s 20WT Gold, which is very dense.
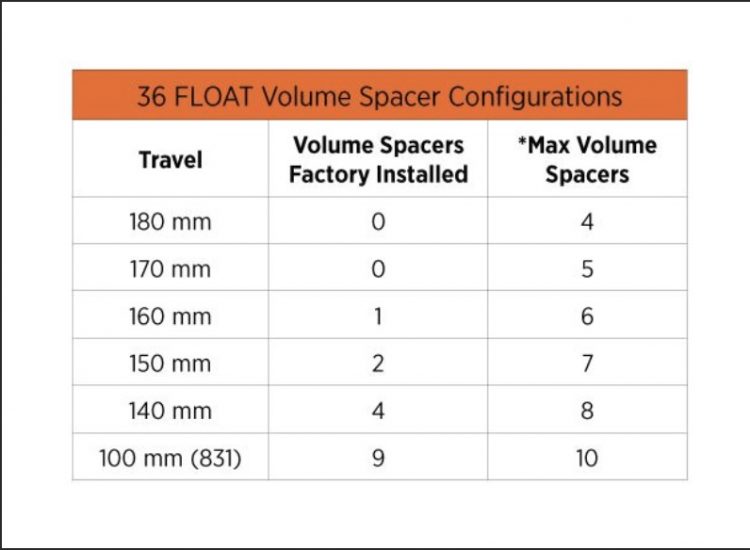
At this point, I closed the left top cap, removing the volume spacer. In fact Fox suggests starting out with the new 170mm travel without a spacer, as you can see in the table below. I put the air in the chamber: 70 psi, to start, then I’ll do the fine tuning when I put the fork on the bike.
Time to reinstall the lower leg assembly. It’s an operation that requires a bit of extra patience – to align stanchions with the dust wipers properly, and then push them up.
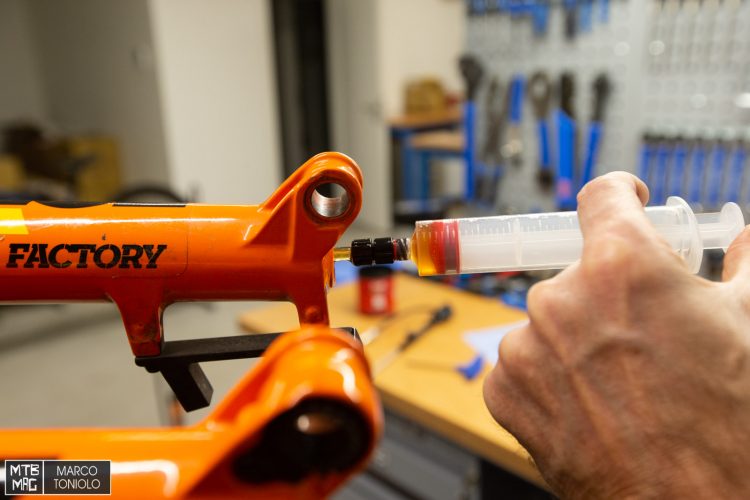
Again with 20WT Gold oil insert 10cc in the air side (the one I just changed). Instead, on the right side, where the sealed cartridge is, put 40cc of the 5WT oil.
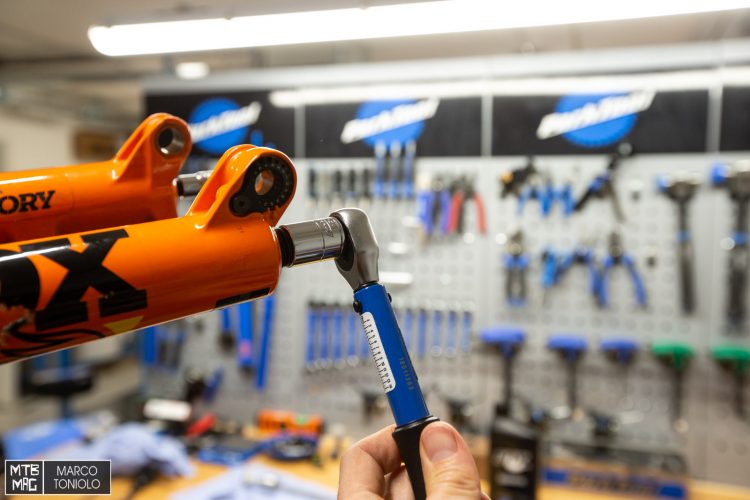
Then tighten the bolts that hold the lowers with a torque wrench to their respective specs (5Nm on the right and 9Nm on the left).
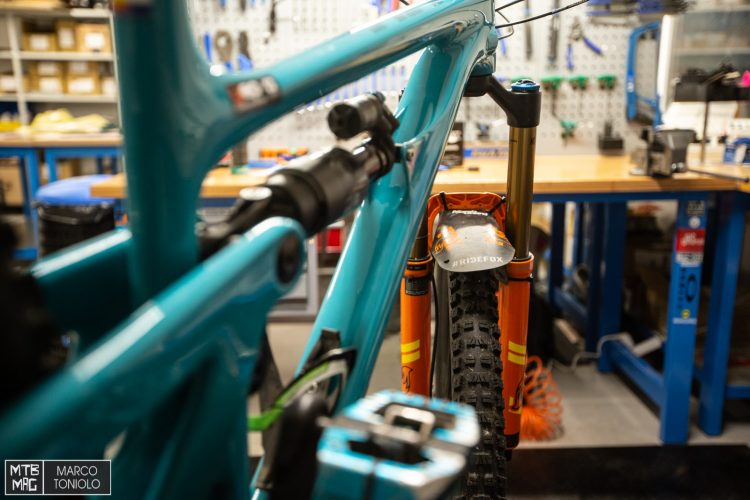
The end! All that remains is to reinstall the fork on the bike and then it’s ready to ride.
In addition to increasing the travel of a 36, it can also be decreased. The operation that I’ve just shown becomes relevant if one decides to change out a frame of a bike, while keeping the components and the situation therefore requires a change in front travel.
The piston kit must be ordered directly from Fox via a dealer.

