[ad3]
The heart of our bikes is our drive systems. Nowadays there are many configurations but 99 percent revolve around a chain and cassette. We have a look at the best way to clean your chain simply and then check to see if it needs replacing. We also look at the ideal chain length for your system and the methods a chain is joined.
Tools: Chain cleaner device, chain wear tool, chain breakers.

Clean the bike with water and bike cleaner to get the worst of the dirt off. Although seemingly clean our chain still has grime on it.
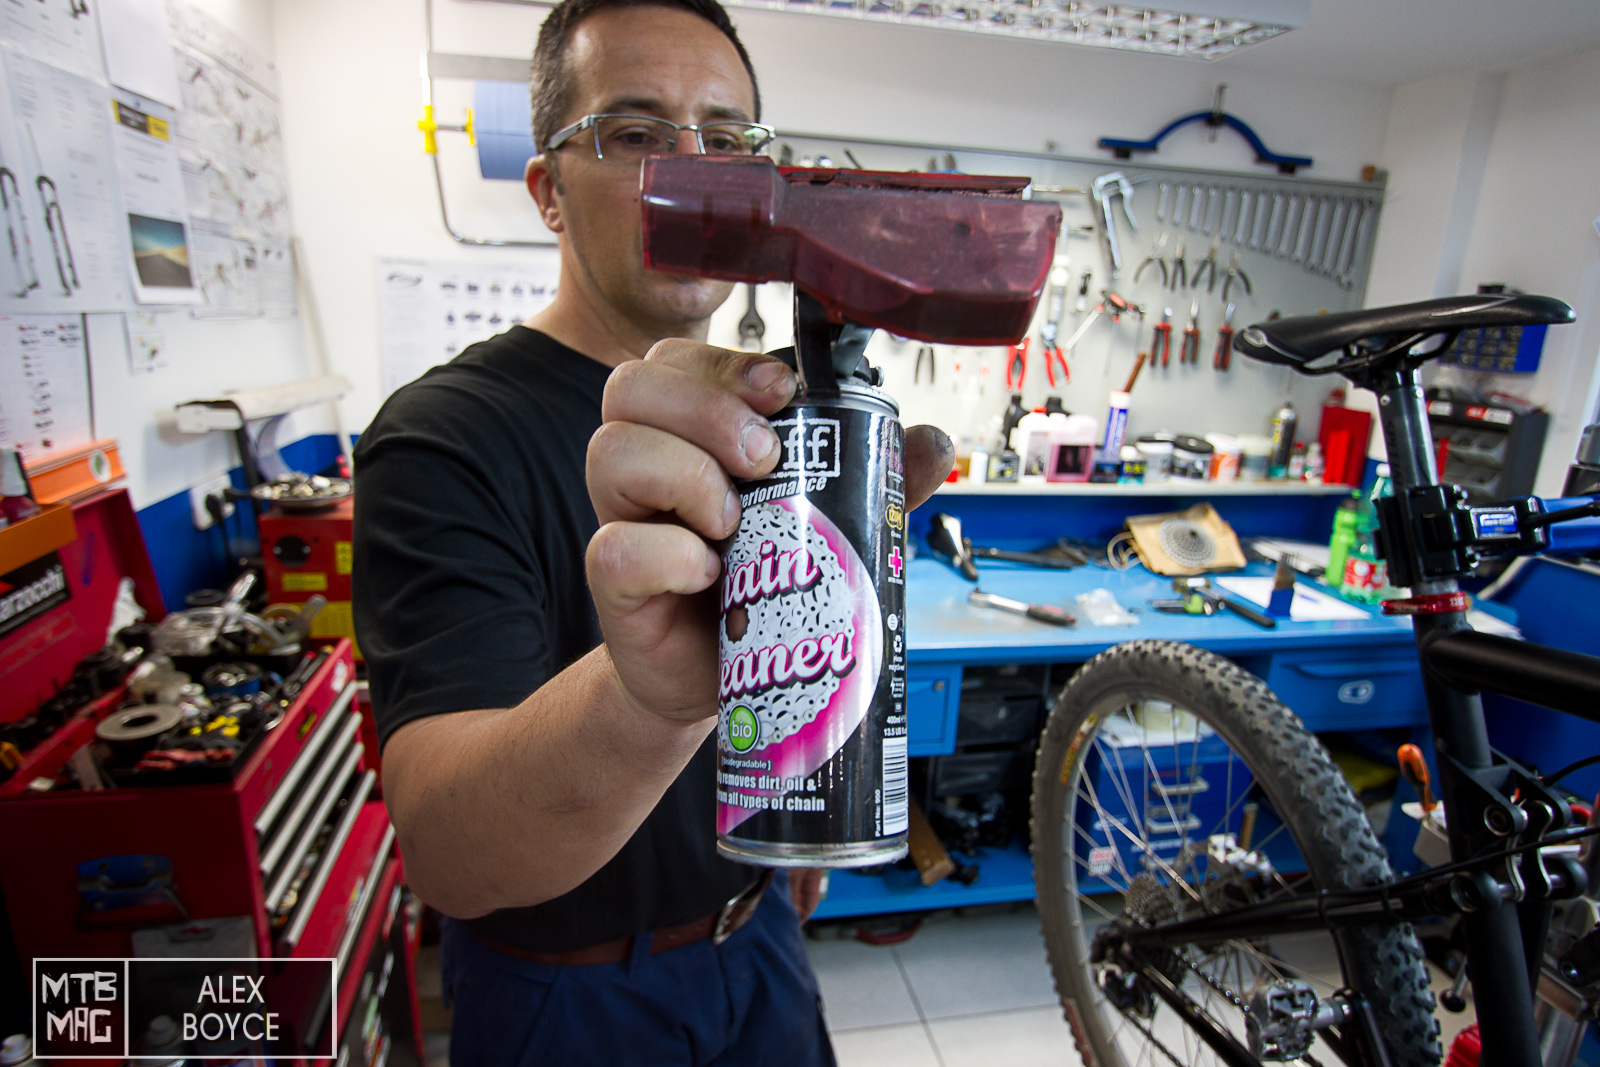
For a basic clean use a product and chain brush cleaning tool, here we use the Muc-Off chain cleaner system.
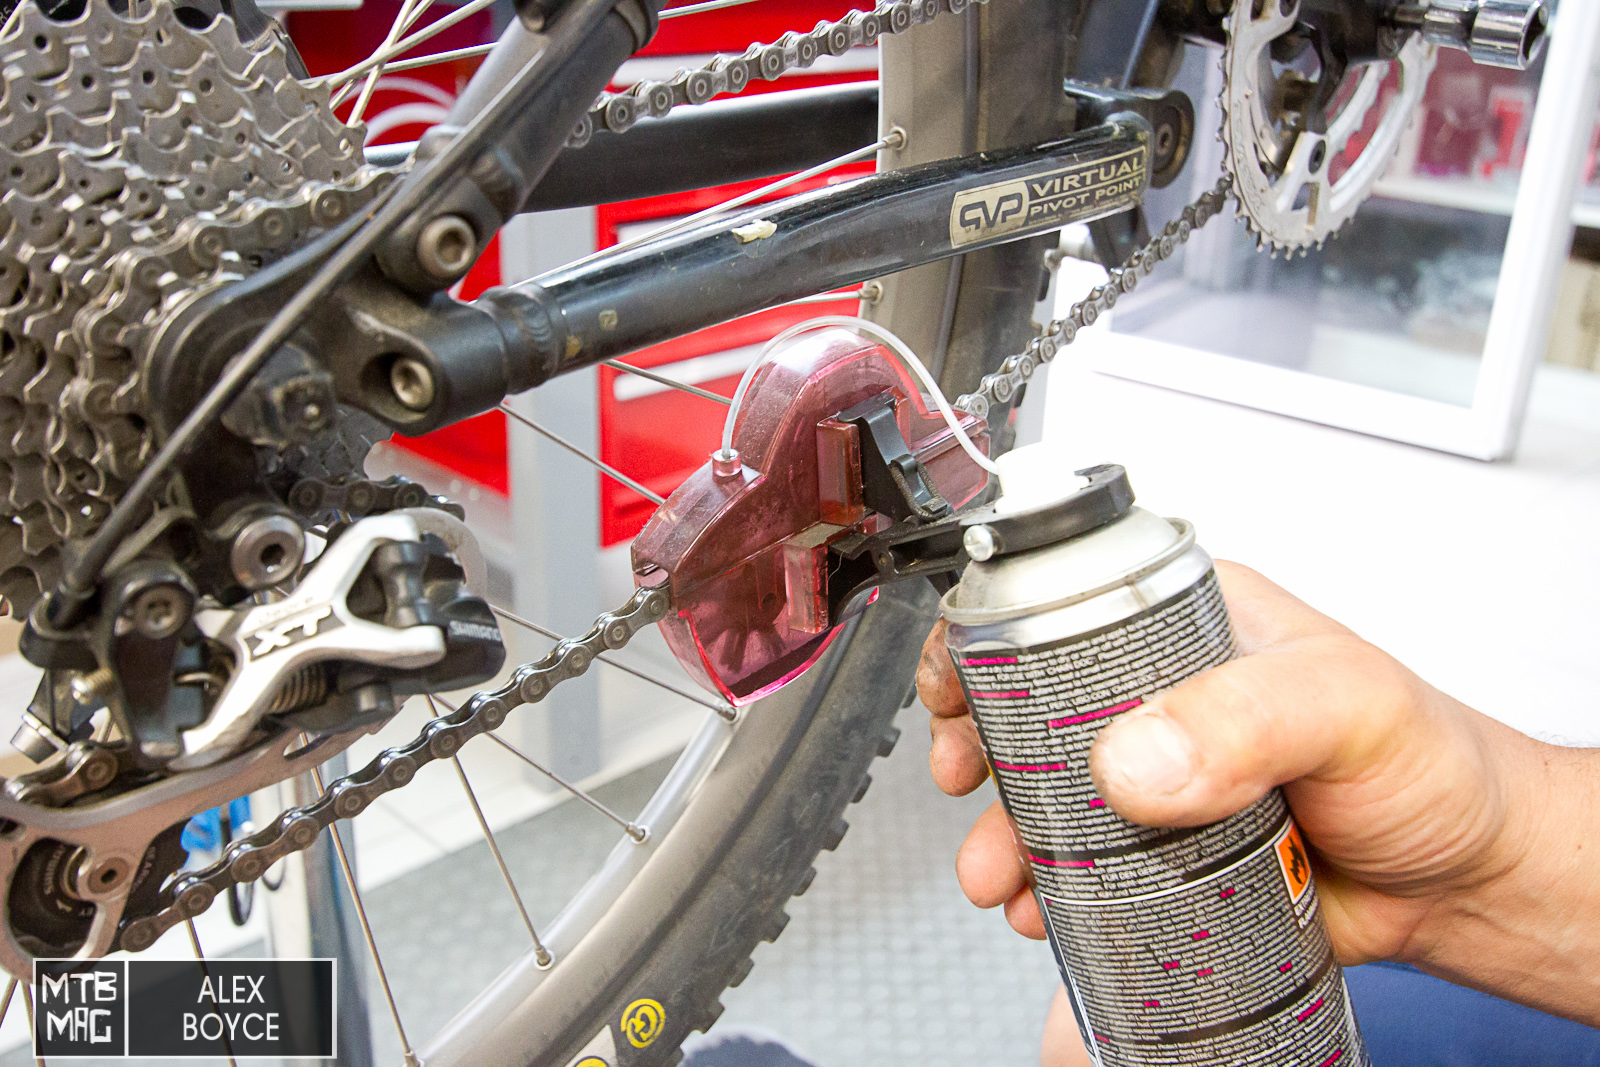
Place onto the chain and squirt some fluid into the chamber.
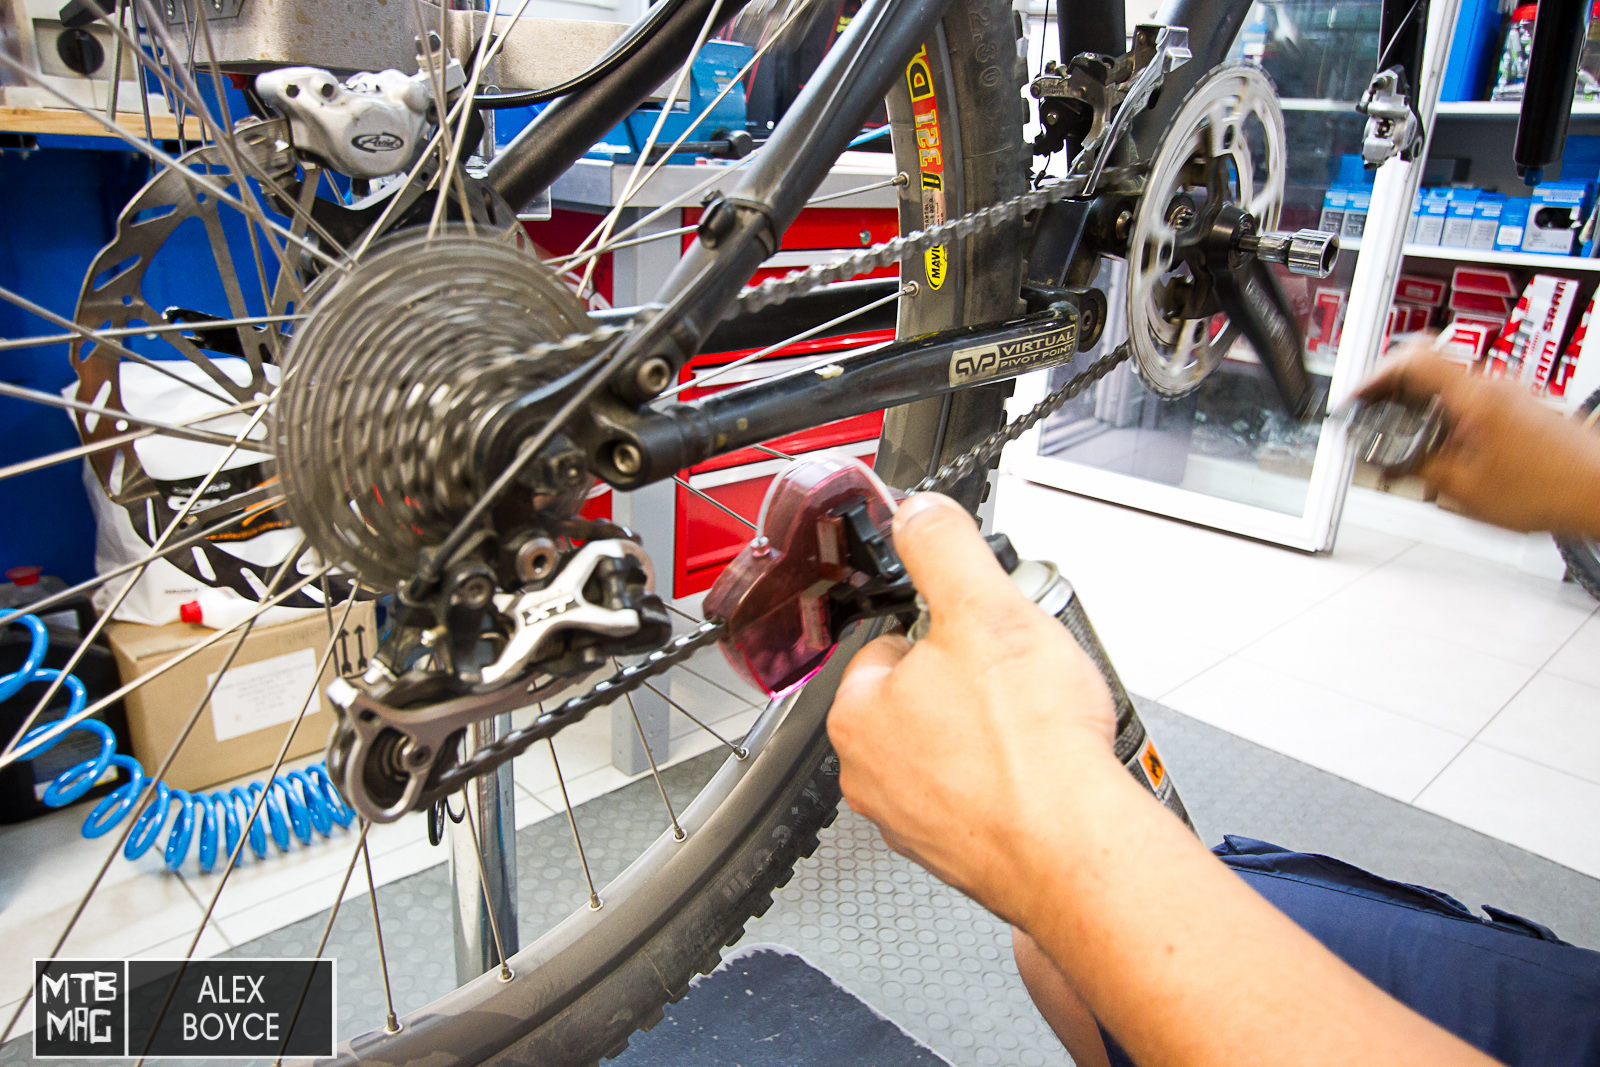
Pedal the bike chain and the brushes and cleaner will rotate and loosen and remove the dirt. Dry off with a rag and re-oil.

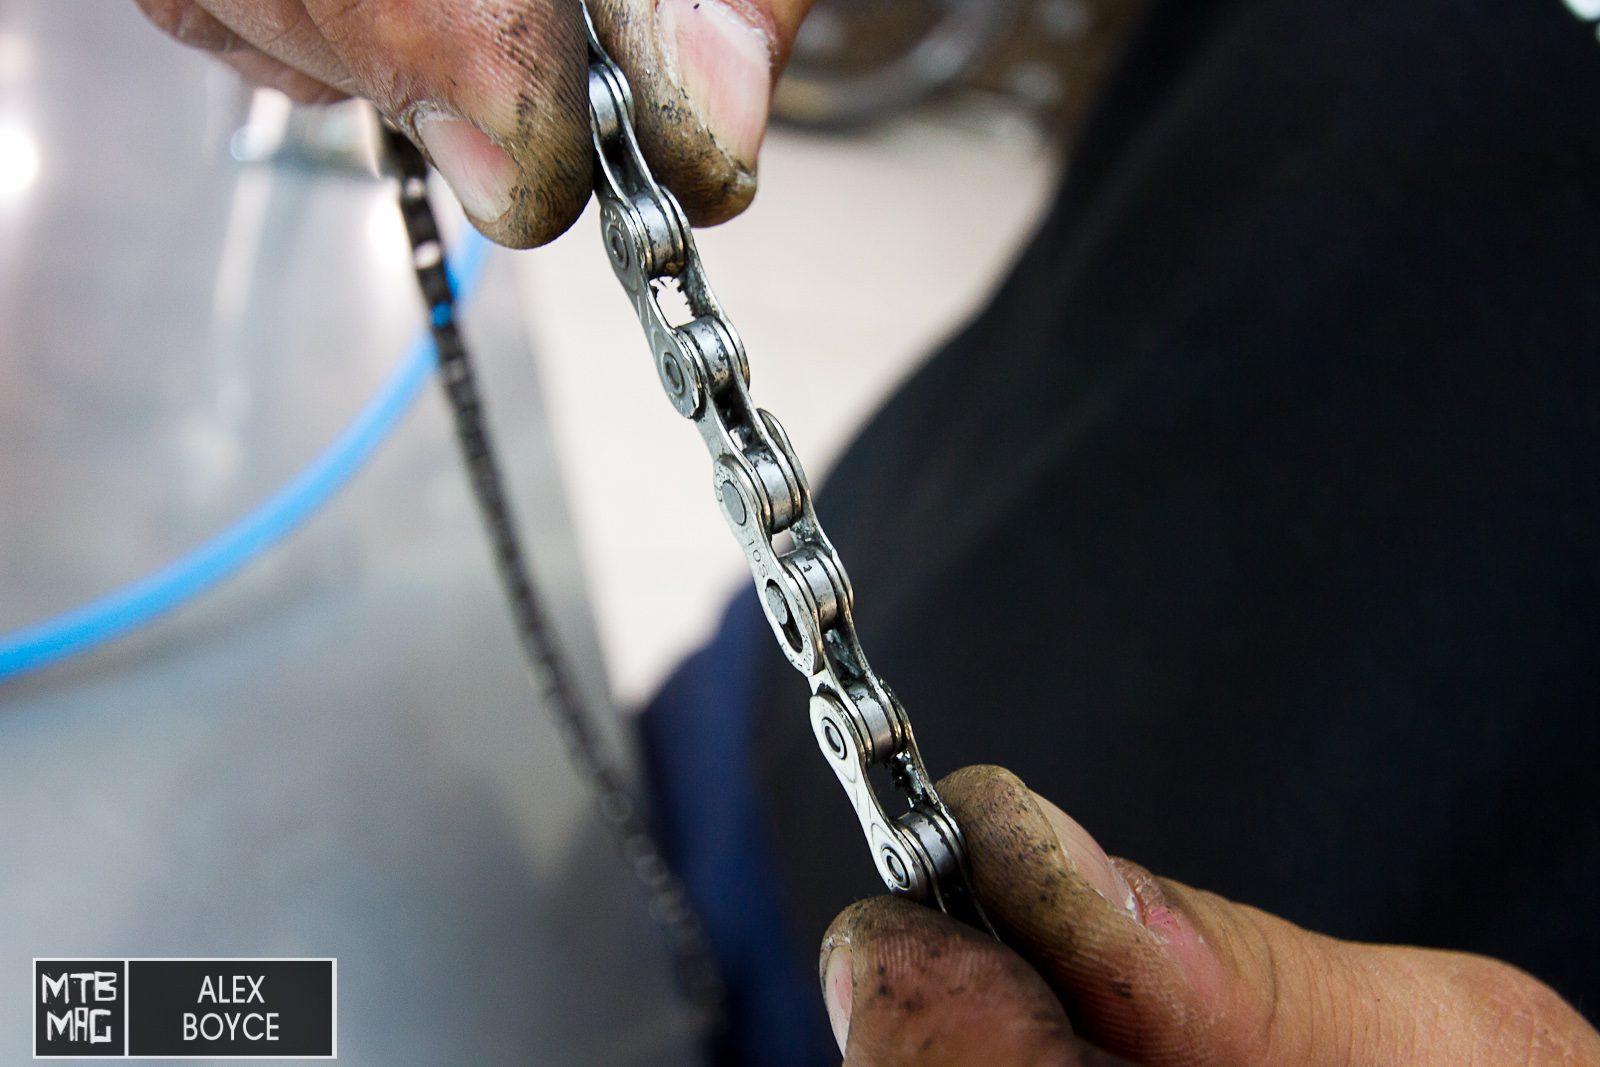
Once mostly clean we had a closer look at chain wear and noticed a few problems. Here the cassette teeth are starting to show signs of wear, but are still use-able.
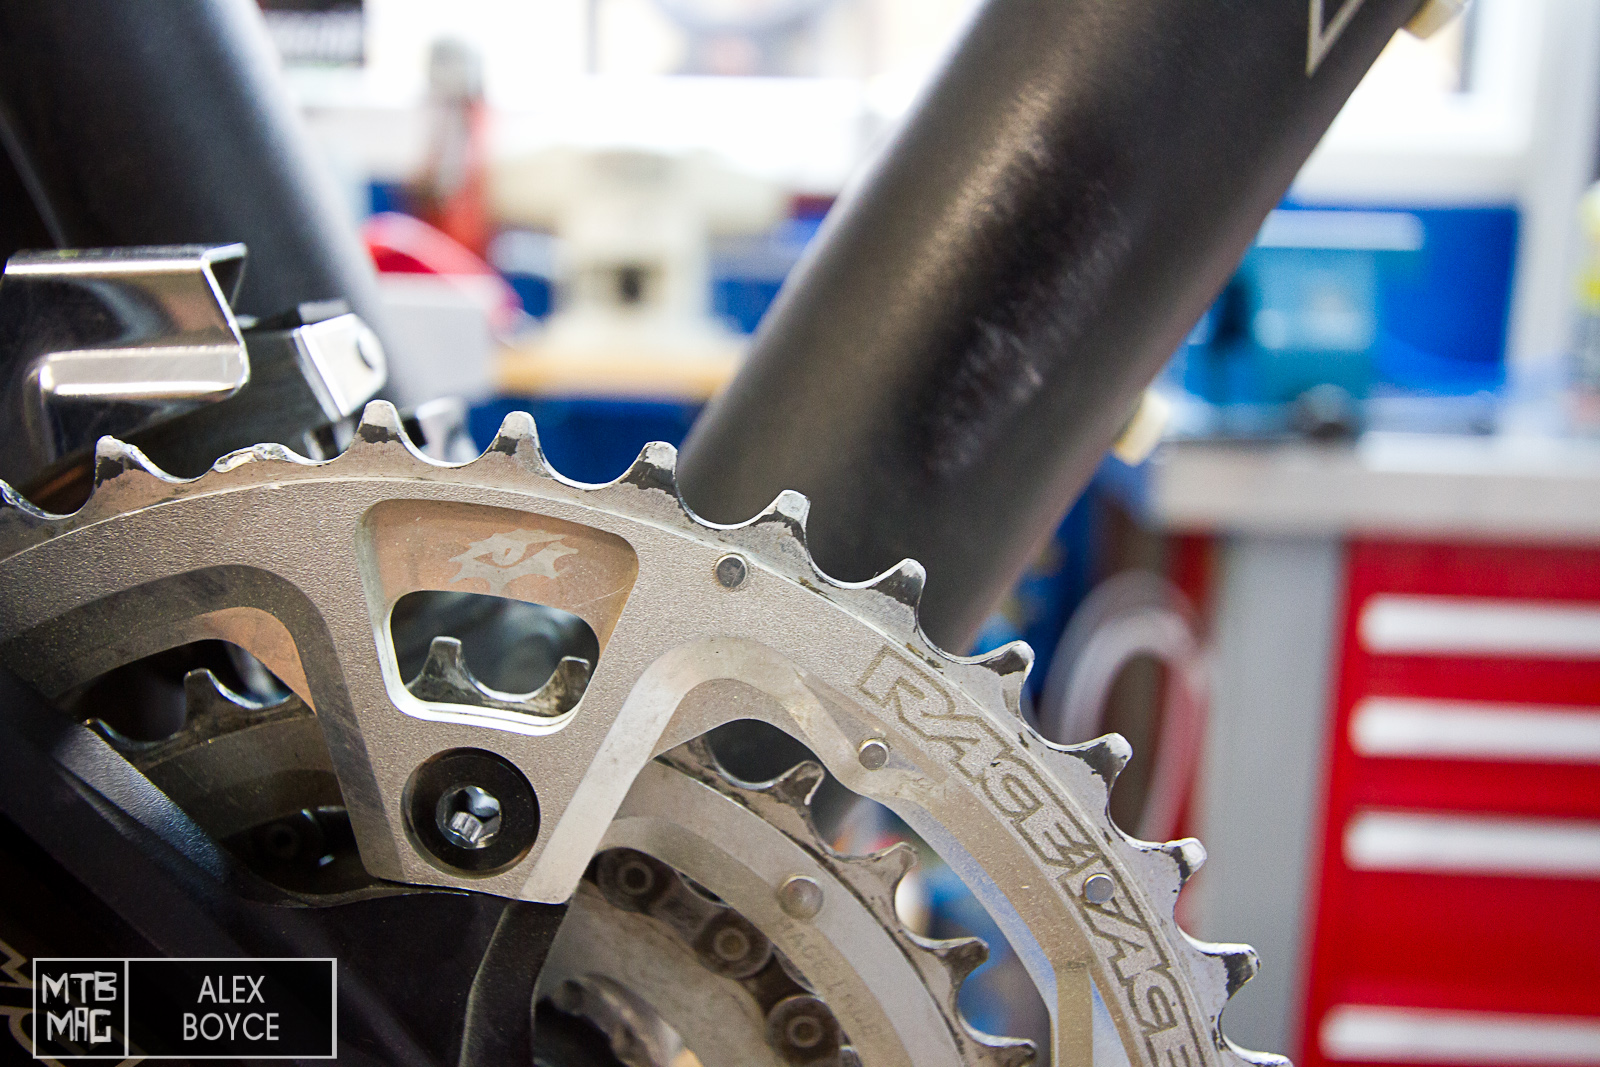
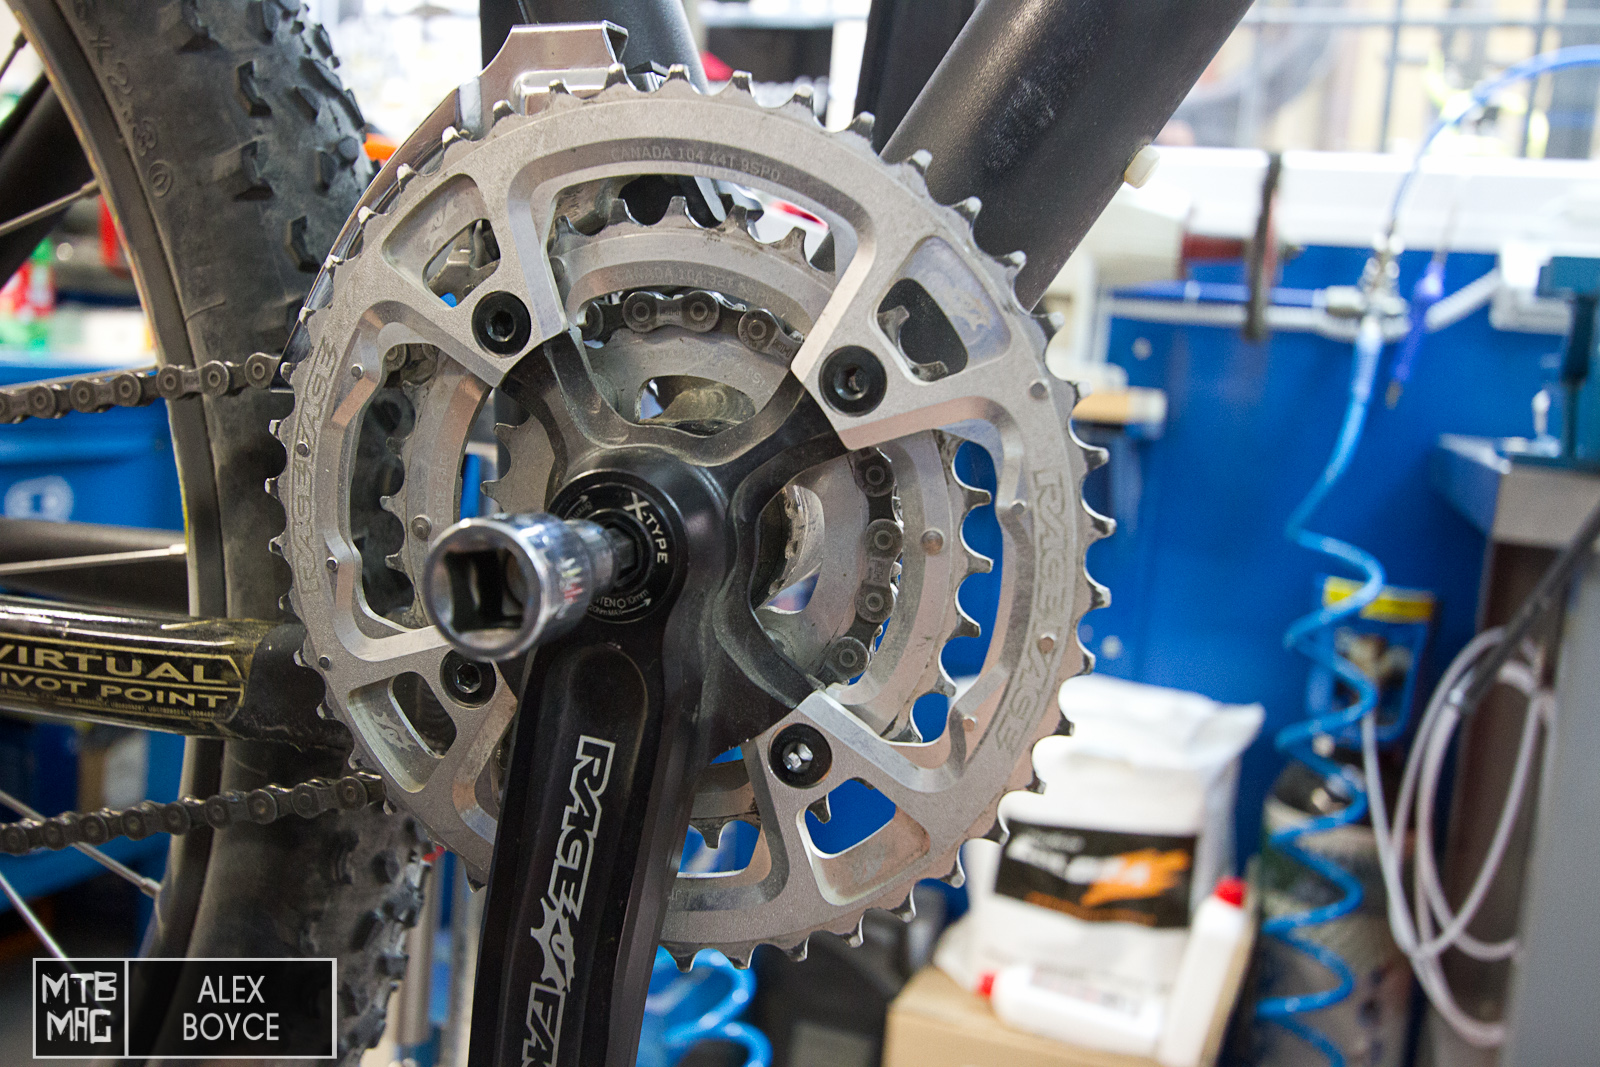
Here the front rings are starting to show more extreme wear, in this case it is better to replace, although they are not past the limit of use-ablity. The middle ring here though we would replace.
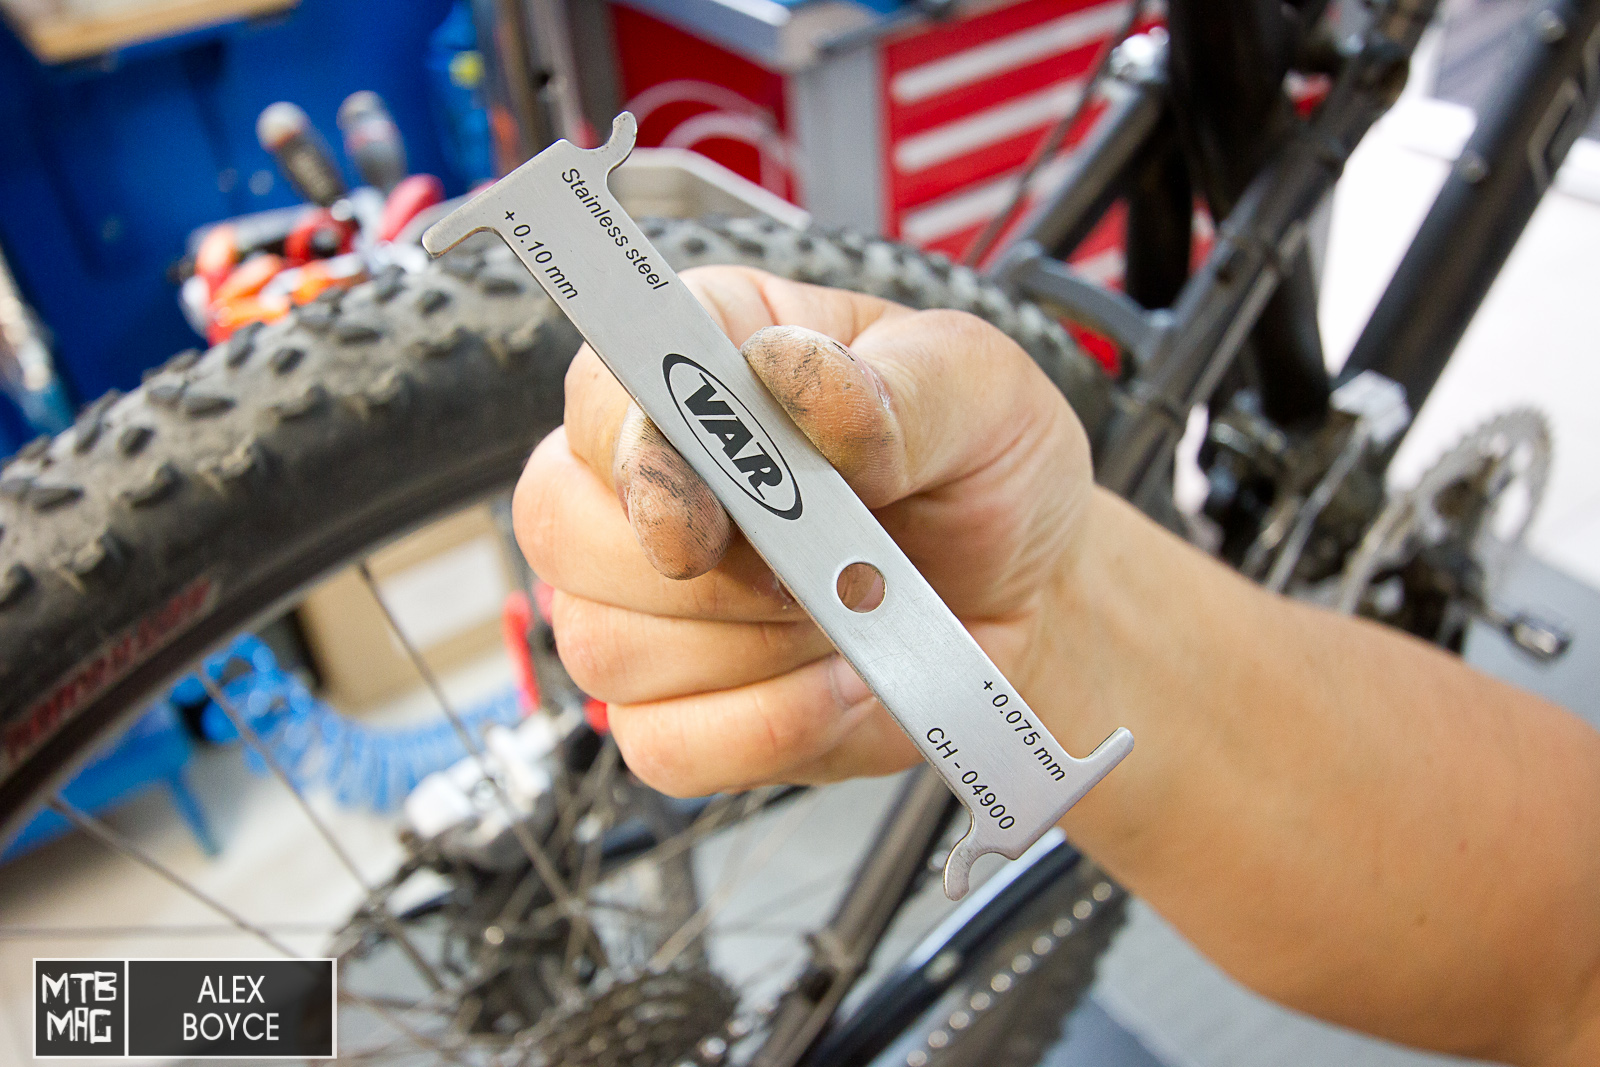
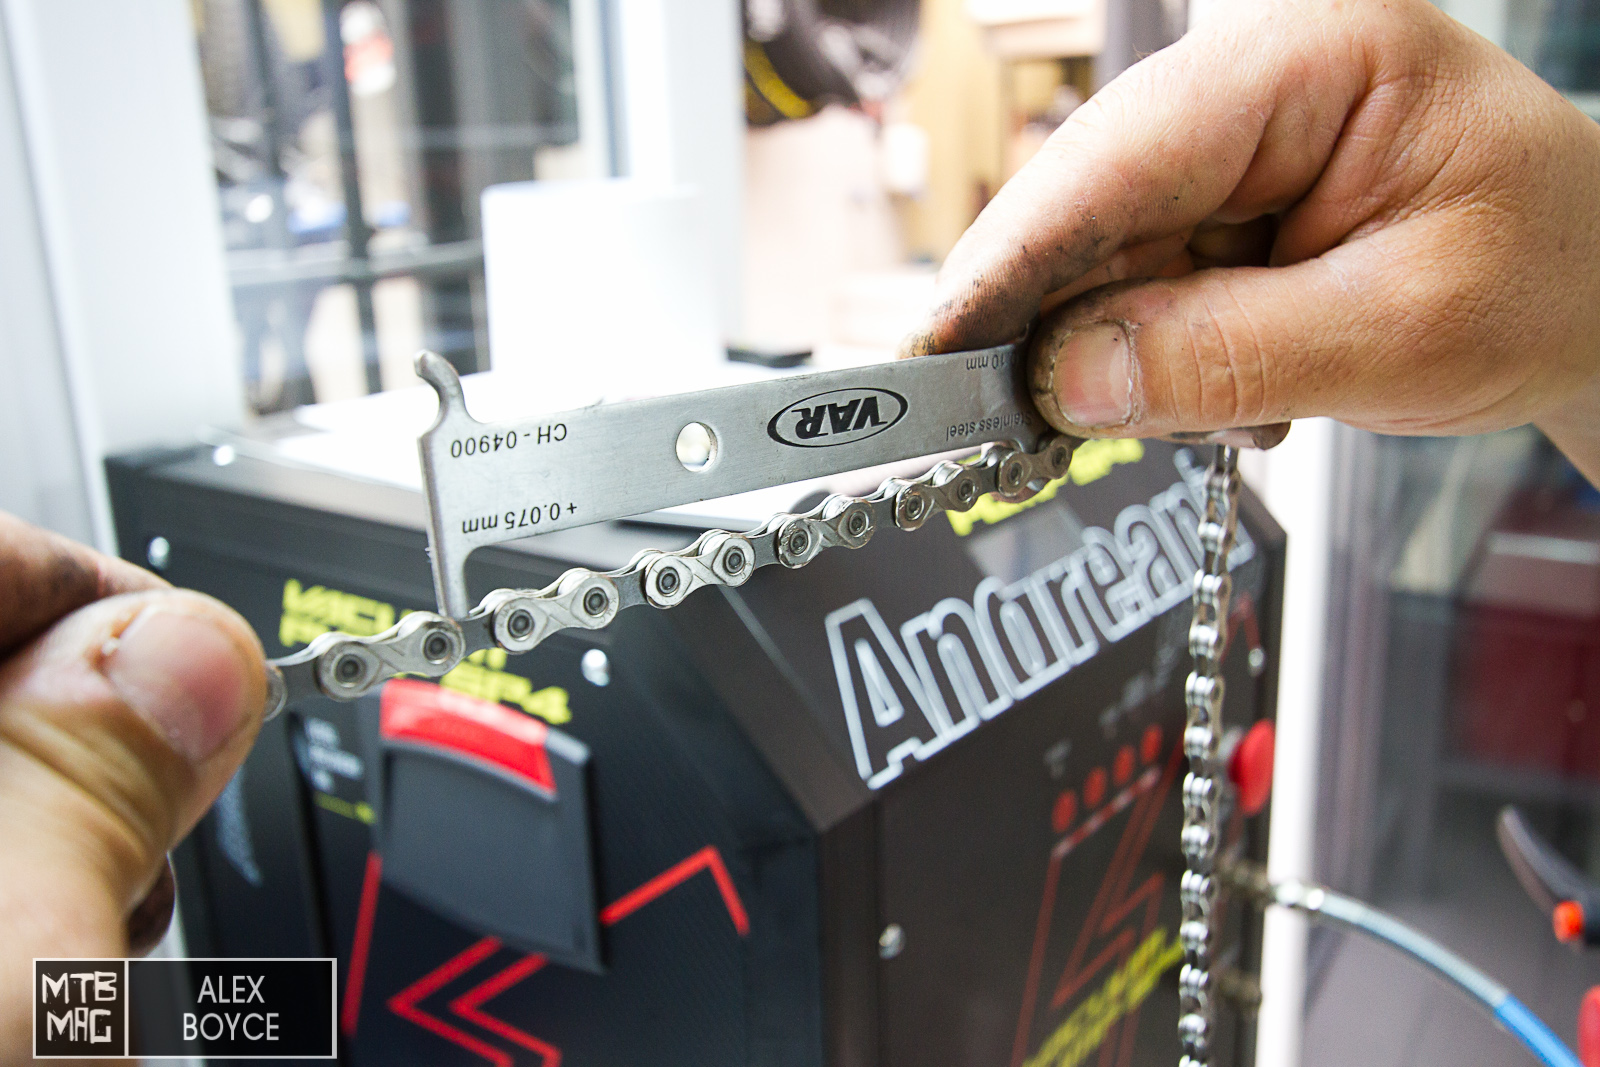
This wear is caused partly by the chain and here we take our chain wear tool to measure chain wear.

The tool has two settings 0.075mm and 0.10mm if the wear indicator is 0.075mm the chain can be used a bit more but should be thought about being replaced.
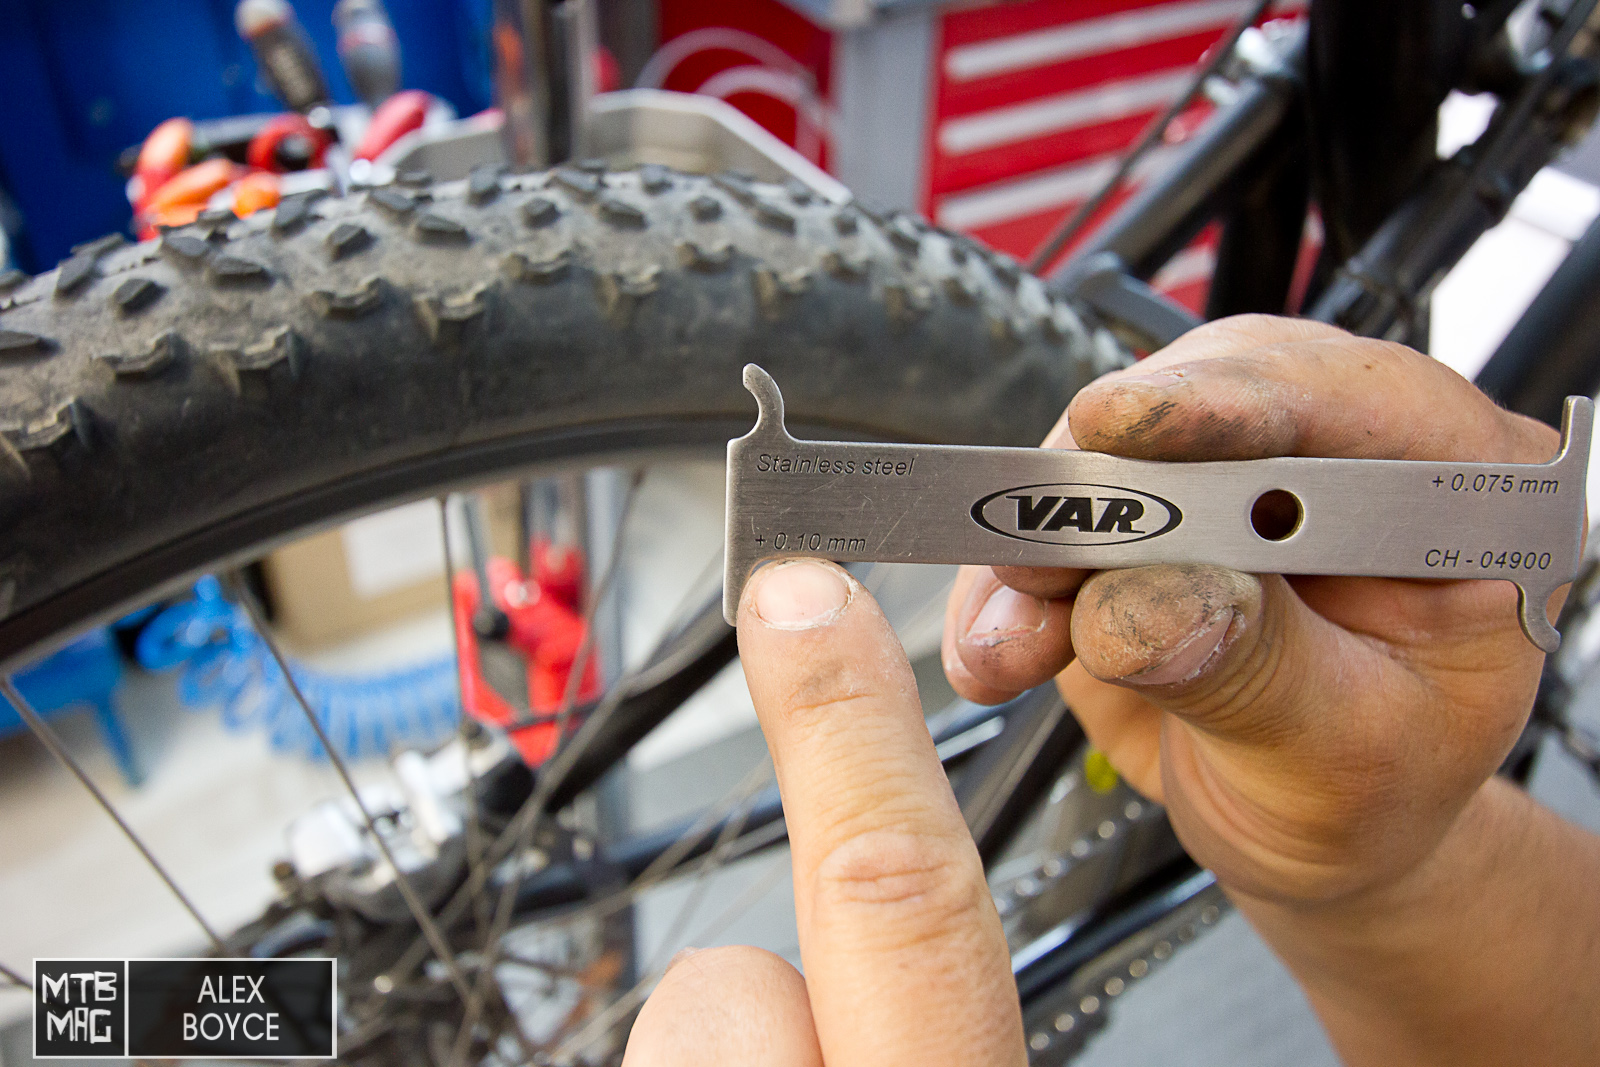
If the tool is 0.10mm shows the chain needs to be replaced.
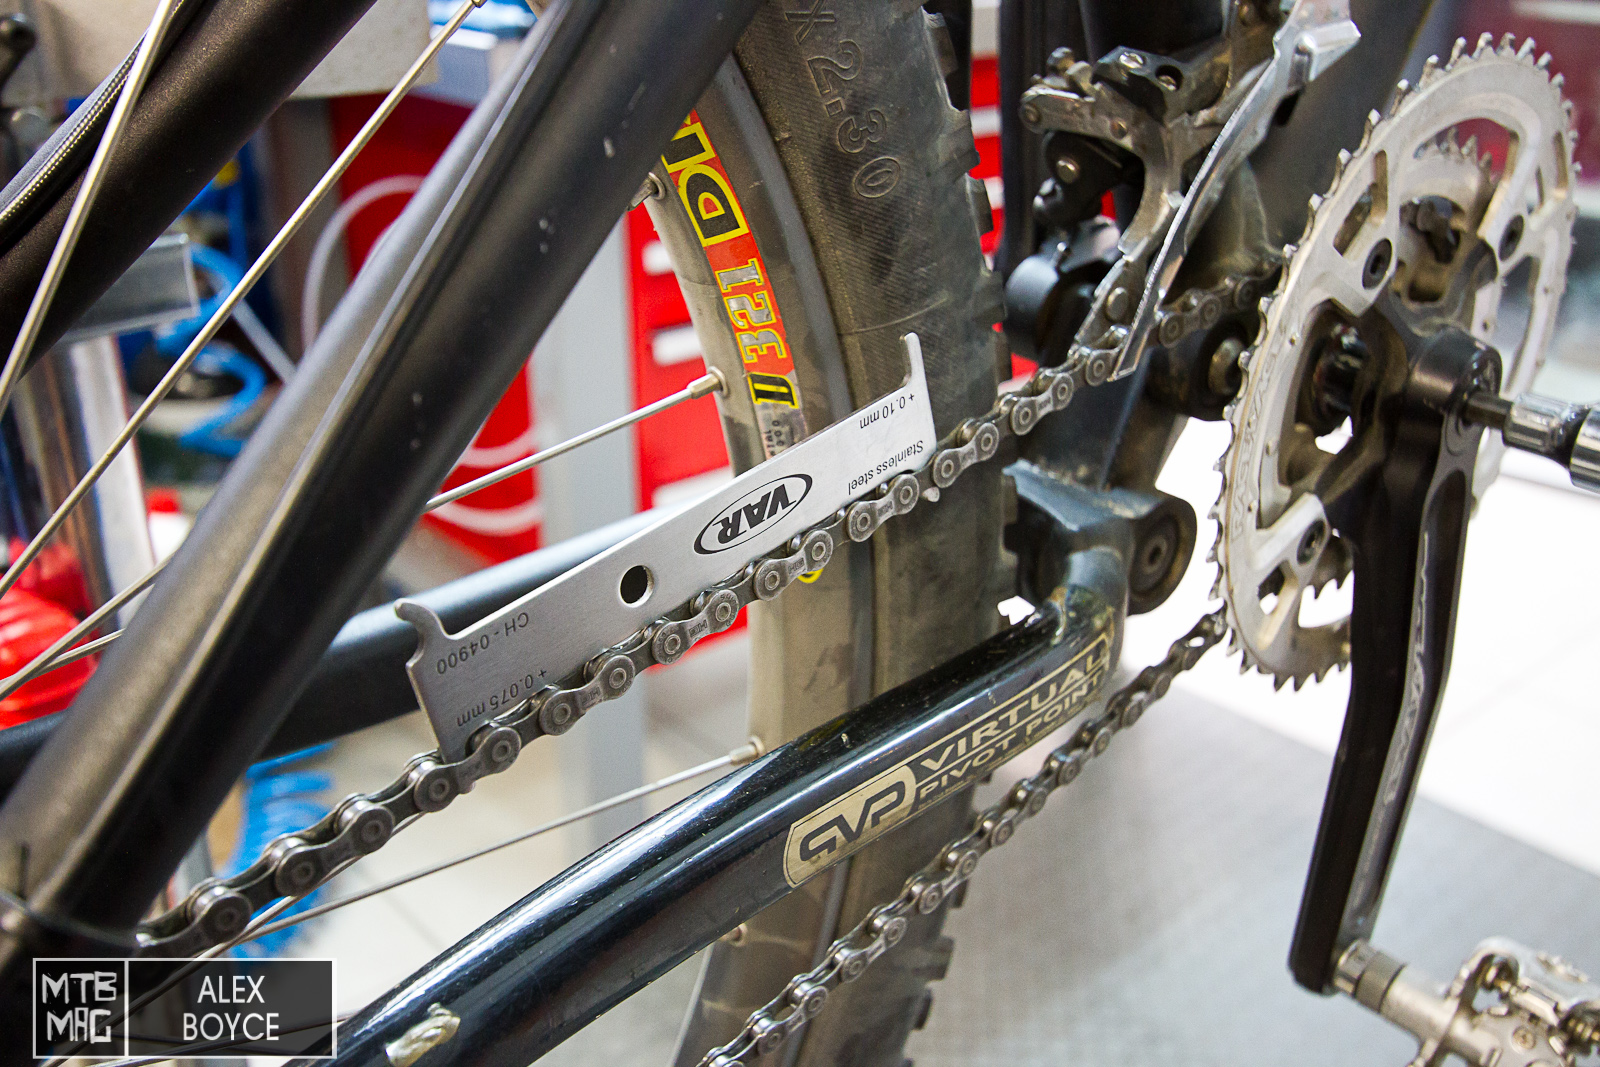
Here we can see the tool fits inside the chain easily in 0.075mm mode, it is worn.

Here we can see in 0.10mm mode the tool is also sat in the chain, the chain should be replaced.
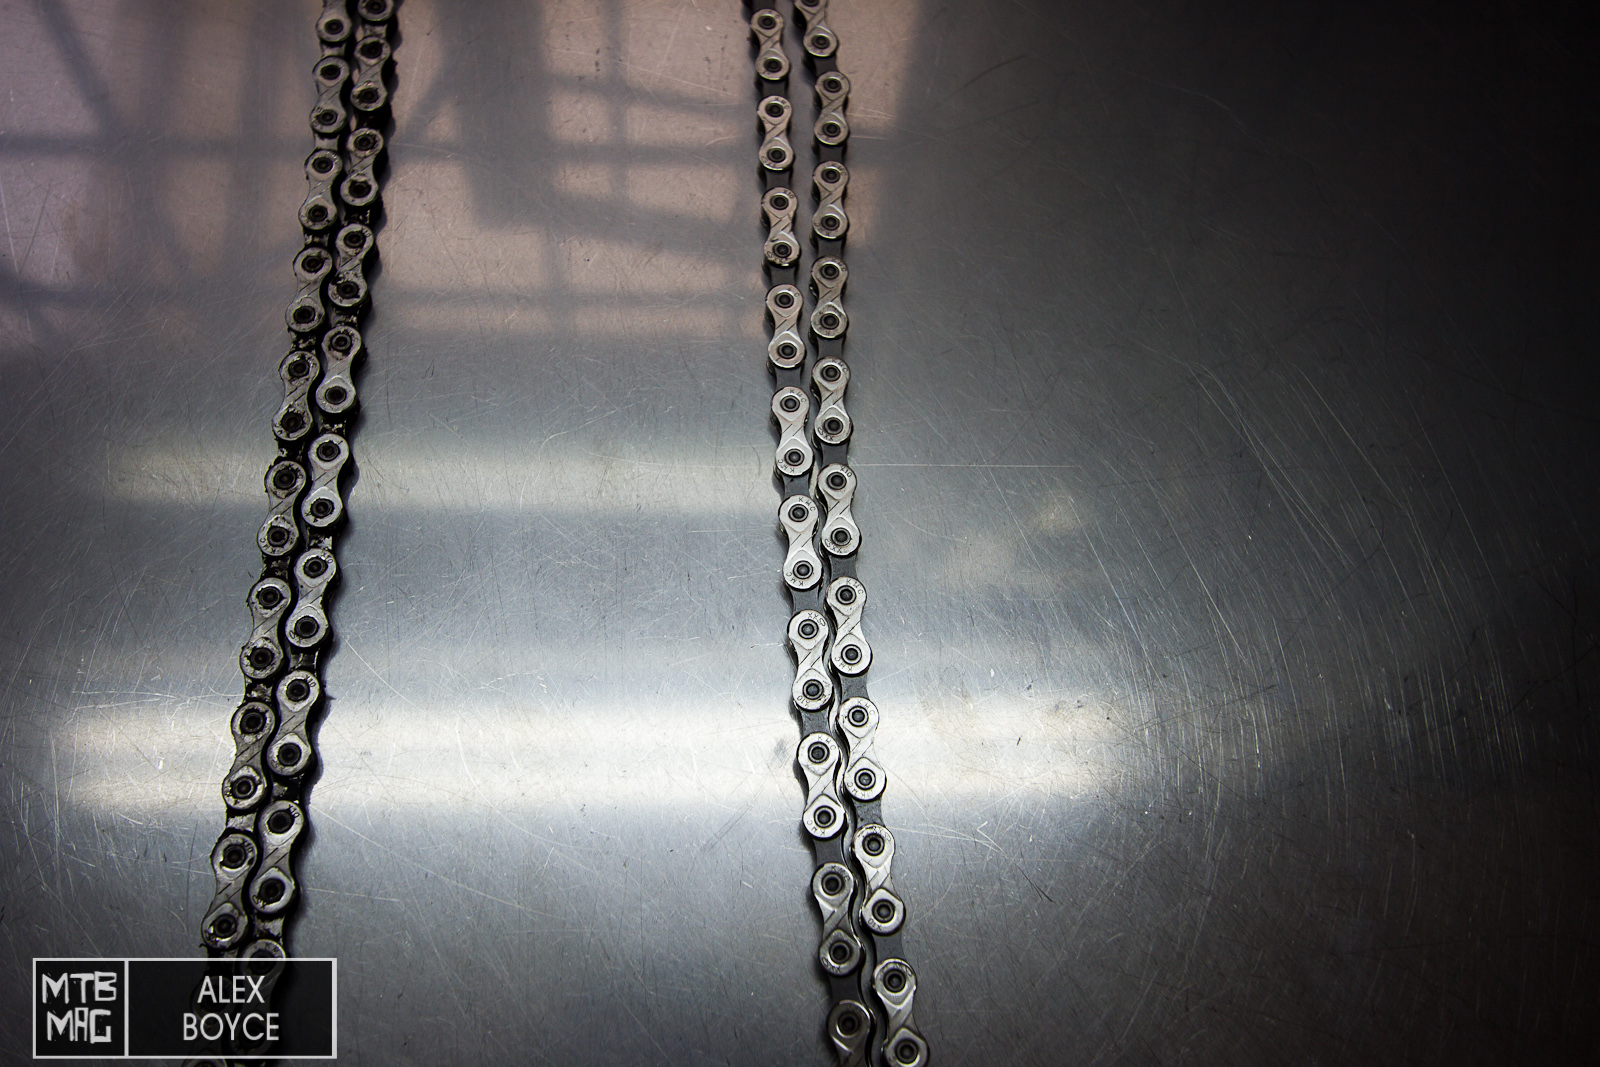
An old chain on the left, a new chain on the right.
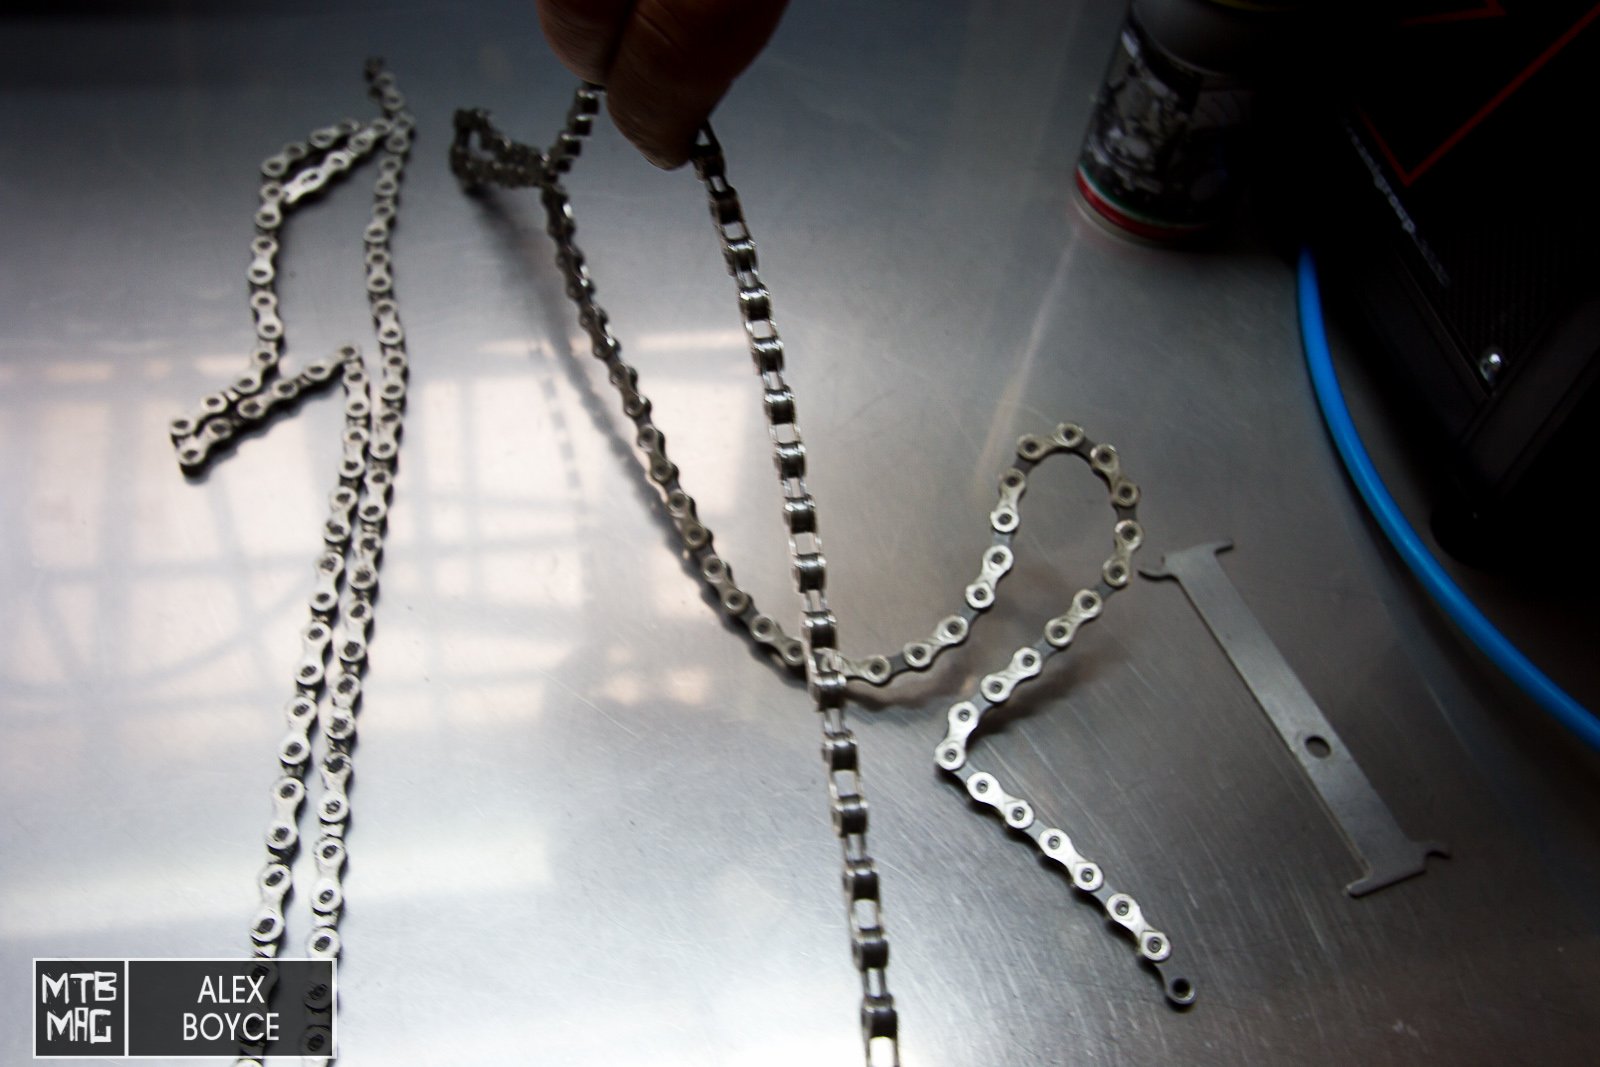
The new chain is stiffer.
The chain wear tool even in 0.075mm mode does not enter into the chain showing the chain is tight and new.
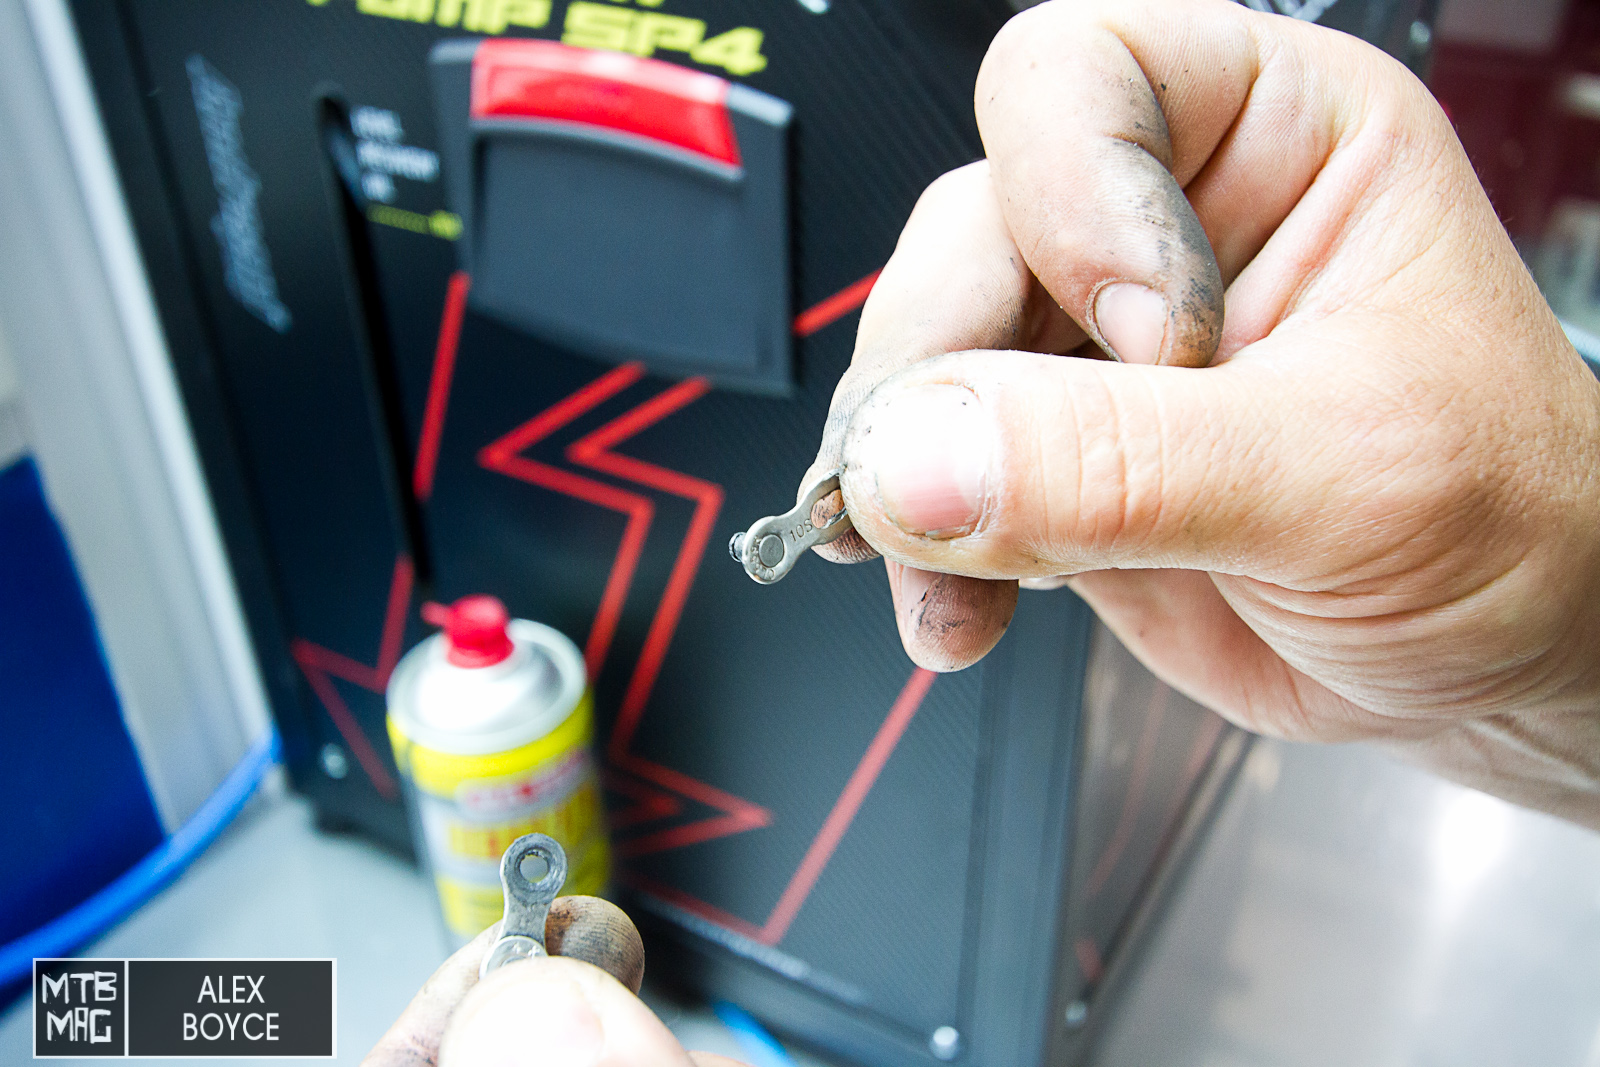
We join the chain in this case with a removable link. (NON Shimano Chains).
The links interlock…
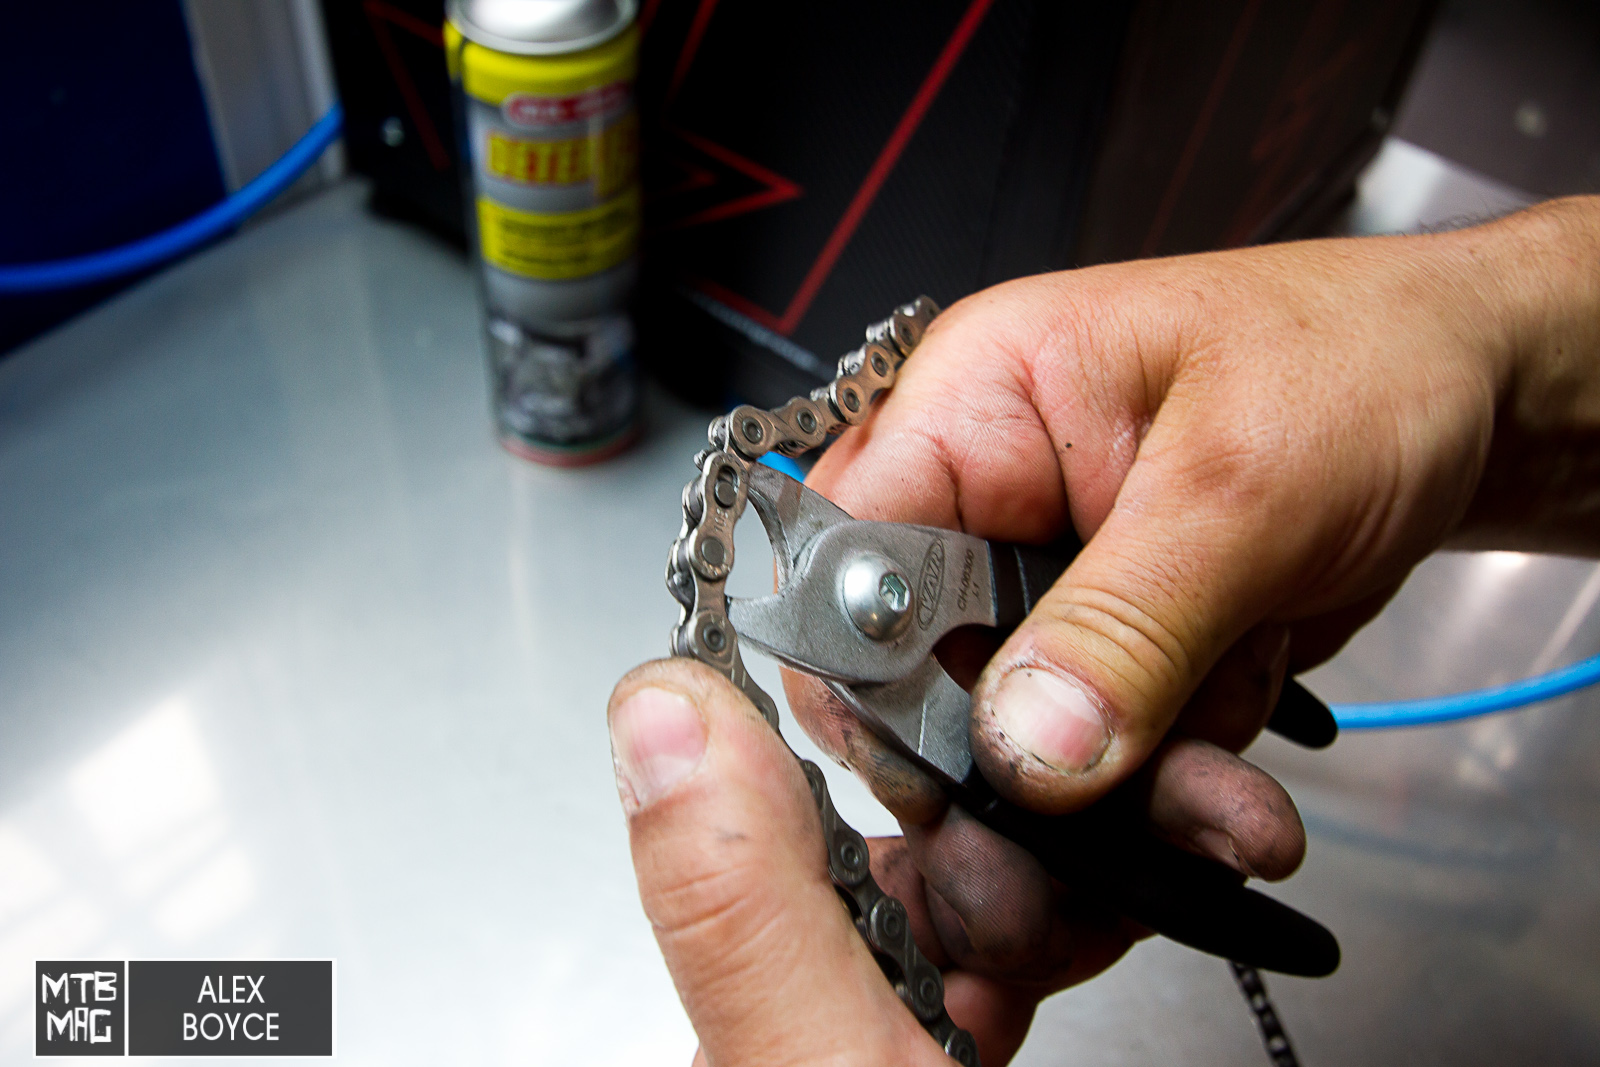
But can only be locked in place easily with the special tool.
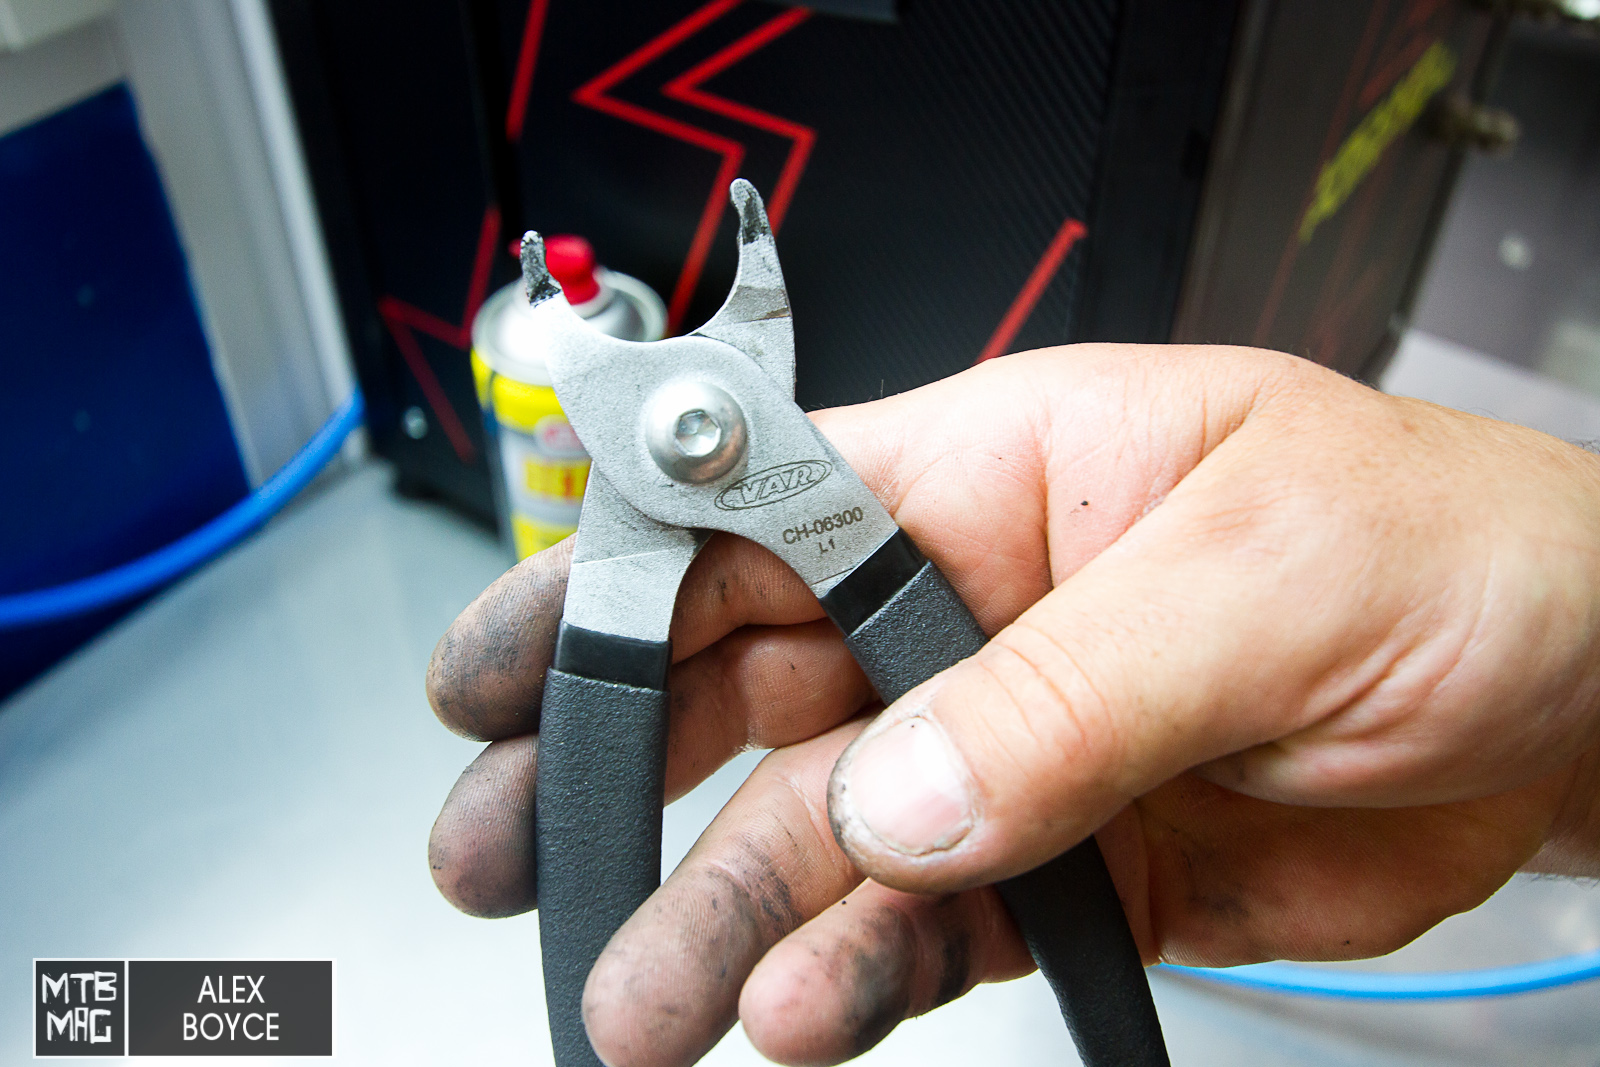
It is not a set of normal pliers, but specially made for joining chains.
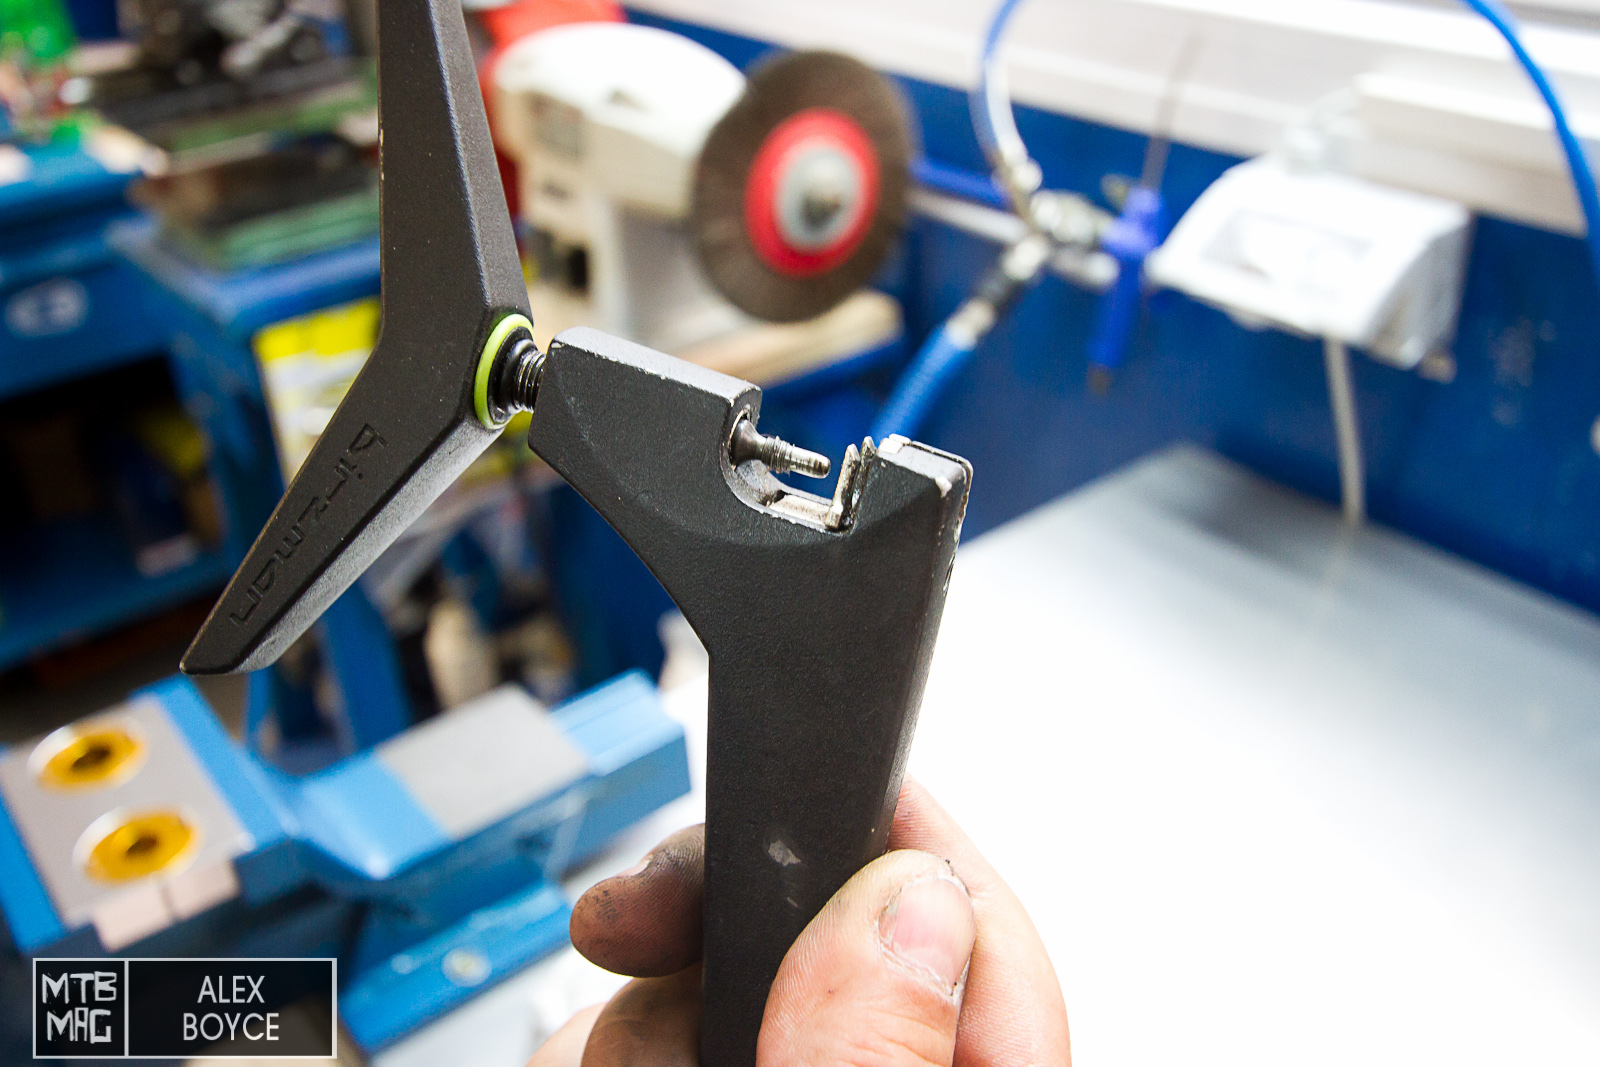
Shimano on the other hand prefers to use a chaintool pin extractor.
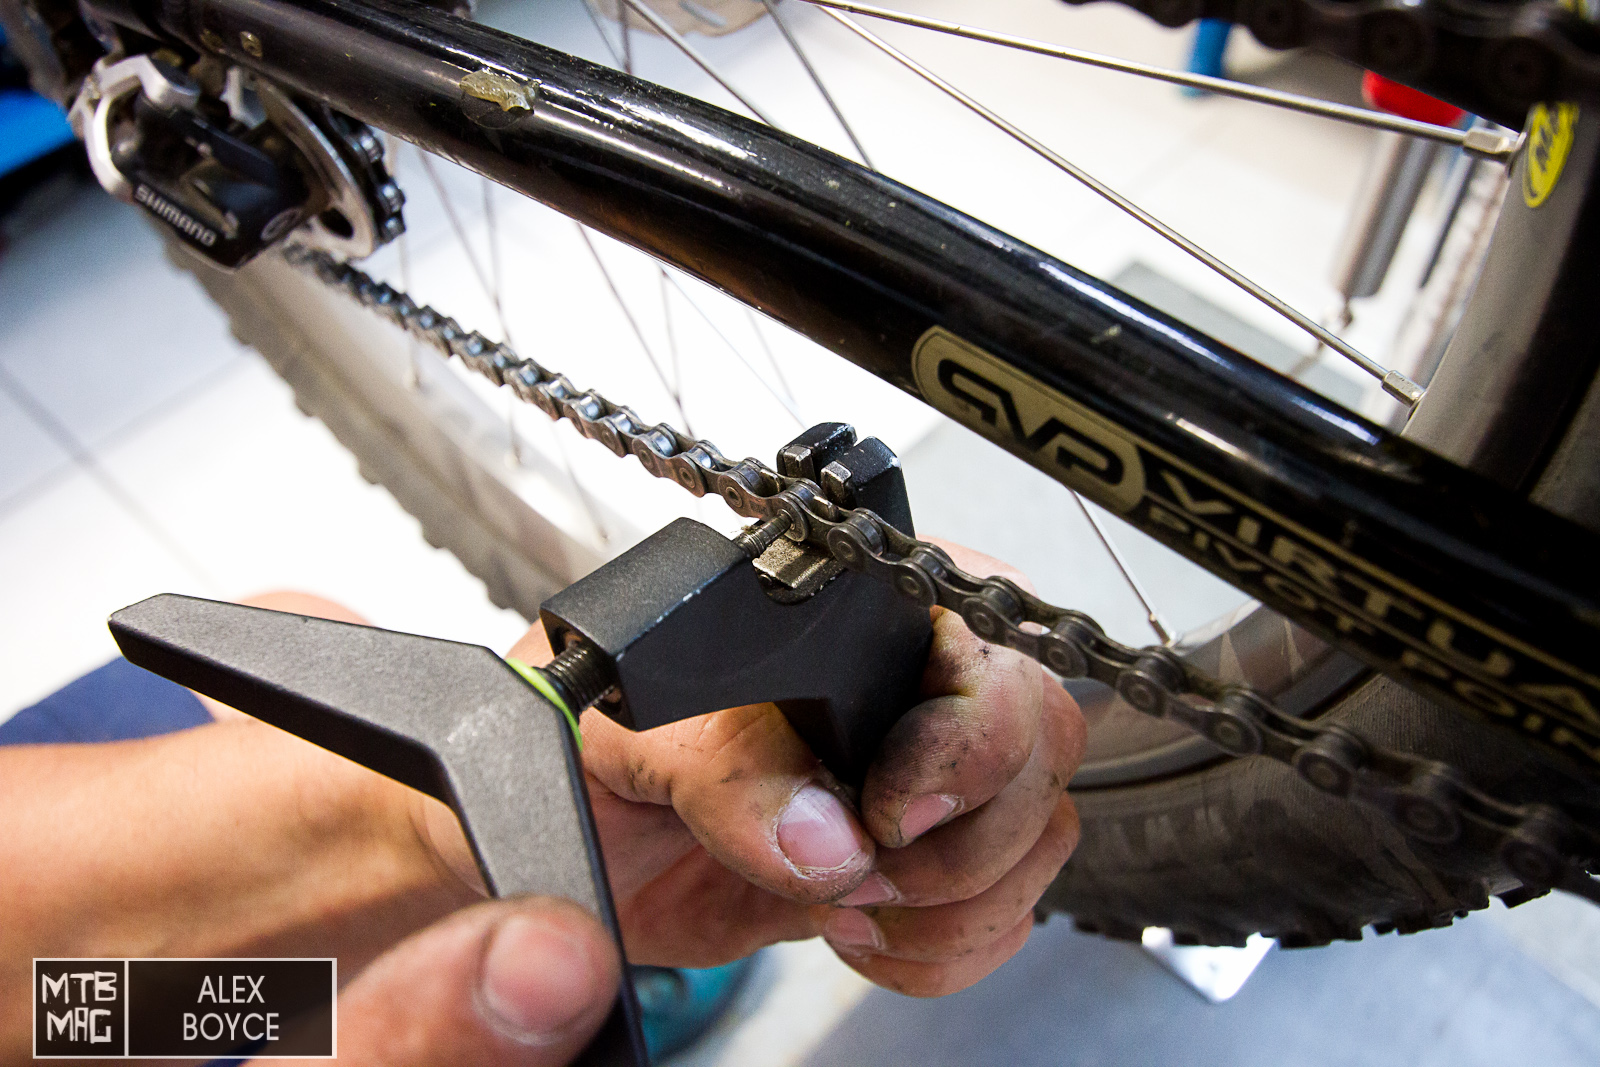
The tool is placed on the chain and the old link removed.
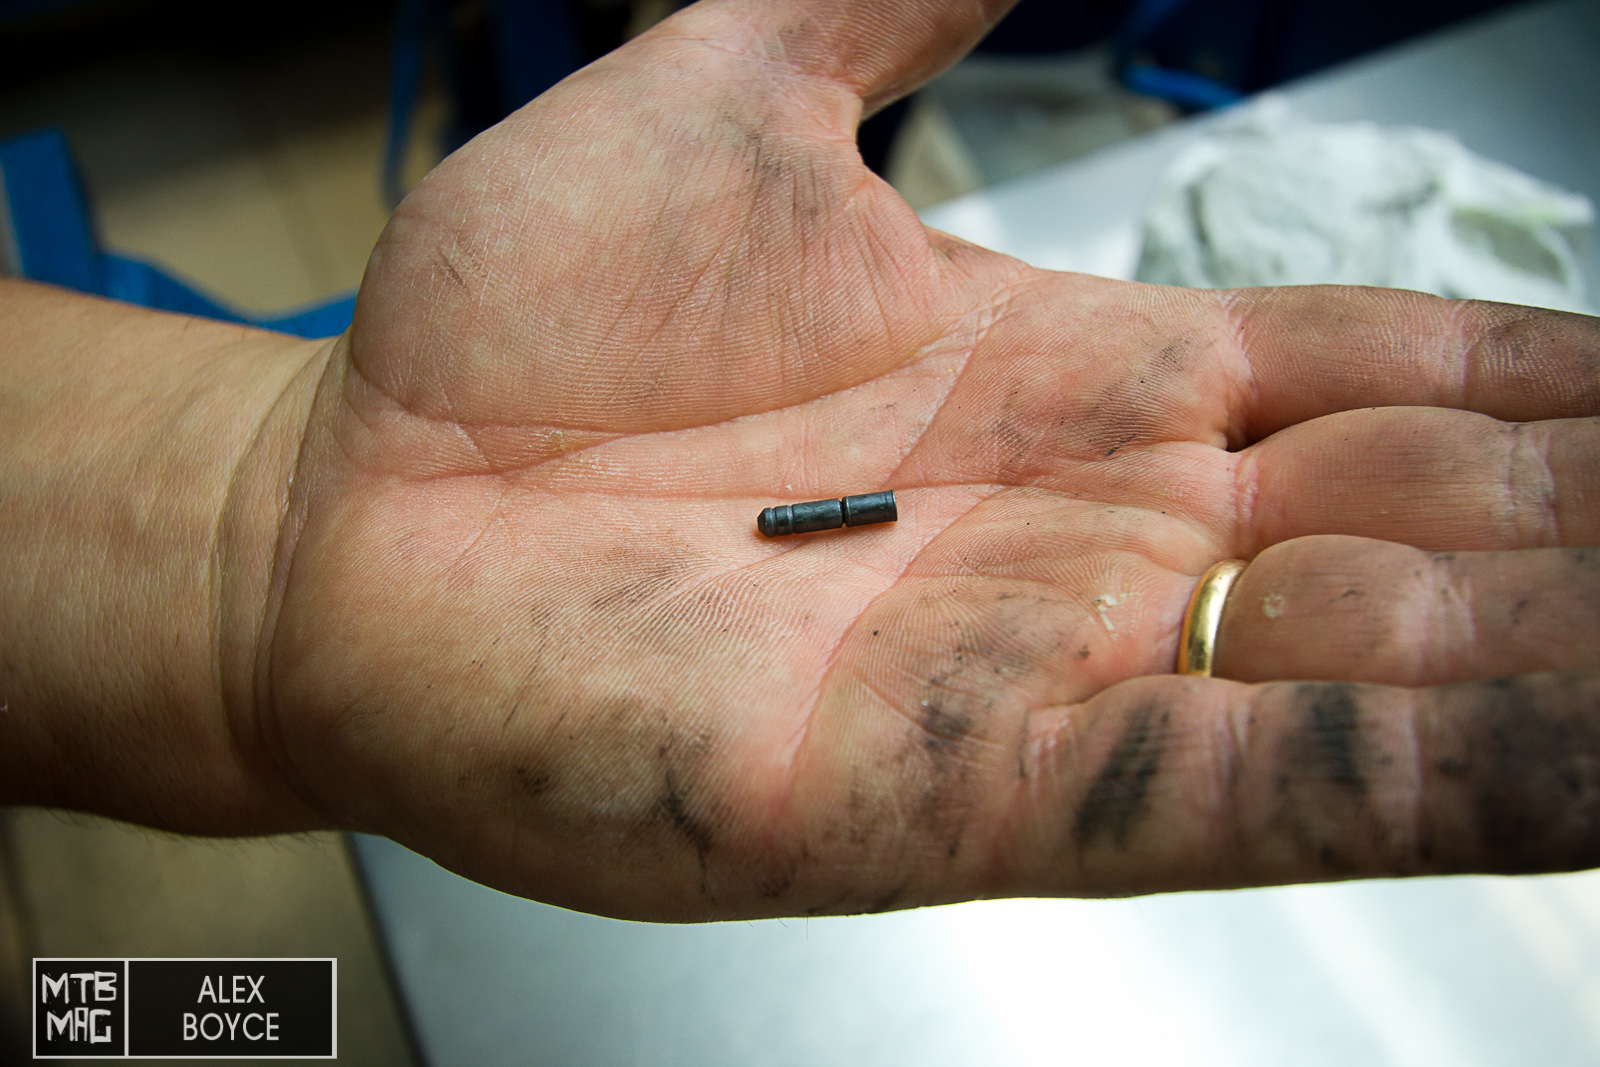
A new pin is then inserted that is slightly larger and joins the chain.
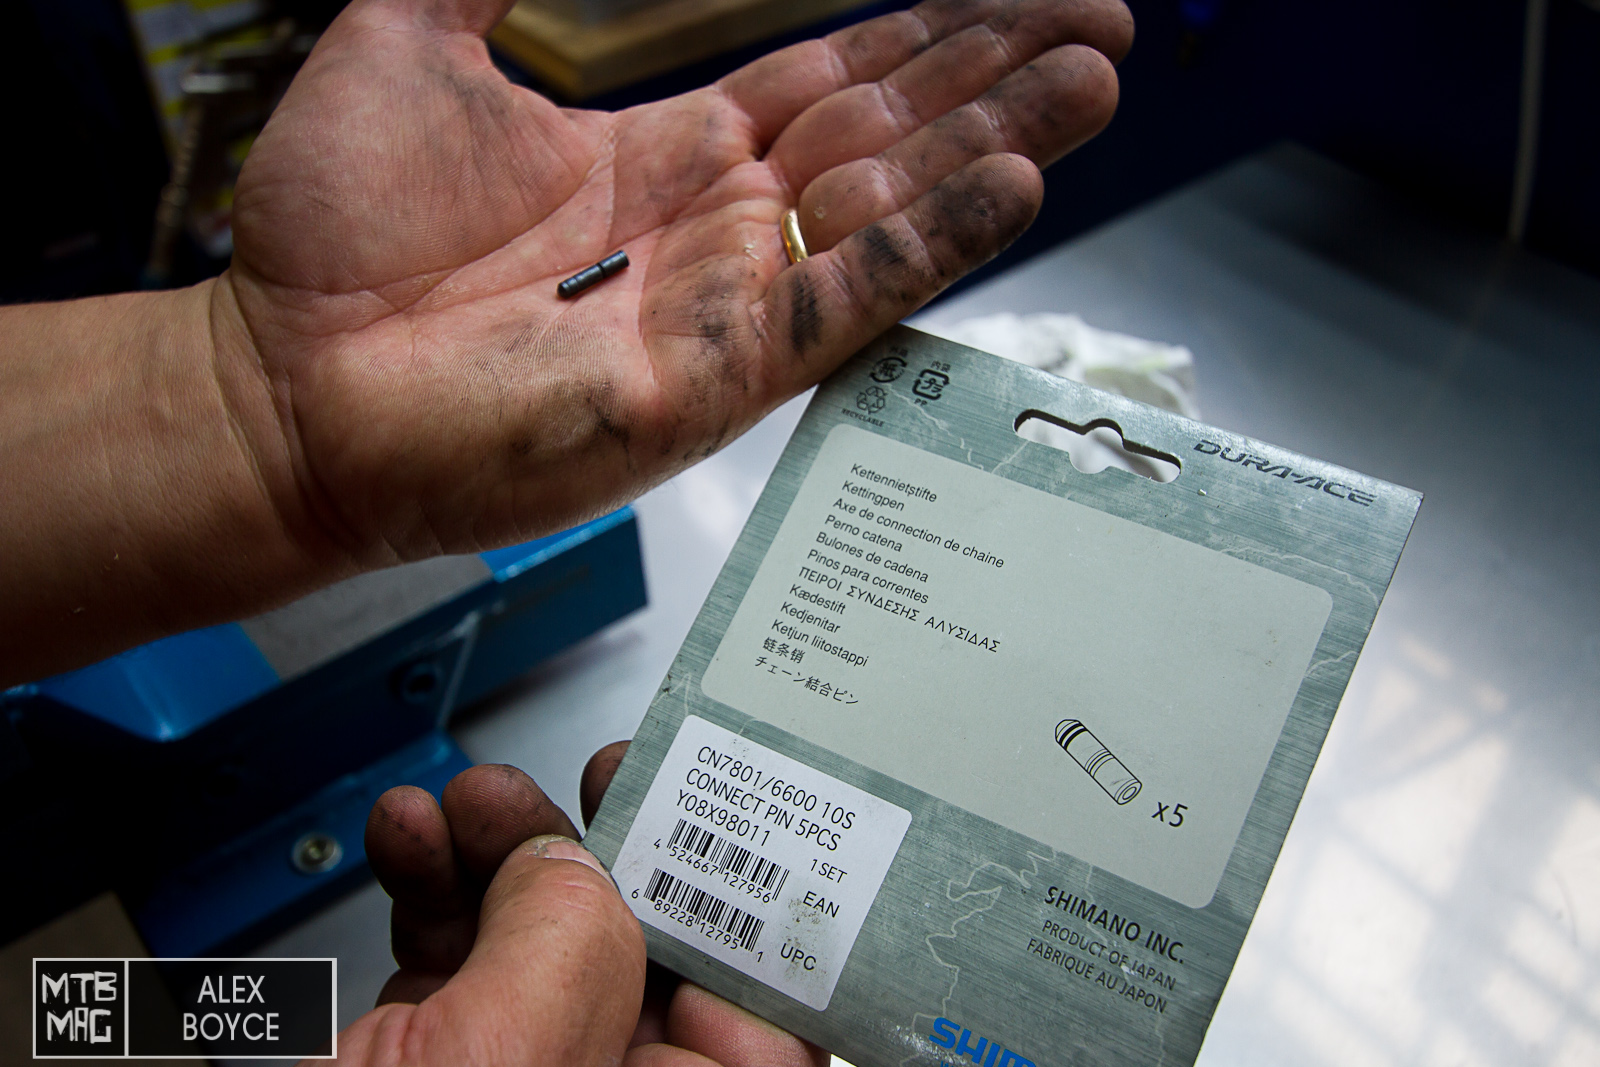
Shimano sells the specific pins according to drive system.
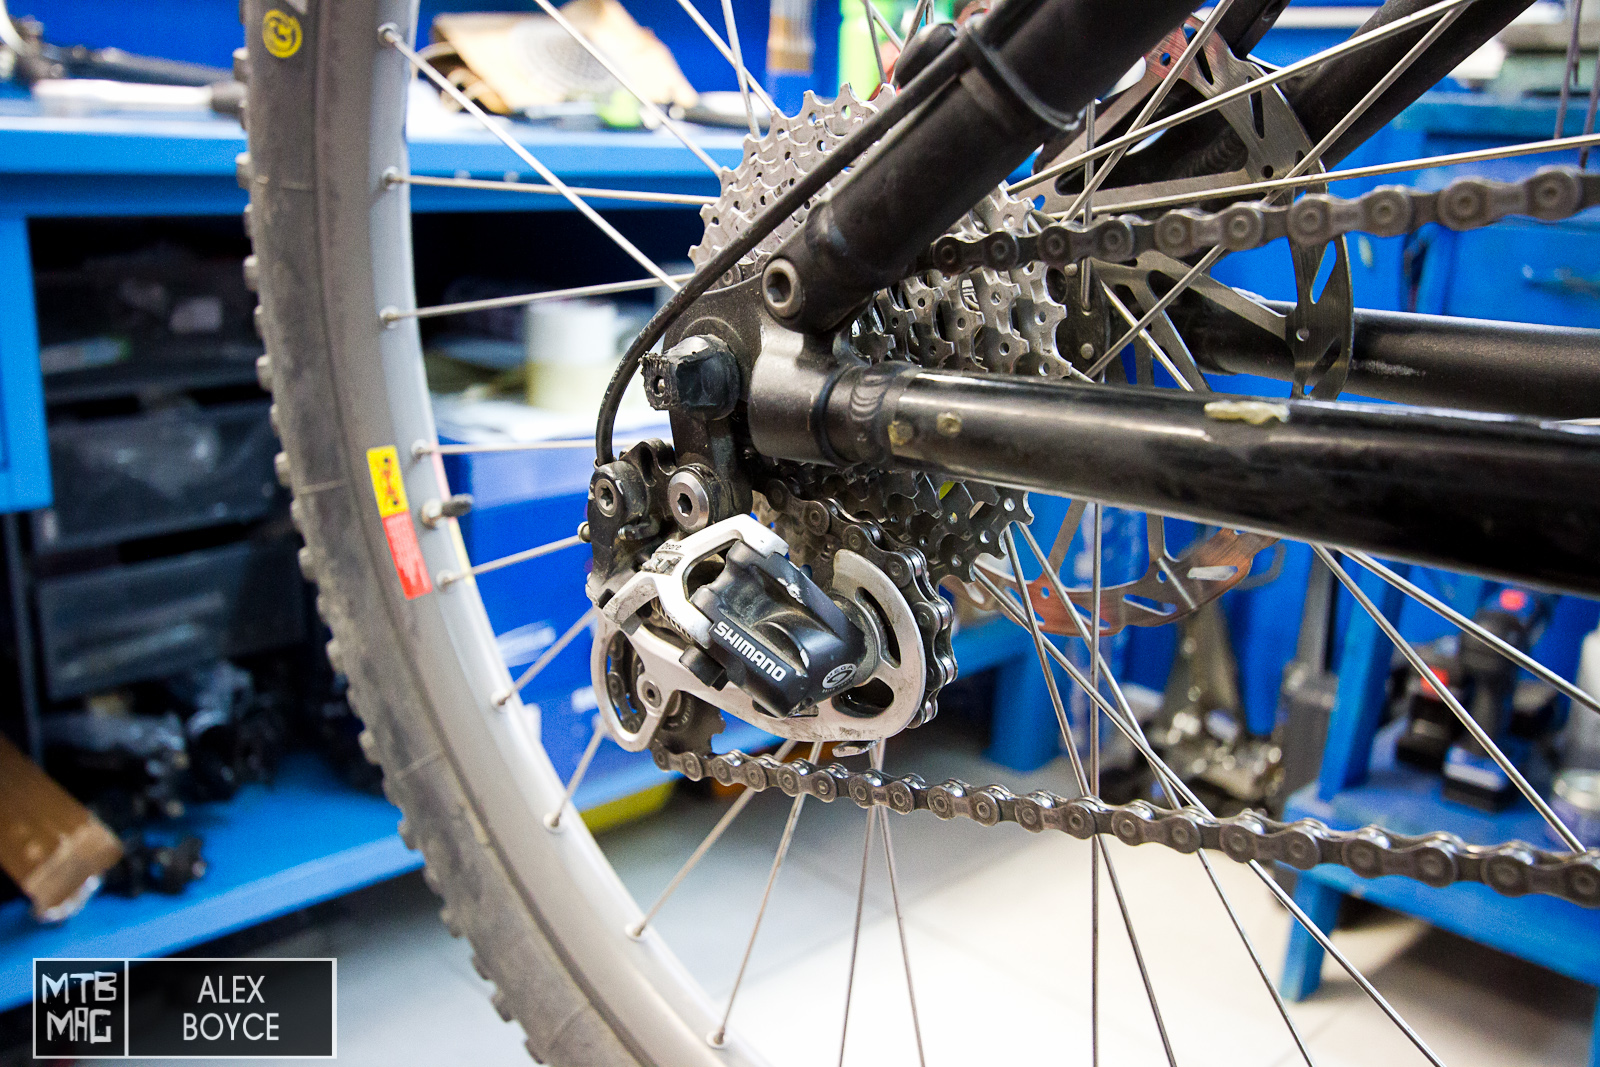
Here we look at chain length setting. The simplest way to gauge chain length for all situations without getting too stressed with is to look at the derailleur in the top gear (smallest sprocket) and the smallest front chain ring. Here we can see the spring on the derailleur is not engauged, the chain will bounce around and probably make noise.

The chain, if one link is removed, will keep the derailleur tensioned just slightly and the length will be acceptable for the chain moving in all gears. This is true for 2 X 10 and 1 X systems. 3 X systems may require a different approach but generally if the range of gears is not too extreme the same rule of thumb applies.
Thanks to Bagnoli Bike for their basic chain maintenance tips.
[ad45]