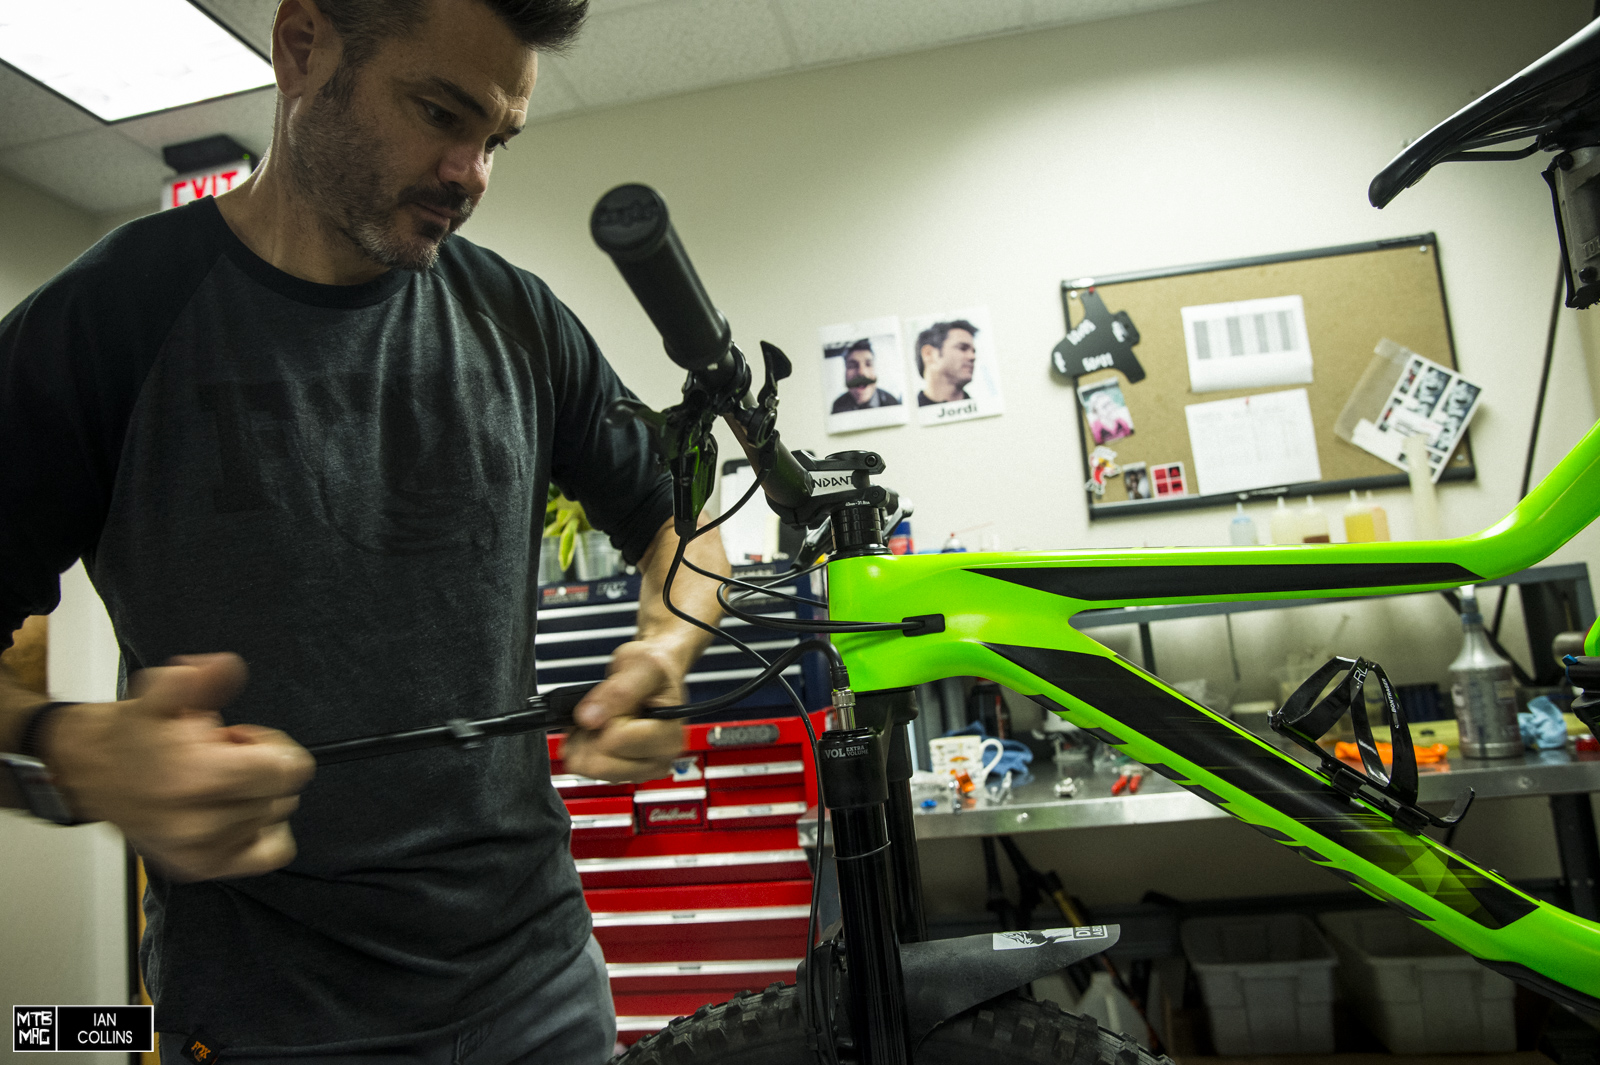
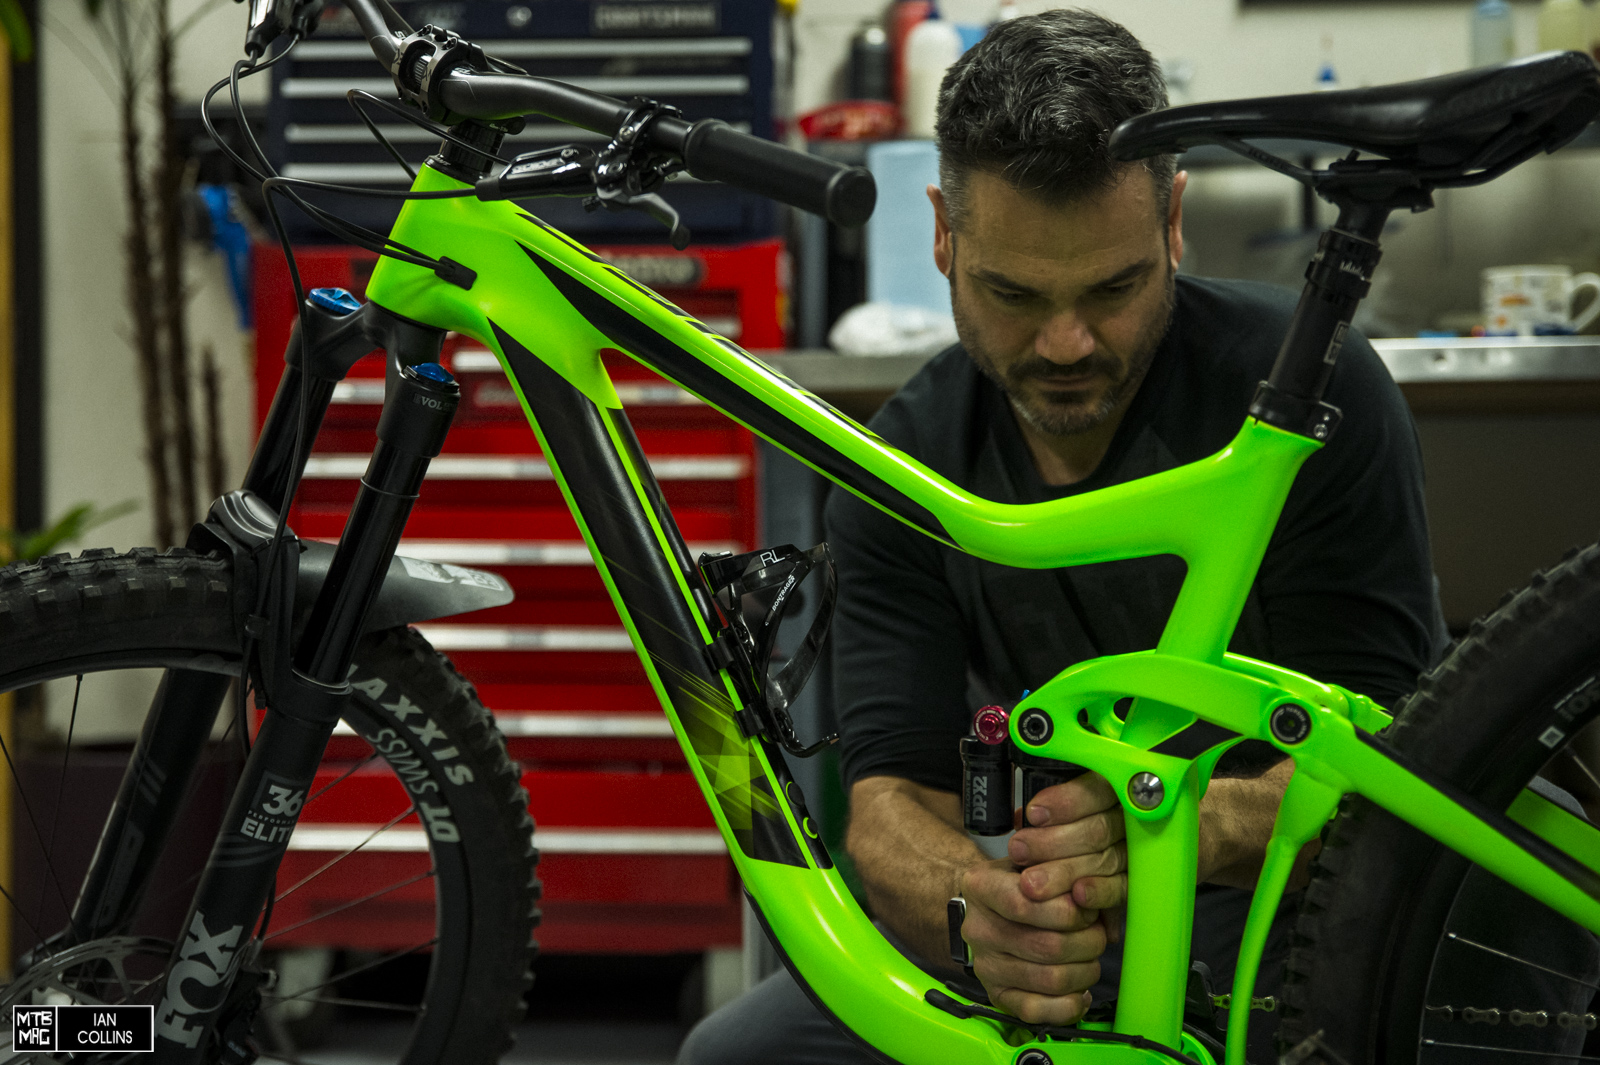
Giant recently sent us their updated Reign for testing – specifically, the Reign Advanced One. It packs a really impressive spec for the price, and while we’ve been pretty much riding it bare bones stock, our tester was looking to get a touch more bottom resistance out of the suspension. Since the editors of the English pages are both based in Santa Cruz, we’re just a quick 15 minute drive to FOX’s headquarters in Scott’s Valley, CA. We met up with the World Cup DH race tech/legend known as Jordi Cortes for a quick one-on-one and some pointers on air spring tuning.
Tools Required
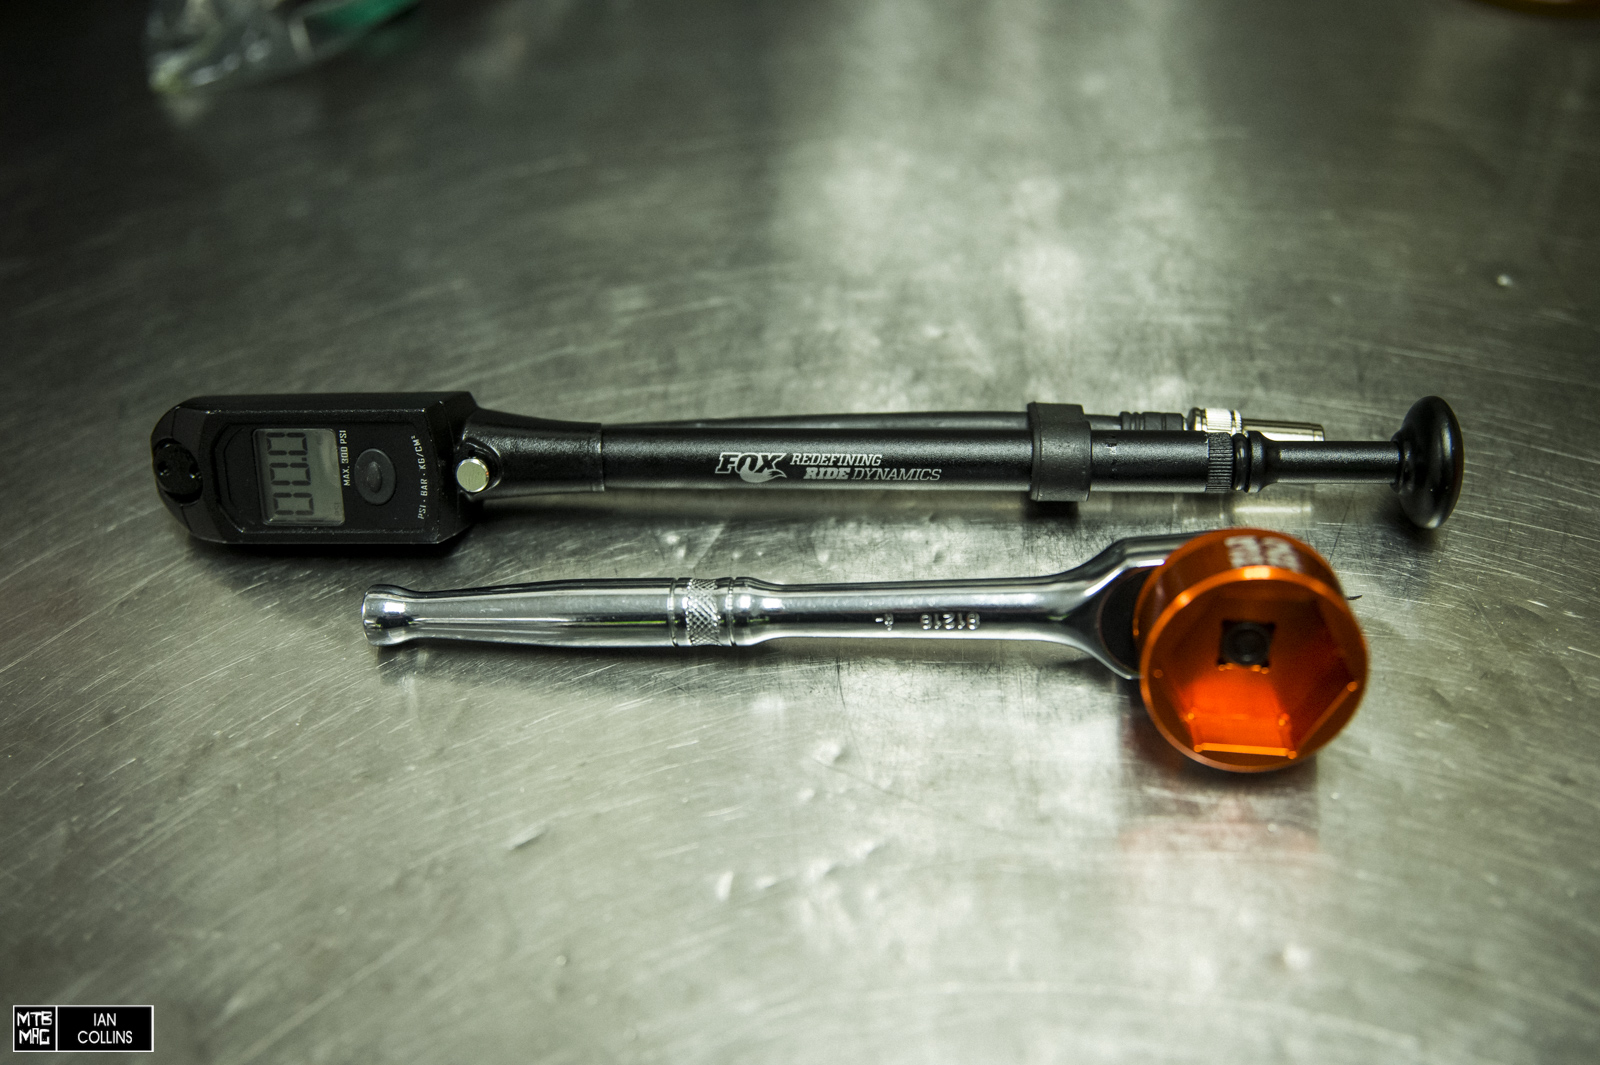
All you really need to tune the air spring on this setup is the appropriate socket and a shock pump. In this case, the FOX 36 requires a 32mm socket. The required size varies depending on the fork model, but you can purchase the lightweight alloy sockets for around $25. On the rear shock, you should be able to unthread the air can by hand, but if it’s super tight you might need a strap wrench which should cost a maximum of $10.
Fork Tuning
**For the full rundown on fork tuning directly from FOX, it’s best to refer to this page.
Safety first! Always let the air out of your suspension before you begin disassembly. You’d think that this goes without saying, but it doesn’t.

Depress the valve using the cap until it stops hissing.
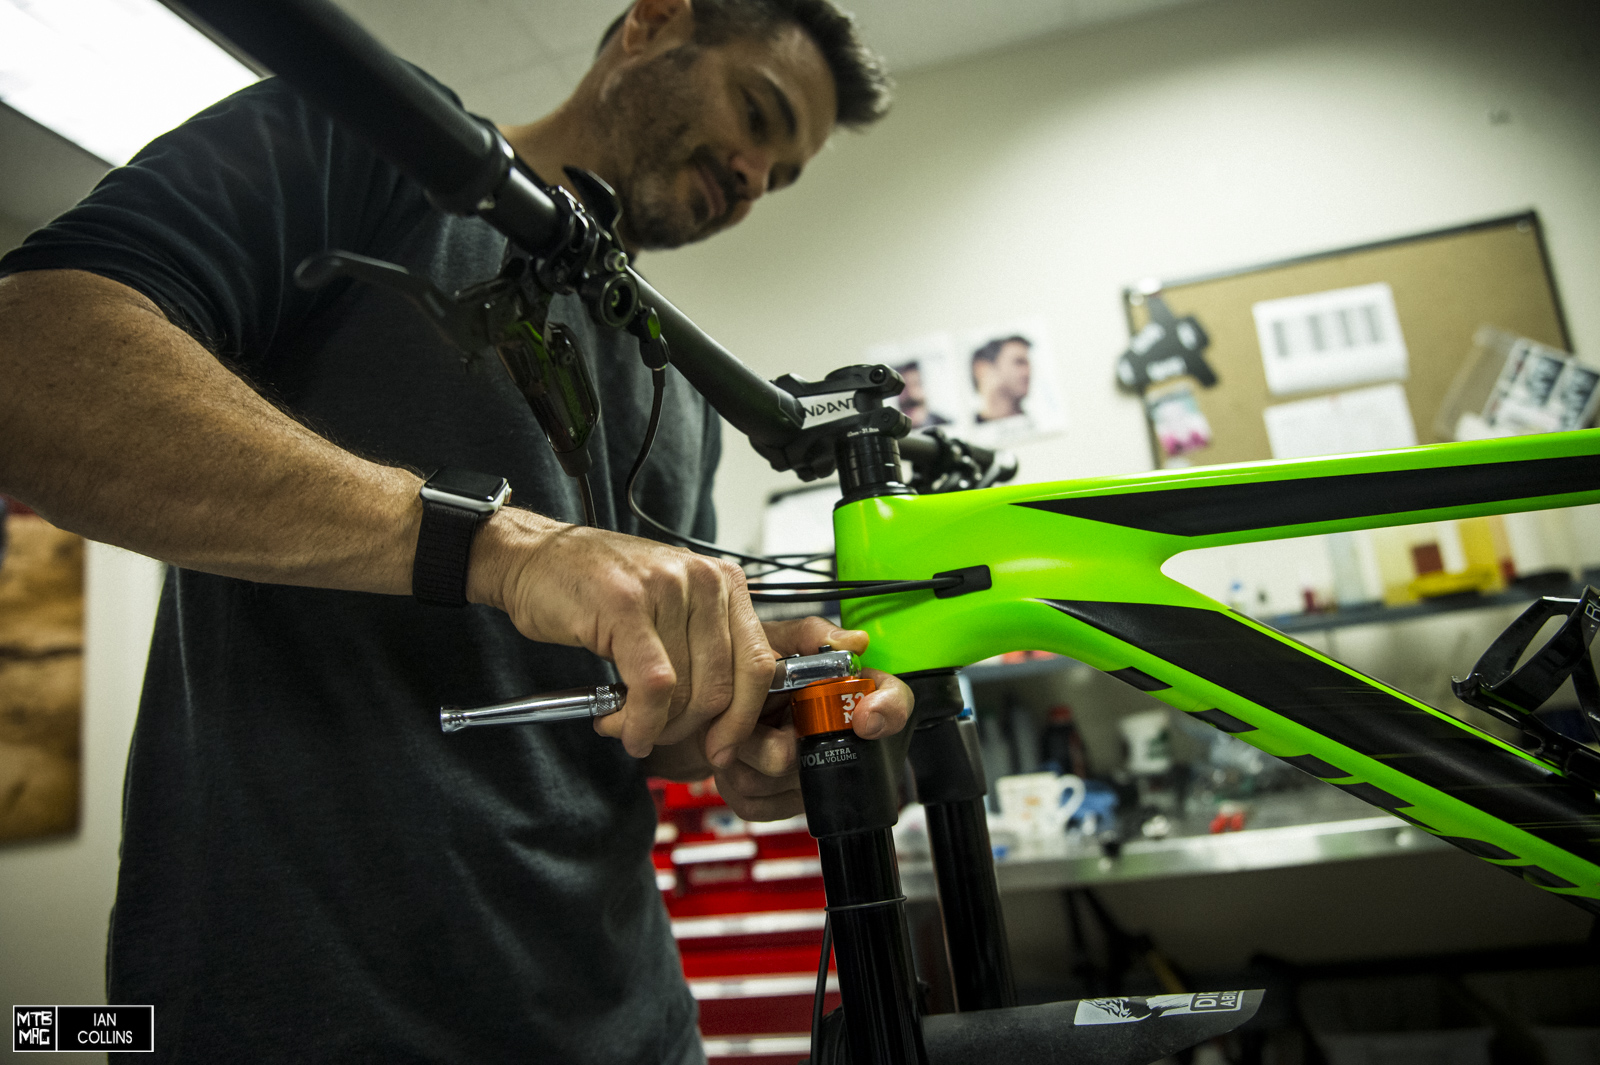
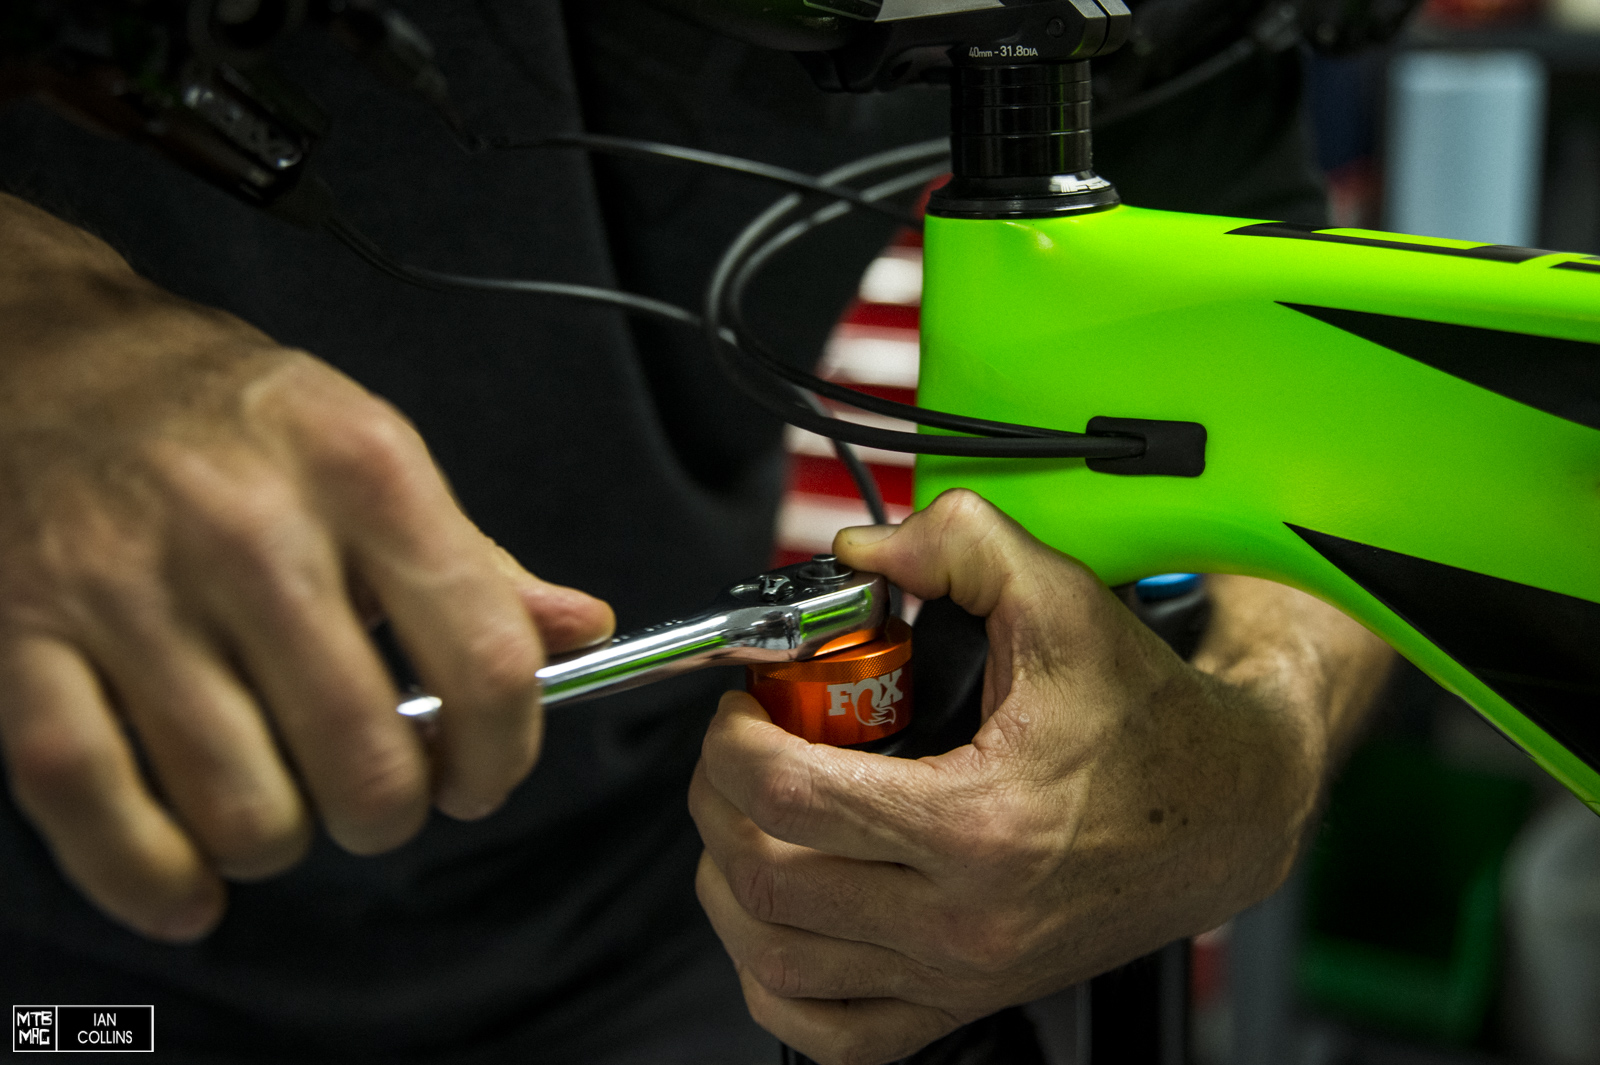
Remove the top cap. Despite the fact that it’s a fairly large socket, there isn’t a ton of purchase so do this with two hands to avoid beating up or rounding out the cap. Lefty loosey!
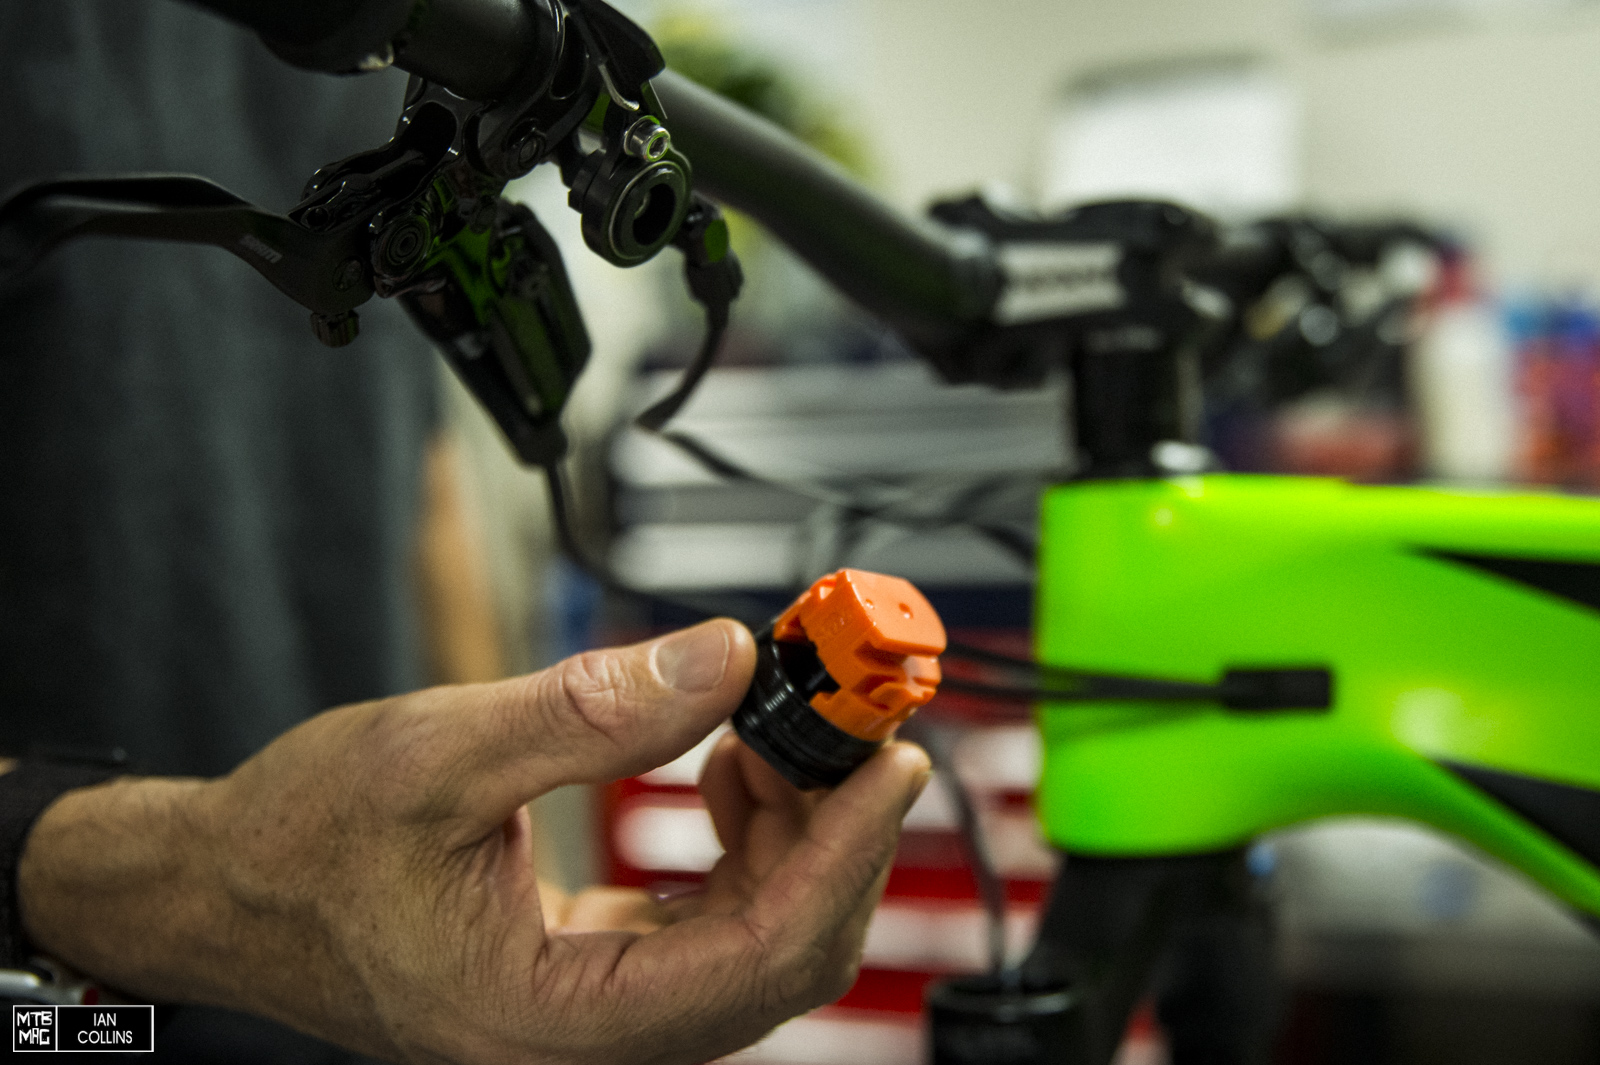
The 36 Performance Elite that came on our Reign shipped with one volume spacer. Adding more spacers (up to a certain extent, depending on fork model) will provide a more progressive feel. FOX’s volume reducers click into place and stack on top of one another. Some brands’ reducers thread together, and some brands use oil to reduce volume. While it varies from manufacturer to manufacturer, the concept is the same: adding physical volume to the positive air chamber reduces its size, thus providing more bottoming resistance.
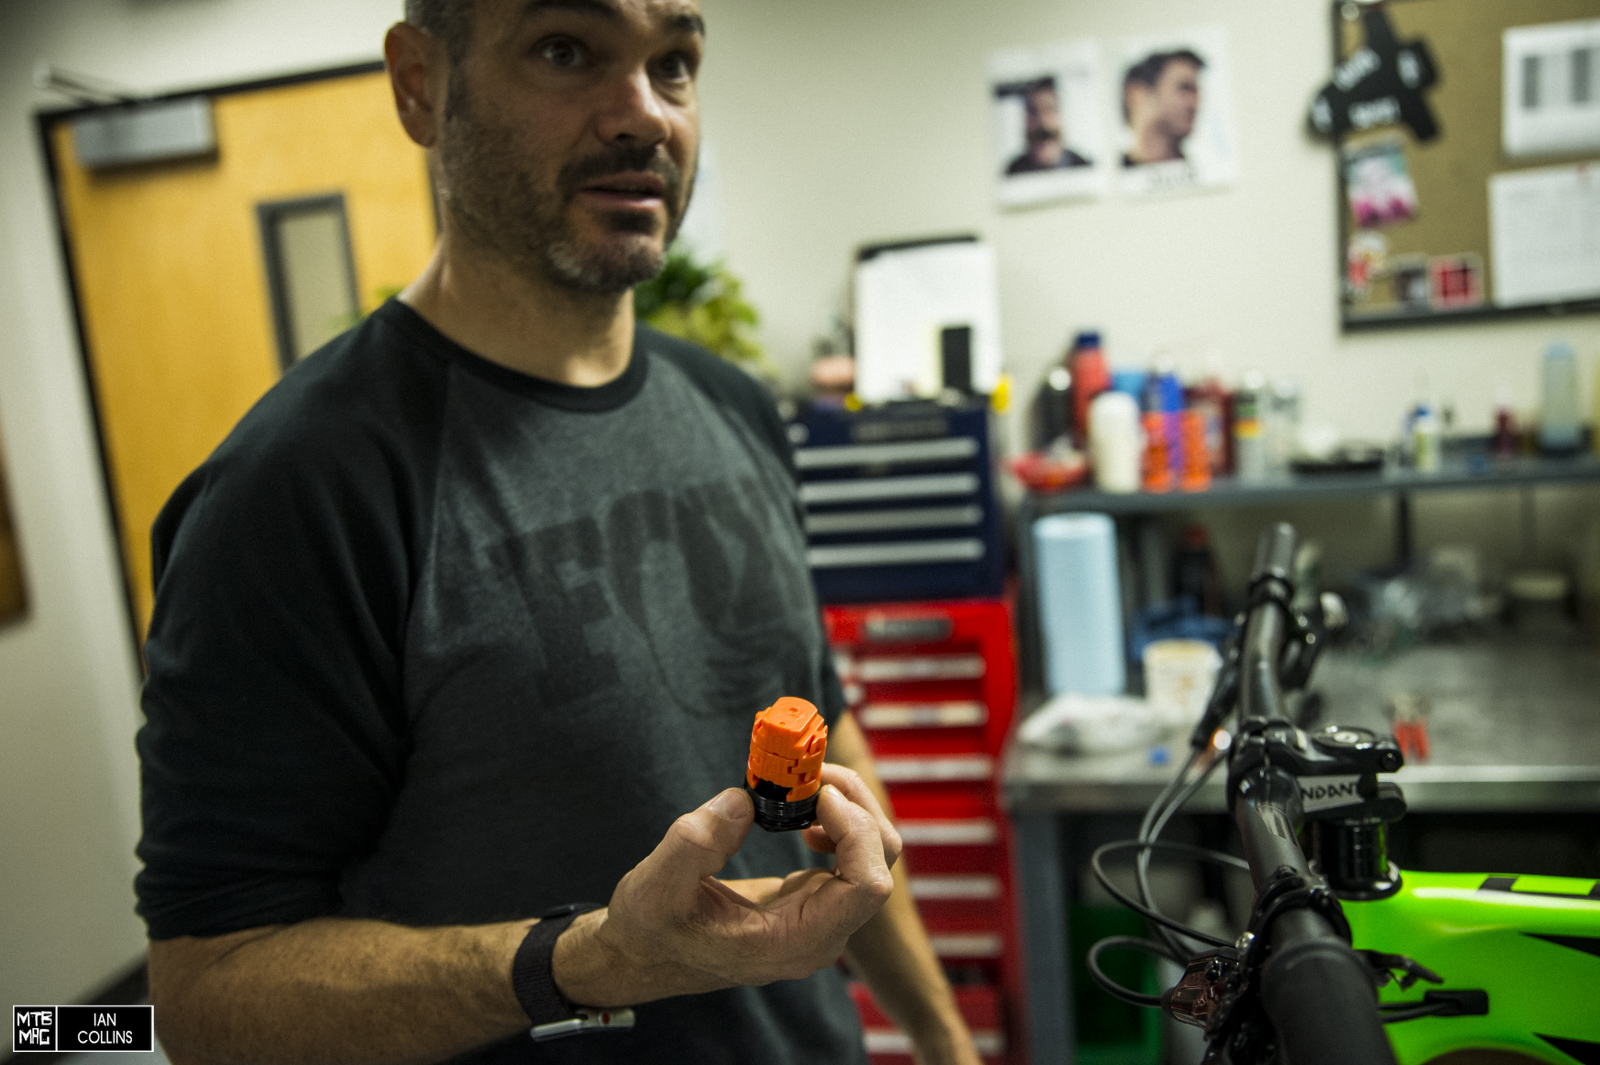
Jordi says two reducers should be the hot ticket. It’s best to approach tuning one step at a time. That can be interpreted as one volume reducer, one click of damping and beyond. If two isn’t enough, then we can move to three. Spoiler alert: Jordi was right – two was enough.
Tighten the top cap…Righty tighty, and don’t go ham on it!
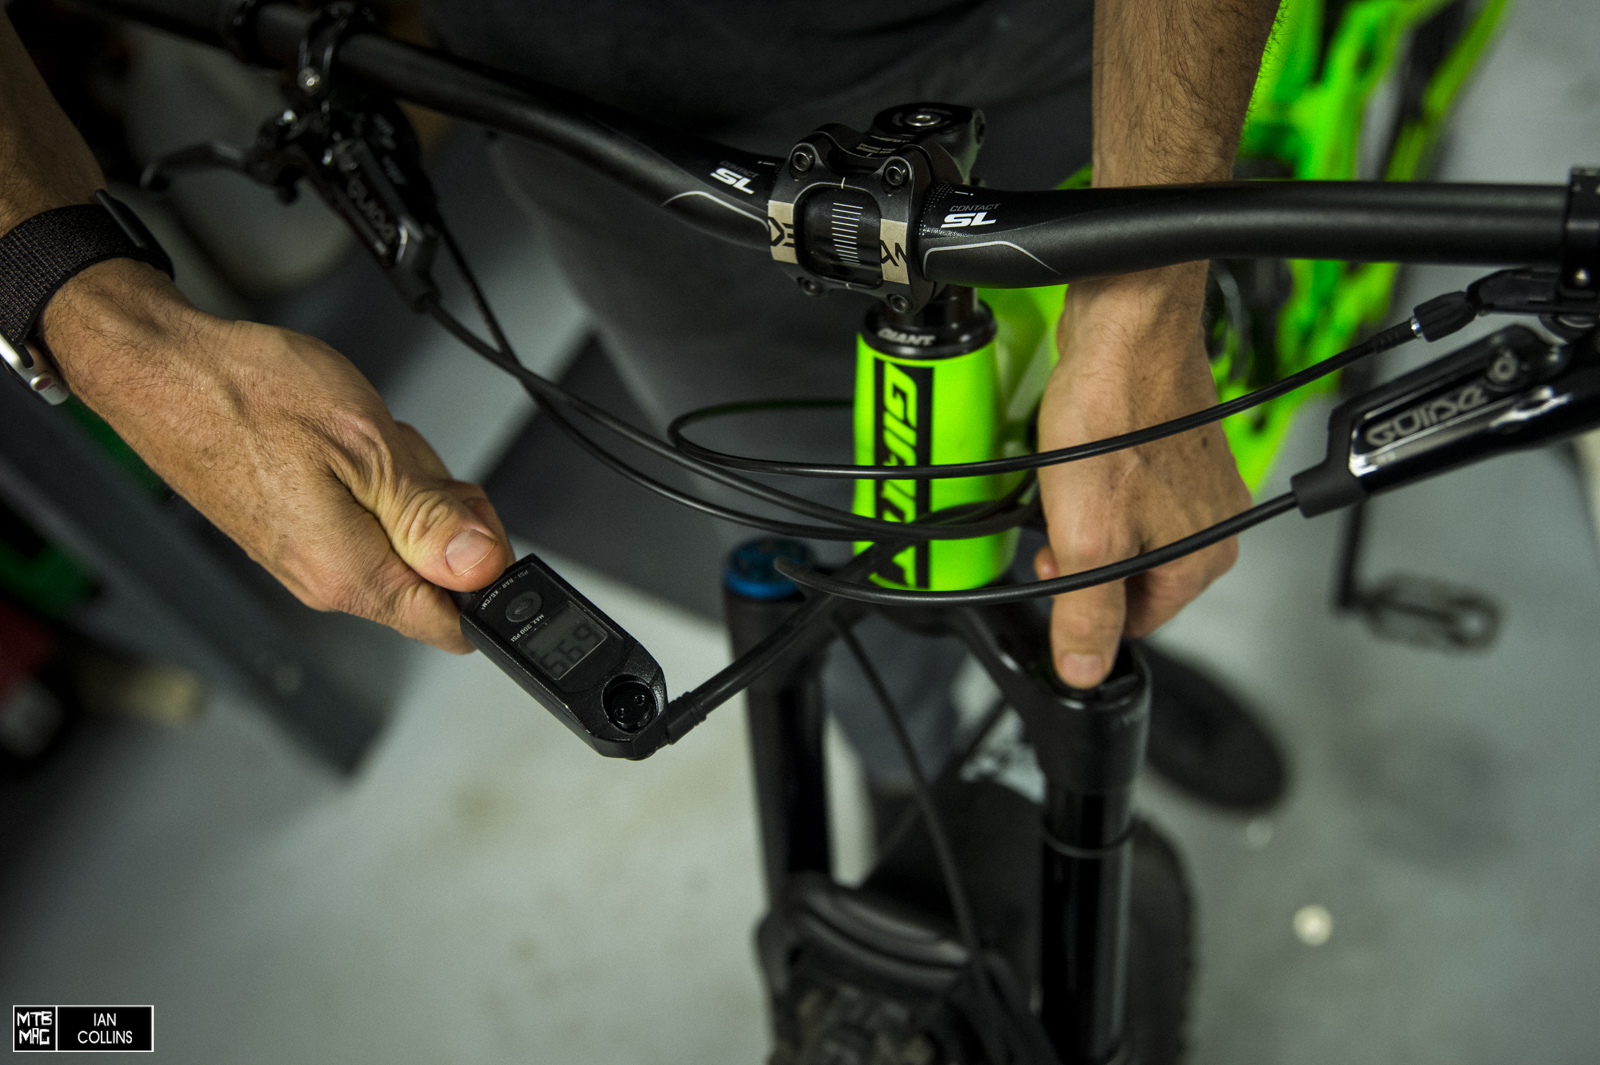
Inflate the fork.
Before we can set the exact pressure, you have to balance the positive and negative air chambers in the fork. When you first inflate it, all of the air is in the positive spring. Slowly compress the fork (initially, it will feel really, really firm)…After a handful of compressions, the air will begin to pass through the transfer port and equalize between the +/- chambers. Jordi answered our age old question: “Is it OK to leave the shock pump attached during this process?”
The answer is YES, but DO NOT do it on the rear shock as the pressure can be too high.
Jordi recommended starting right back where you left off before deflating in the first place. Although it might be a bit firm, you can always work your way down from there. Detach the shock pump and go feel the fork out. As you add reducers, you may find yourself backing off on compression and increasing rebound damping slightly…but remember: one click at a time!
Rear Shock Tuning
**For the full rundown on fork tuning directly from FOX, it’s best to refer to this page.
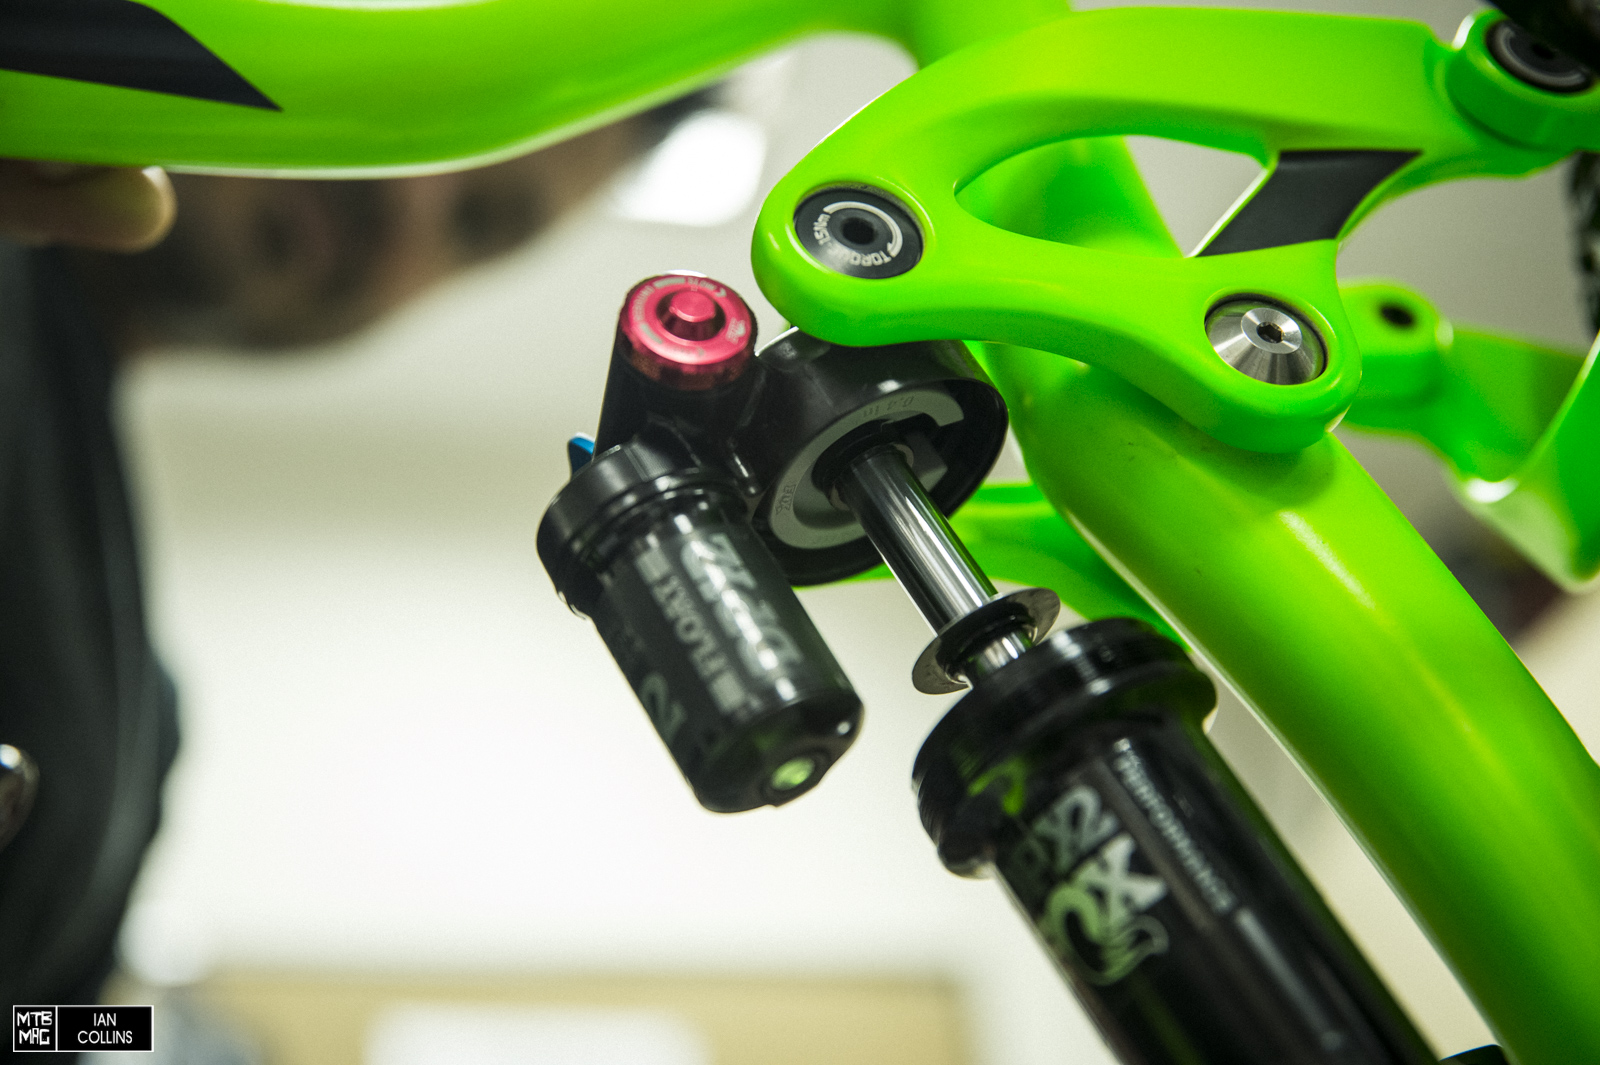
The Reign has a sharply rising rate right out of the gate, but the DPX2 that it ships with was feeling like it could use just a touch more bottoming resistance so we wanted to reduce the volume of the positive air spring, thus manipulating the spring curve to have a more progressive feel.
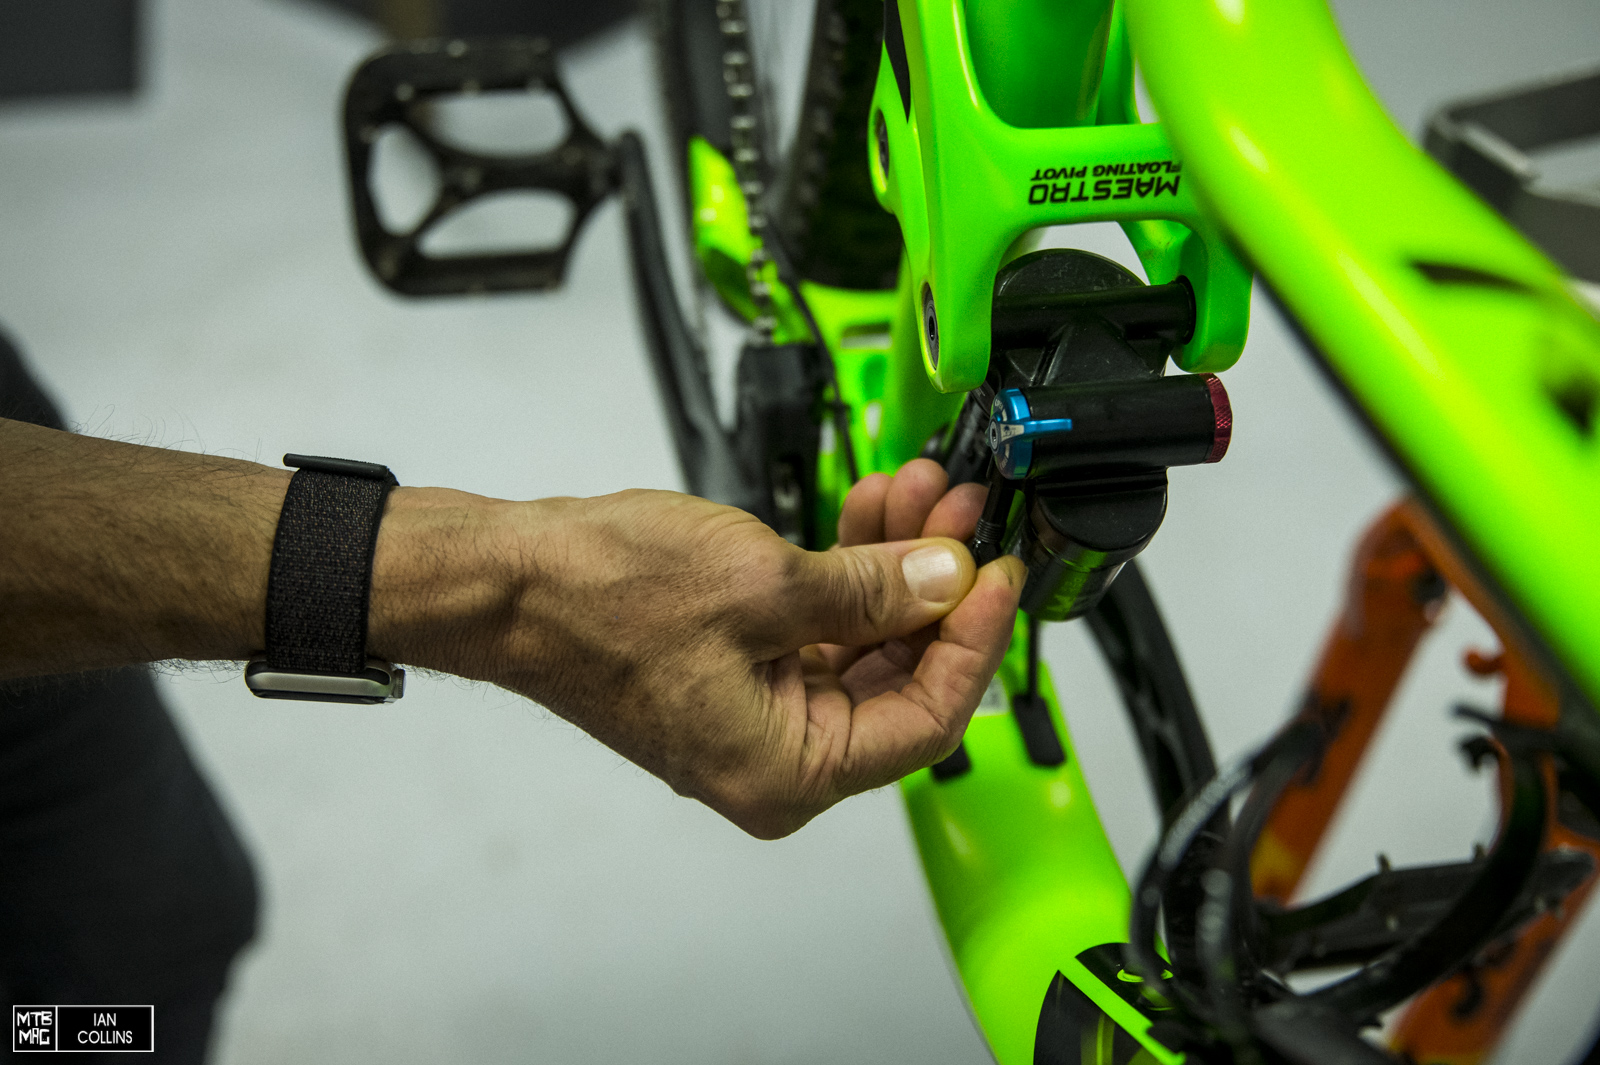
Once again, safety first! Deflate the rear shock all of the way until it stops hissing. Just like with the fork, you can use the valve cap to do this.
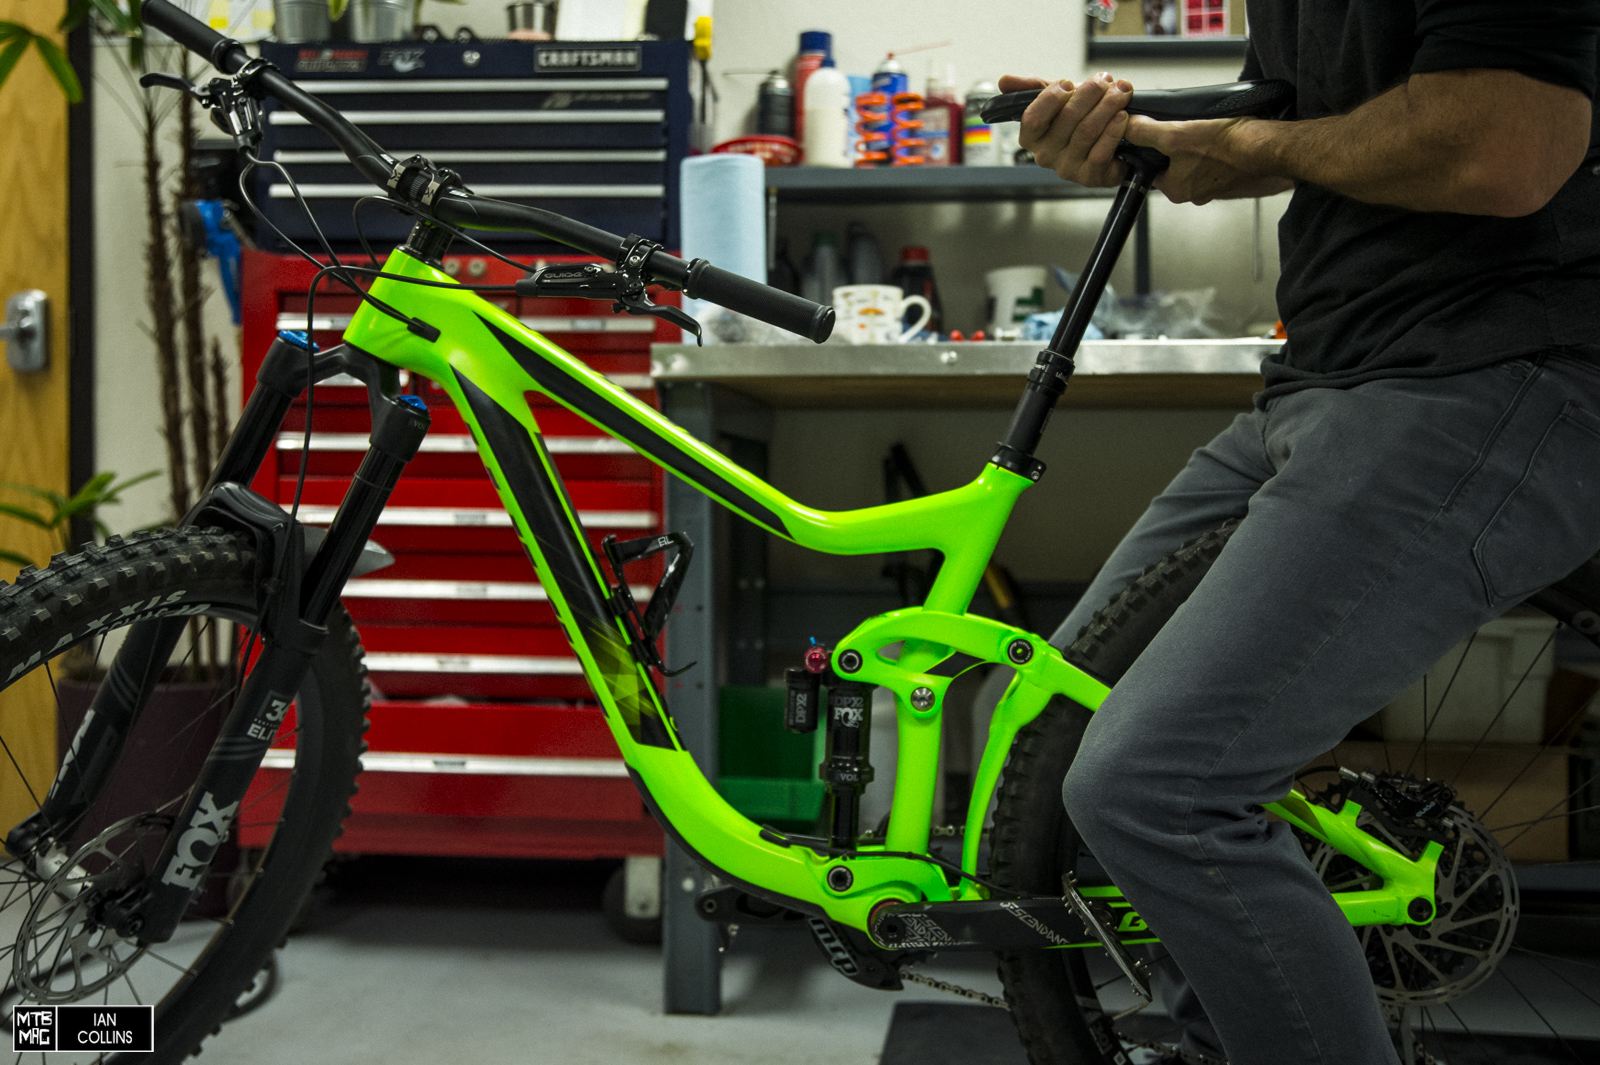
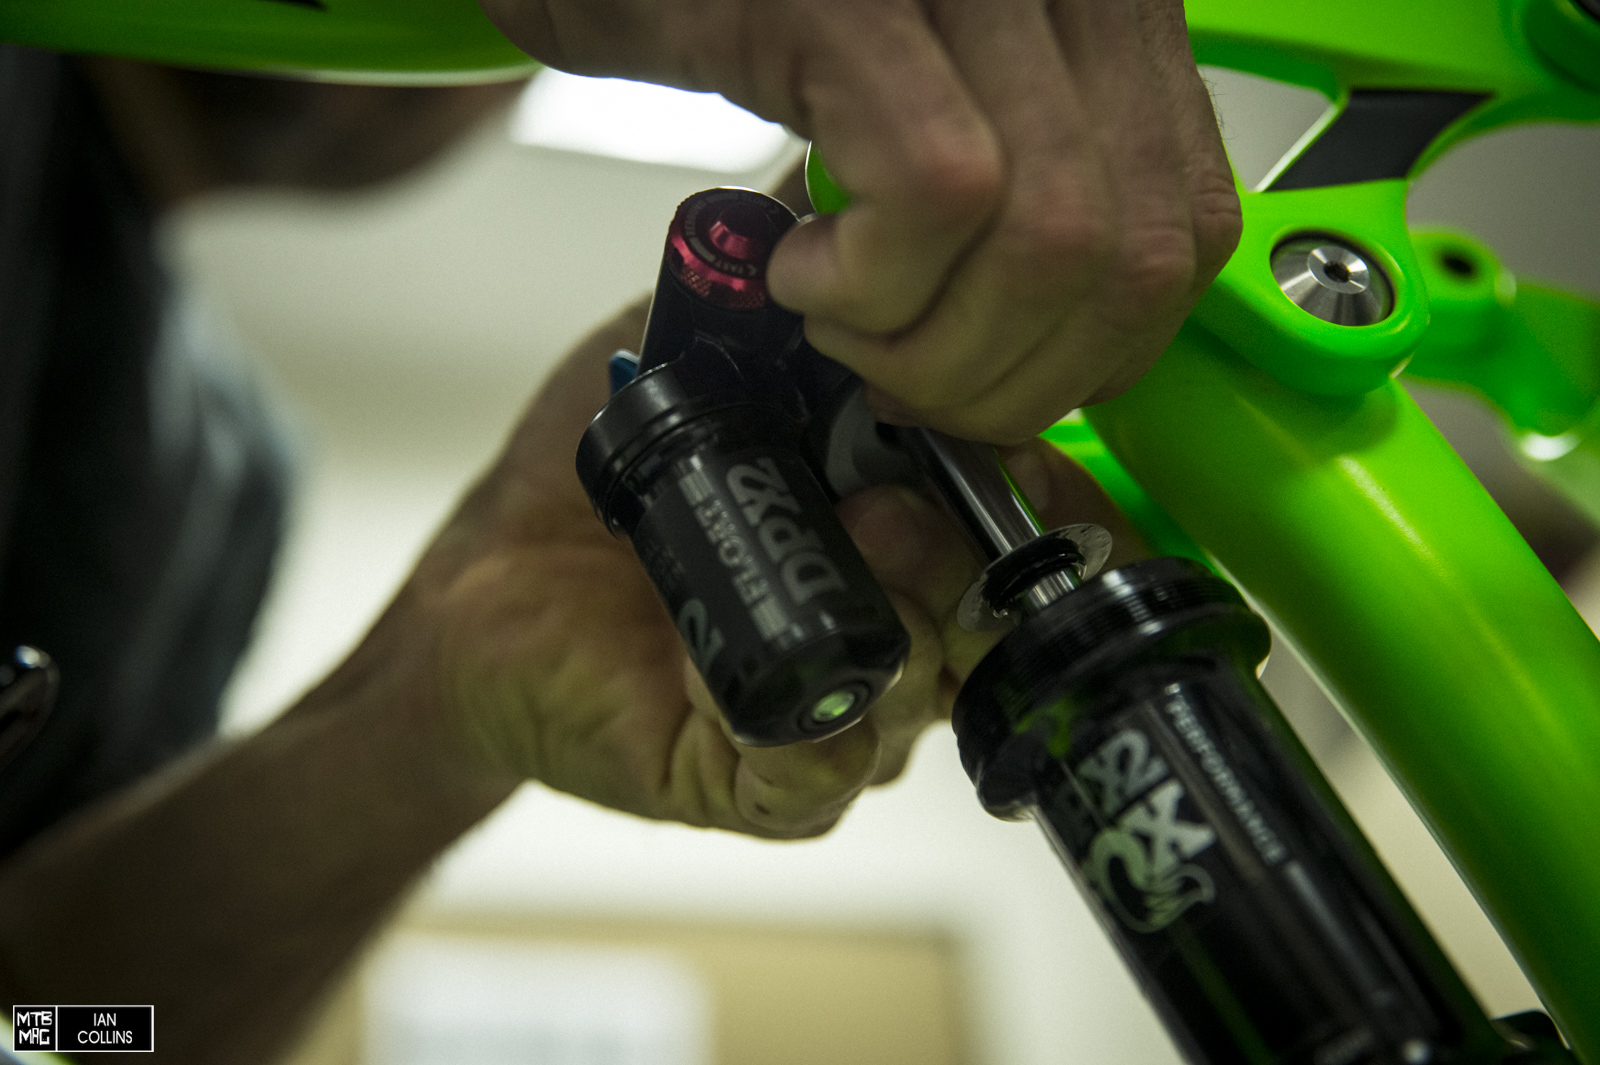
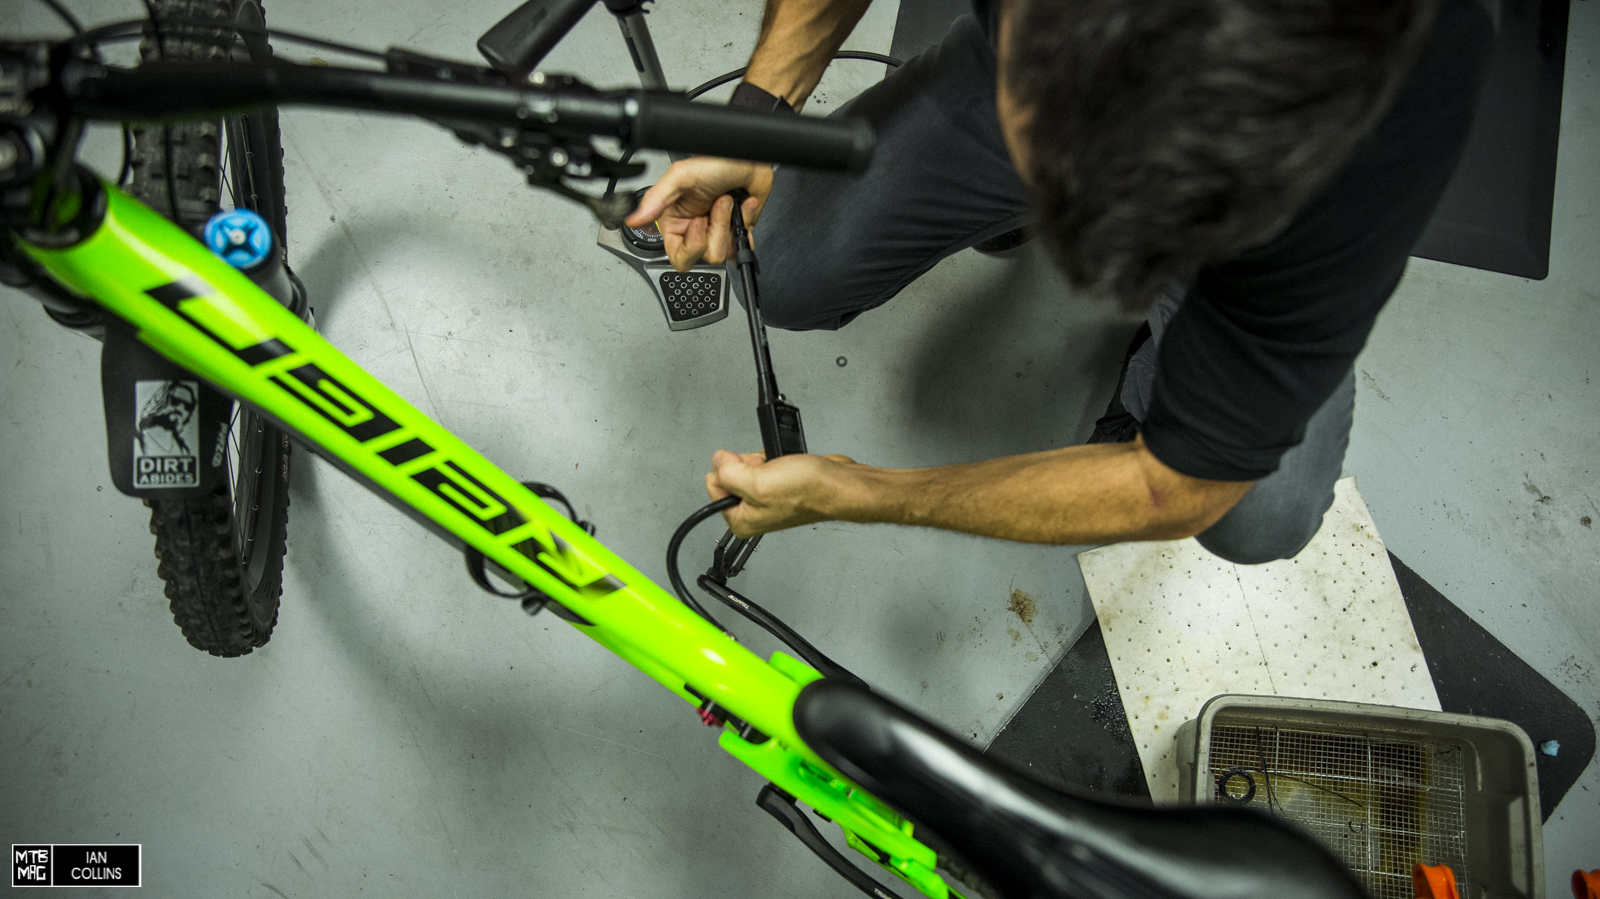
When you deflate the rear shock, the positive chamber empties, but the negative chamber is still pressurized and the shock will be stuck down. As you can see above, Jordi pulls up on the saddle while sitting on the rear tire, thus extending the shock. By doing this a few times, it equalizes the +/- air chambers. Next, depress the air valve ONE MORE TIME to let any remaining air out.
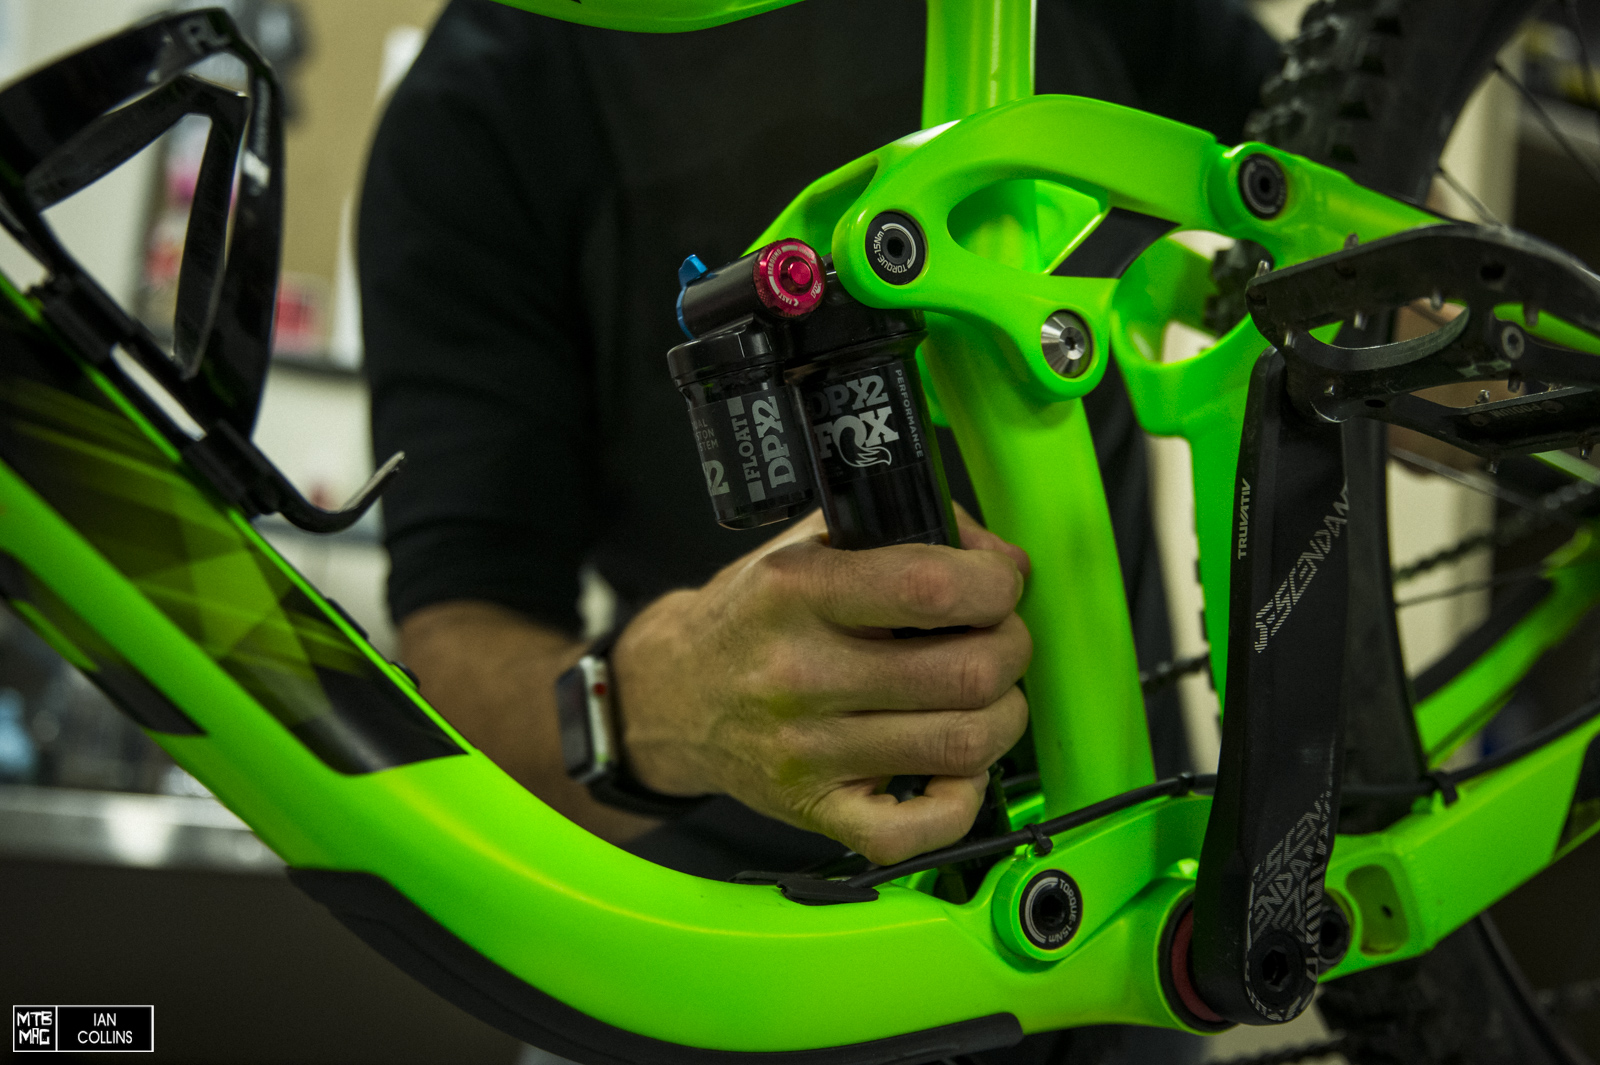
You should be able to unscrew the air can by hand. If you have a hard time, make sure the surface is clean and that your hands aren’t greasy. You can wrap it in masking tape for a bit of extra grip, or if it’s really stubborn, you might need one of these.
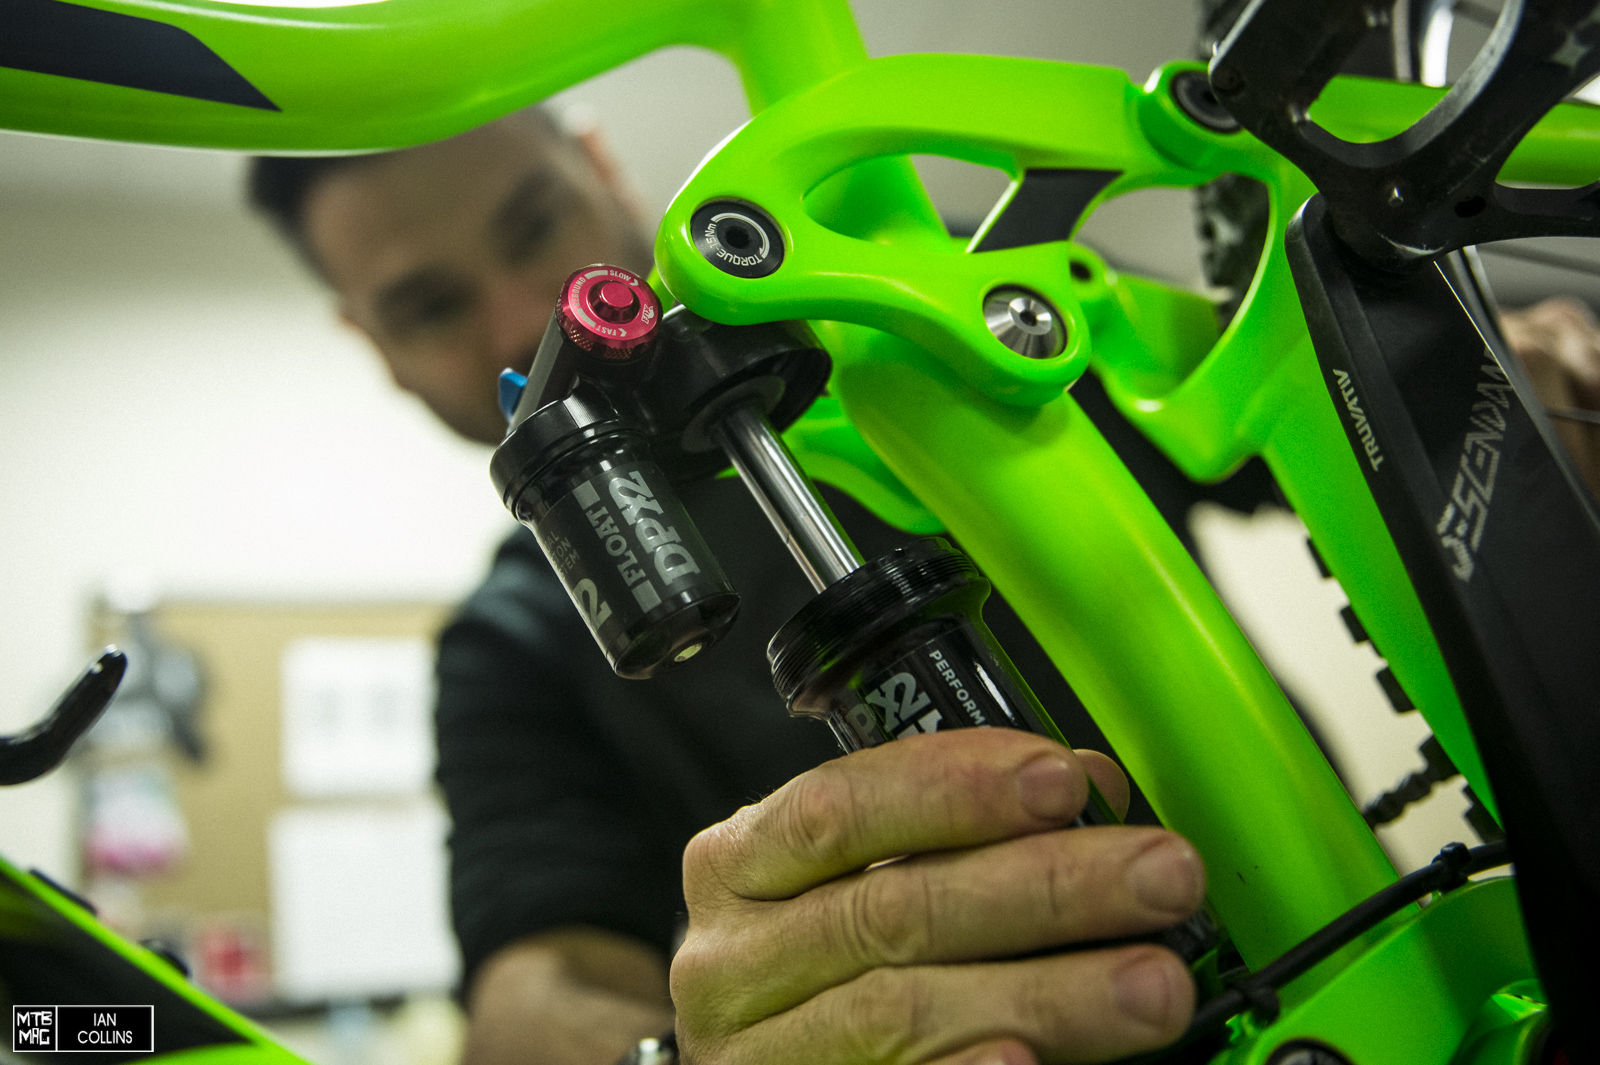
Pull the air can down. There will be some remaining air in the negative chamber which will cause some resistance.
In the shock we found no spacers. We were surprised that the Reign has such sharp suspension curve without even using volume reducers at all.
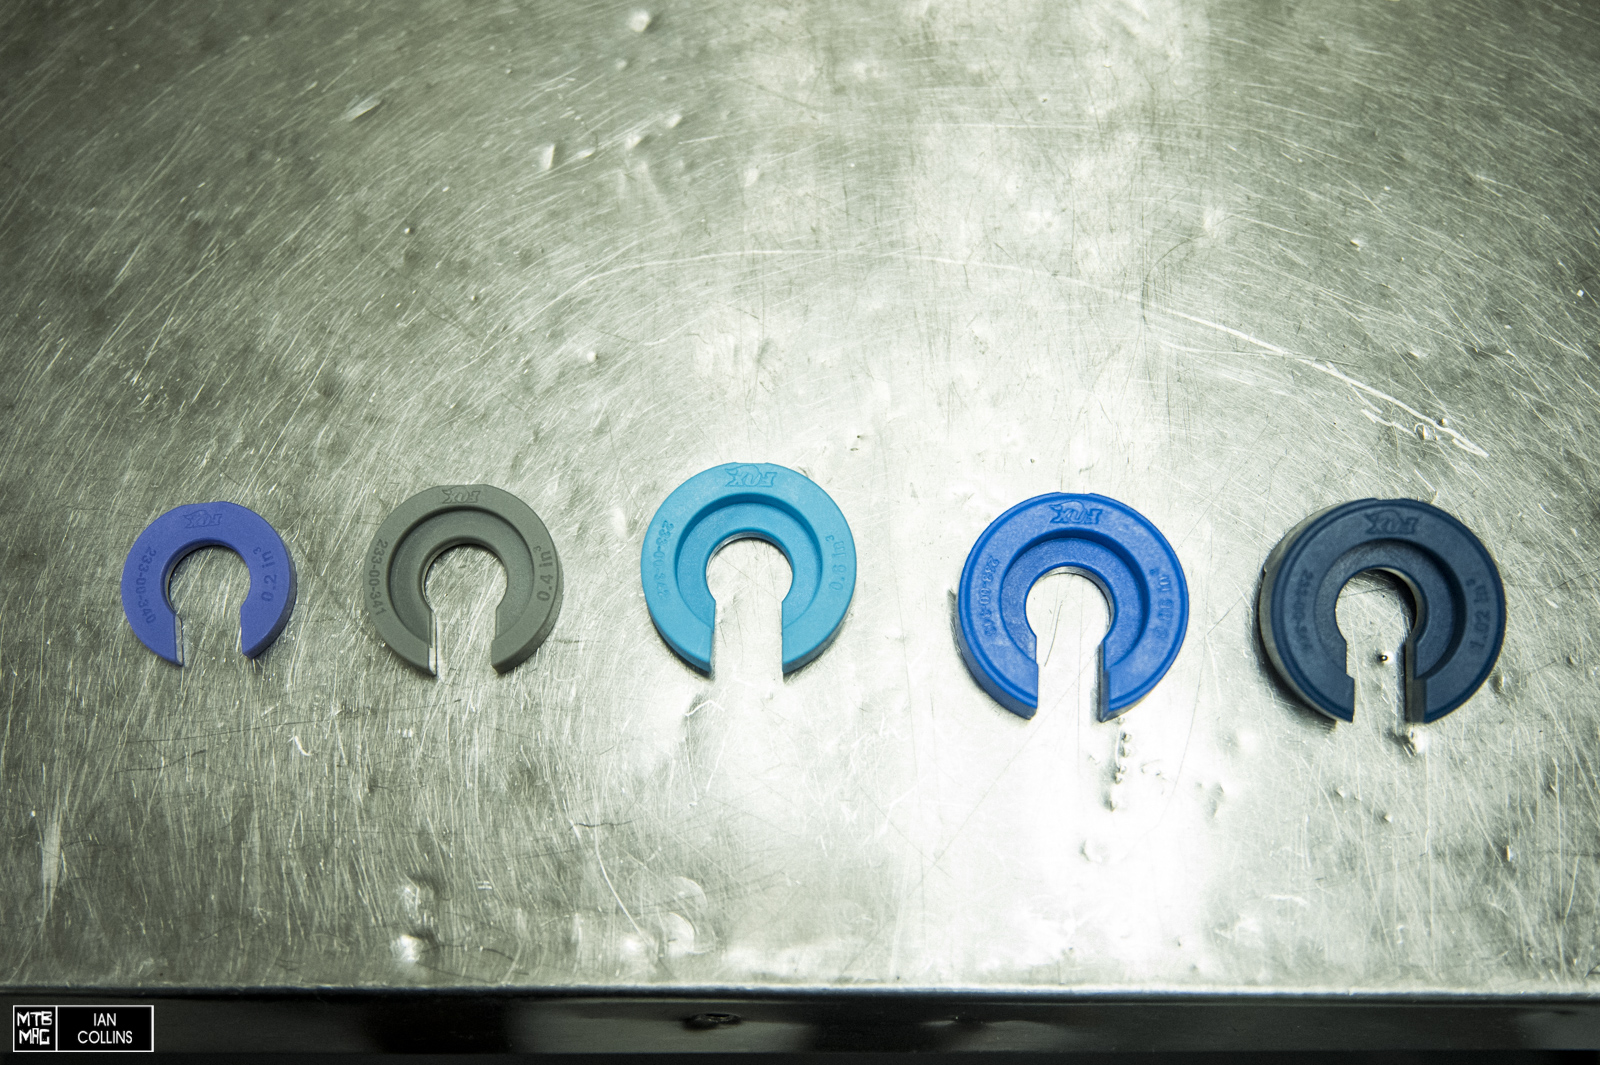
With some past models, FOX used stackable bands to reduce the volume. With the DPX2, you DO NOT stack the reducers. They come in 5 different sizes; the volume is printed on them for the sake of reference.
Because the volume reducers aren’t circular bands like they are on Float X2, on many bikes, you won’t even have to take the rear shock off of the bike to install/remove them.
Per Jordi’s recommendation, we opted for the second to smallest reducer and he sent us home with the smallest one as well as the next size up. It’s nice to be able to dabble.
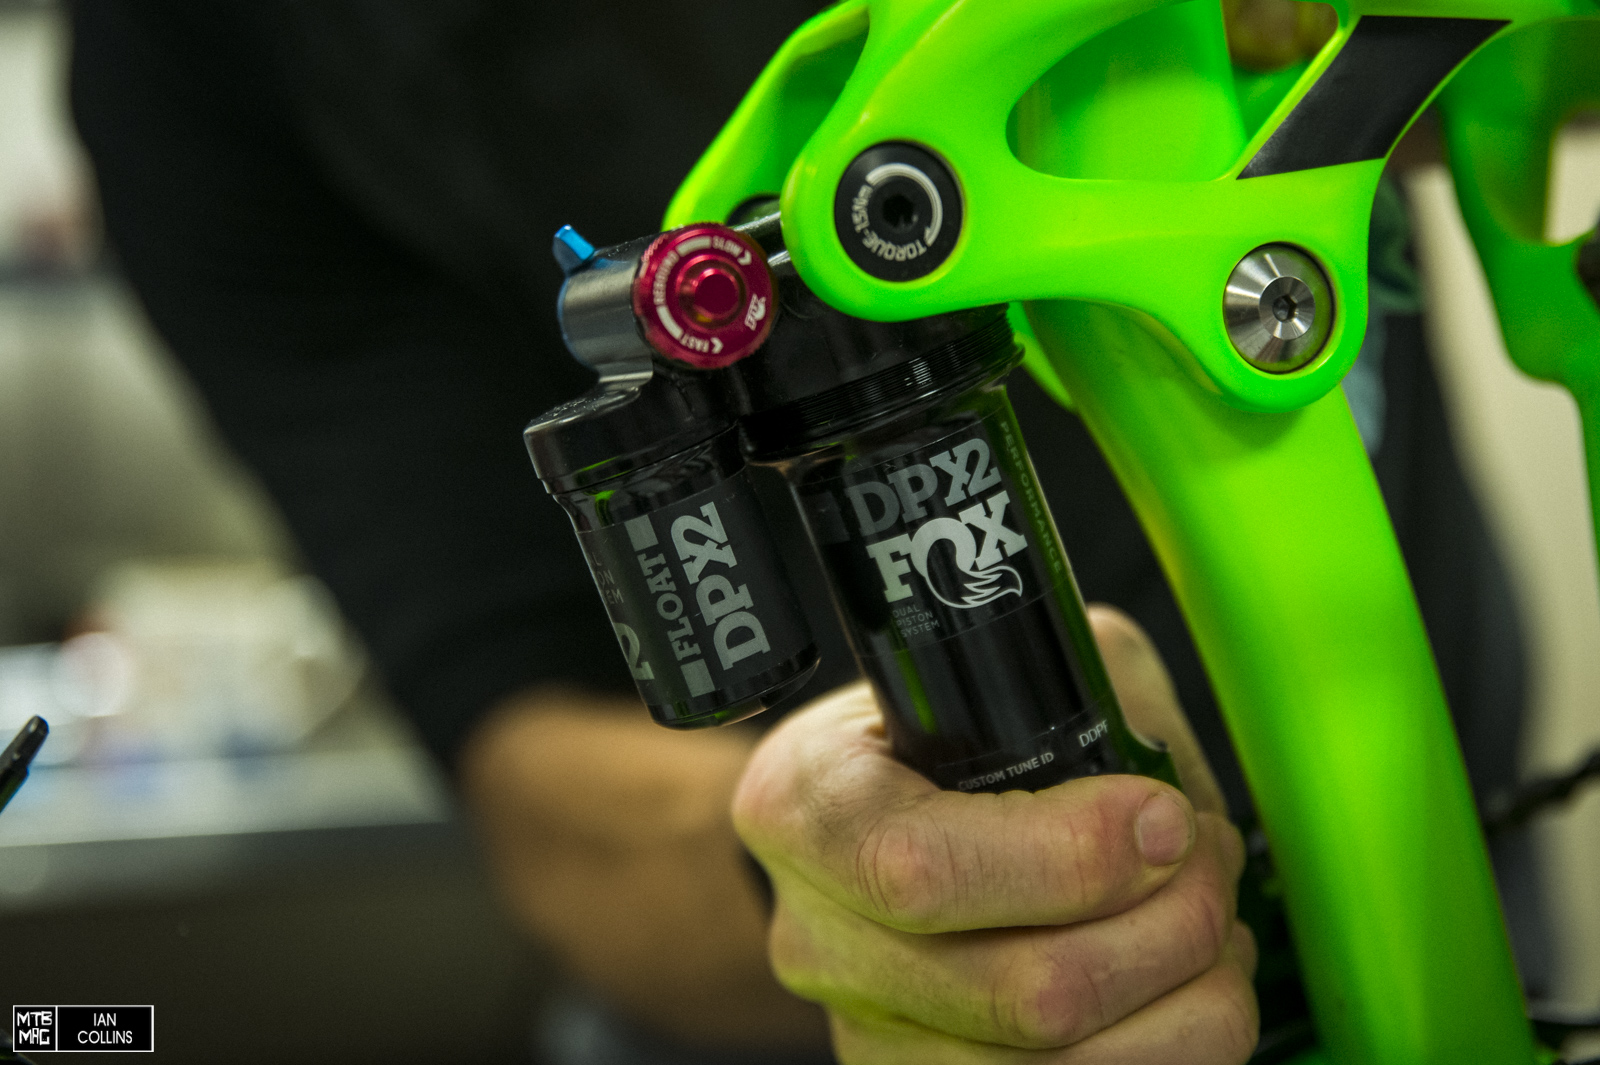
Thread the can back on and make sure it’s tight. You should be able to at least have a ballpark idea by looking at the sticker. If the sticker doesn’t line up, you probably screwed something up.
Two hands and righty tighty!

Inflate the rear shock. In the picture above, Jordi is using a high volume shock pump – he inflates and deflates more shocks in a week than you will in a lifetime, so he needs one…you probably don’t. The point is, don’t confuse this with a tire pump.
Now, just like we did with the fork, we have to balance the positive and negative air chambers. The rear shock will feel super firm and not want to move initially. With the seat lowered, slowly compress the bike multiple times by sitting on it. You will feel the transfer port open up and let air out of the positive chamber and into the negative chamber. Once that happens the two chambers have equalized. The last step is to give it a few more bounces and then set it to your preferred pressure.