[ad3]
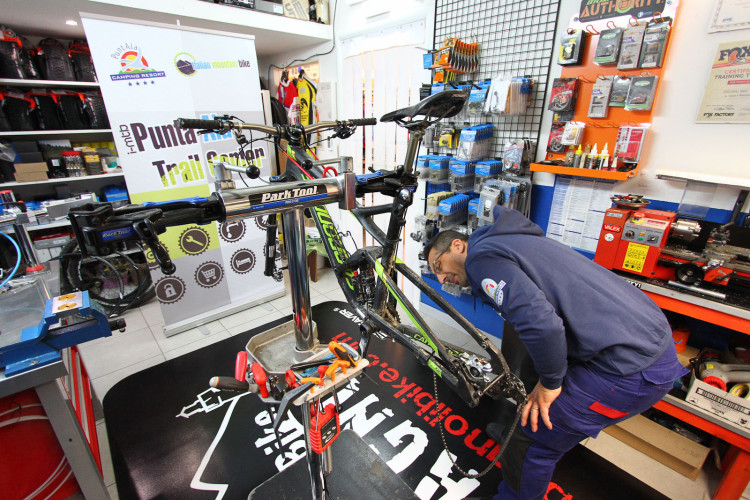
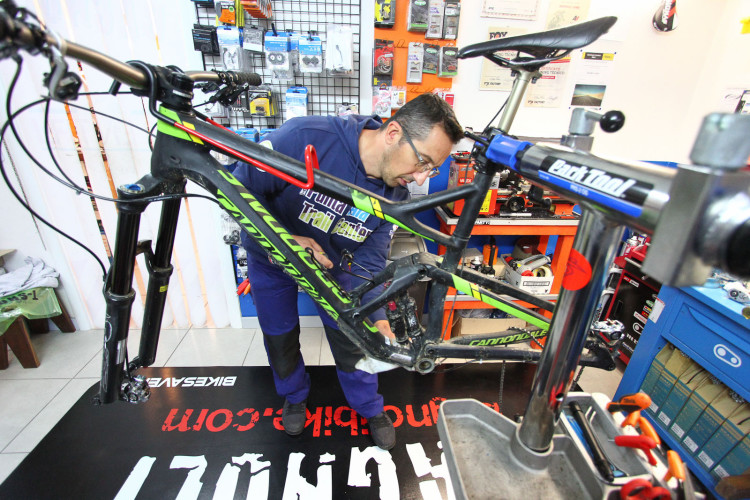
In the last years most bike frame manufacturers have moved to press fit bottom brackets. The movement to press-fit has been both loved and loathed. The main reason is the creaky noises that sometimes emanate from the BB area when there is a build up of dirt and dust. We take a look at our test bikes bottom bracket and show the best way to prepare and install a press fit bottom bracket so that it doesn’t take on the dreaded creak.
Required : Bearing extractor, allen keys, grease, bike stand, bearing cup press.
Everyone has an opinion, when asked how to not have to do this operation, the amusing suggestion that came back is unrepeatable and would start an internet comment war.
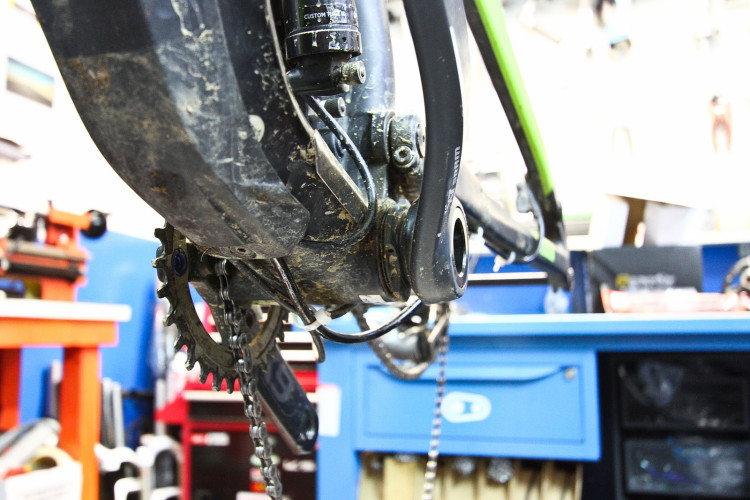
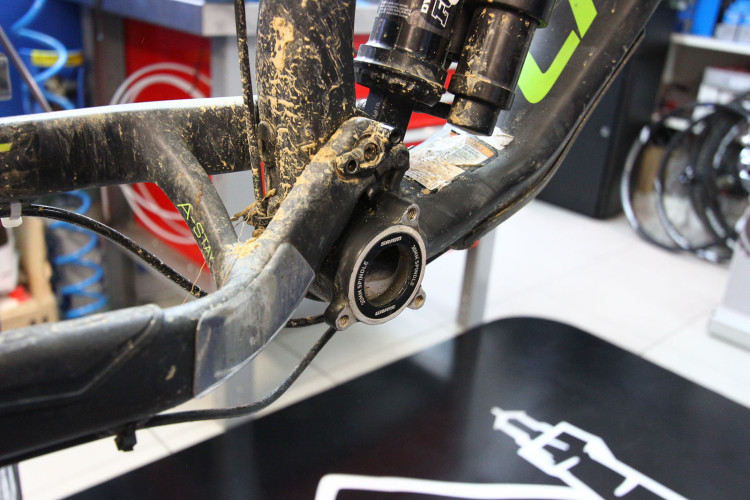
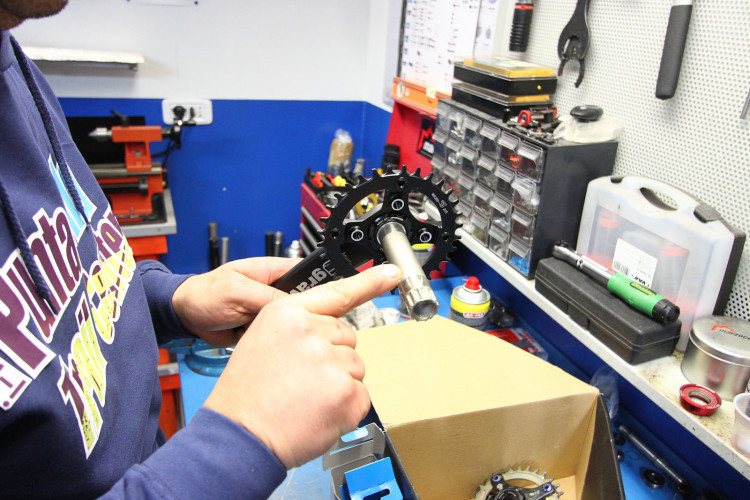
The current setup is a BB30.
We inspect the removal bolt for dirt and remove the chain.
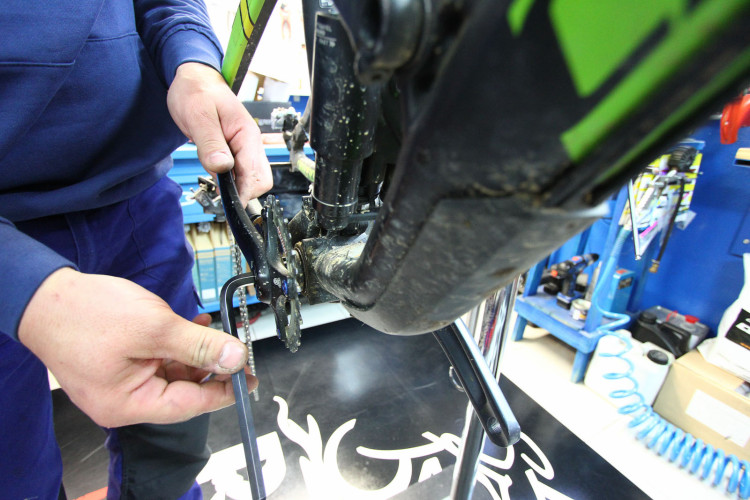
The self extracting crank bolt can be jammed in, don’t force it, just ease it out.
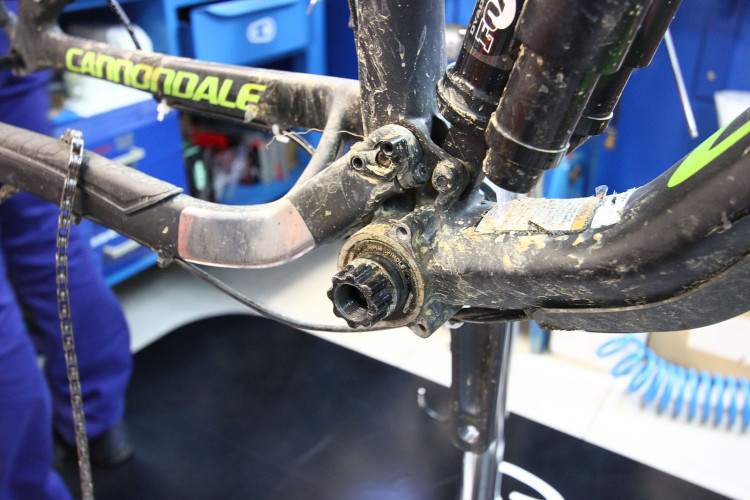
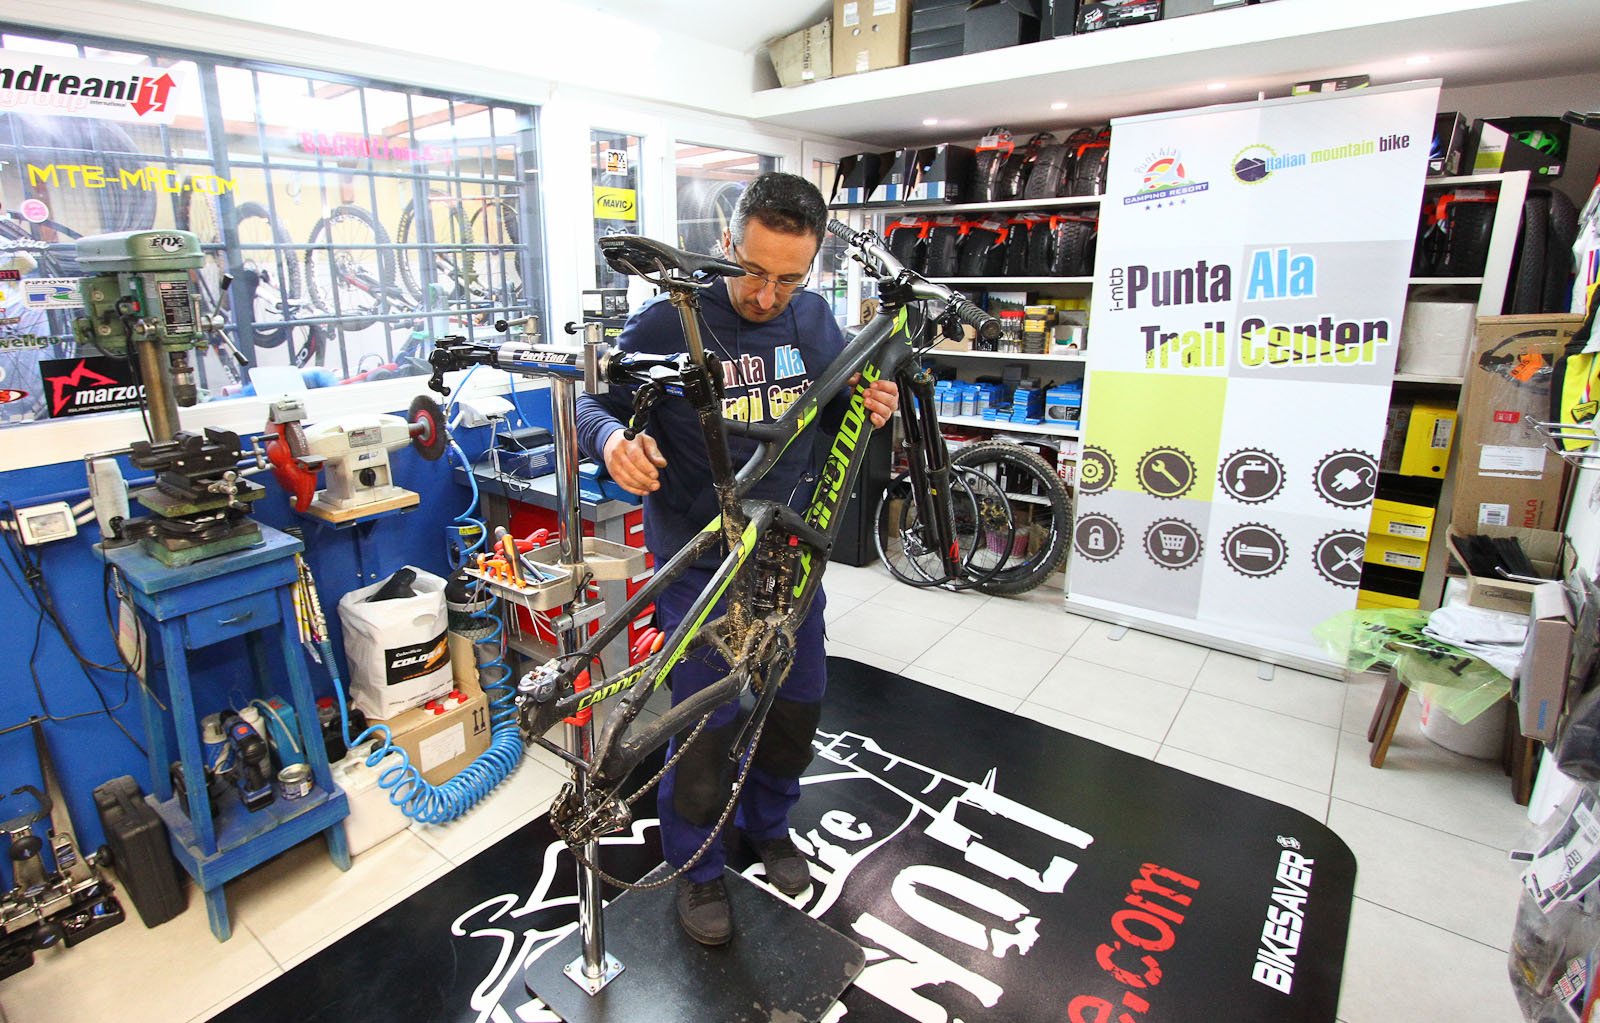
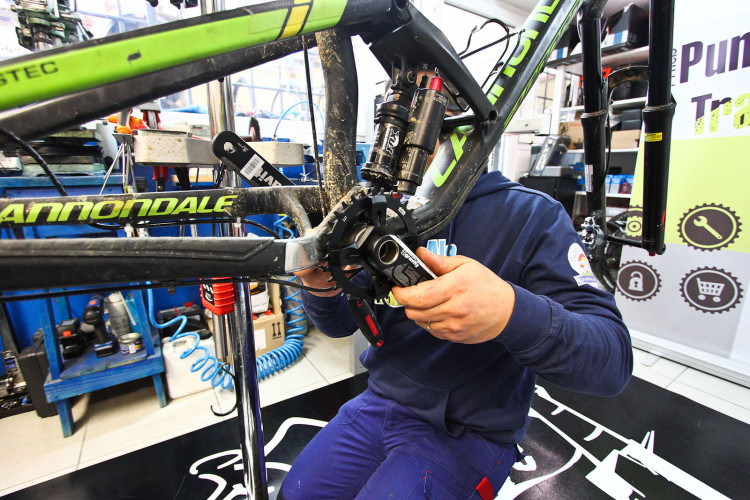
It’s all about preparation, here we have a very dirty bottom bracket area. Time to clean up and remove the old one.
Press fit works best when you clean the surfaces with a strong degreasing cleaner.
Now clean we can be sure not to get stray dirt into the bearing area when working on it.
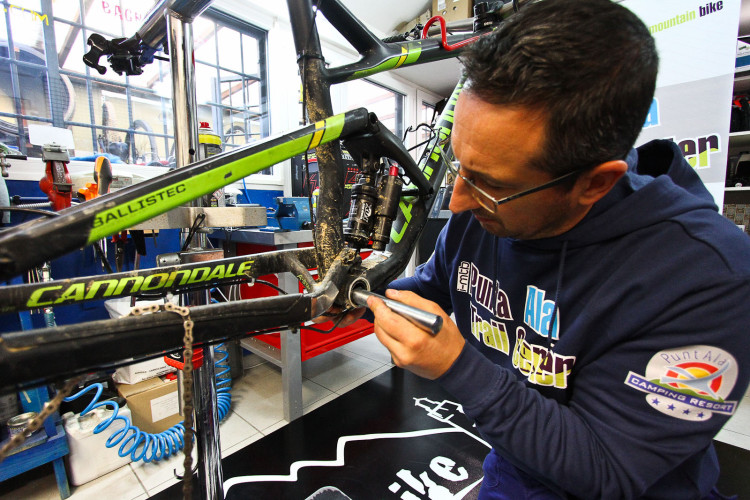
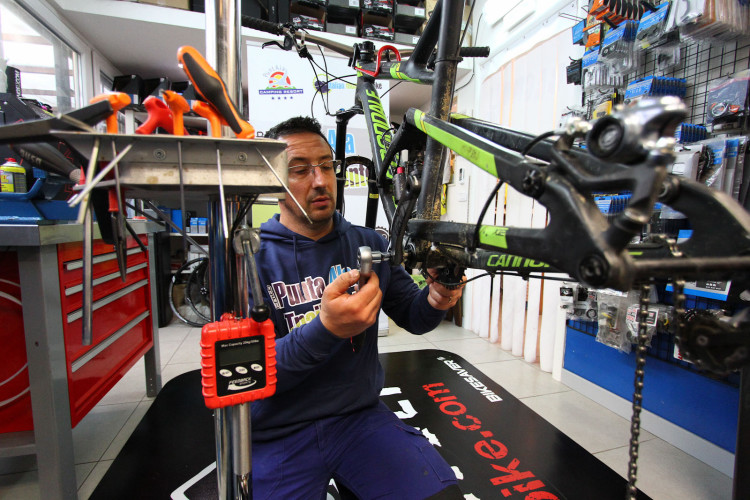
We use a bearing extracting tool and soft rubber mallet and drive out the old bearings from the back side.
You shouldn’t have to wail on it, the bearings will release themselves easily.
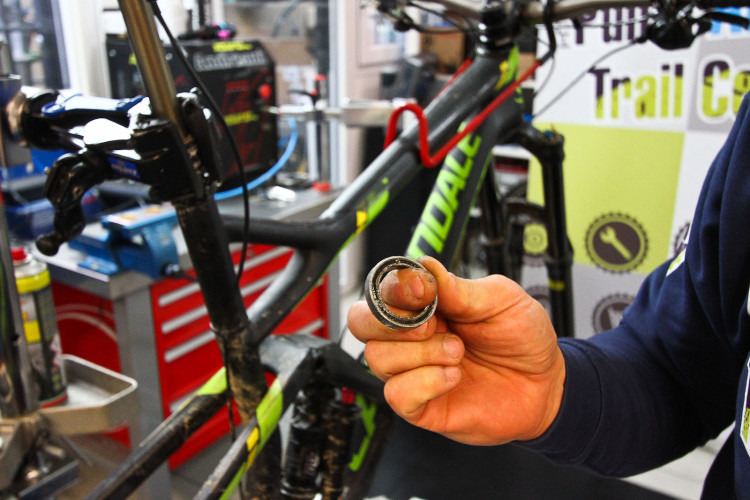
Still in good working order but dirty. If the bearings are rough or pitted, they need to be replaced.
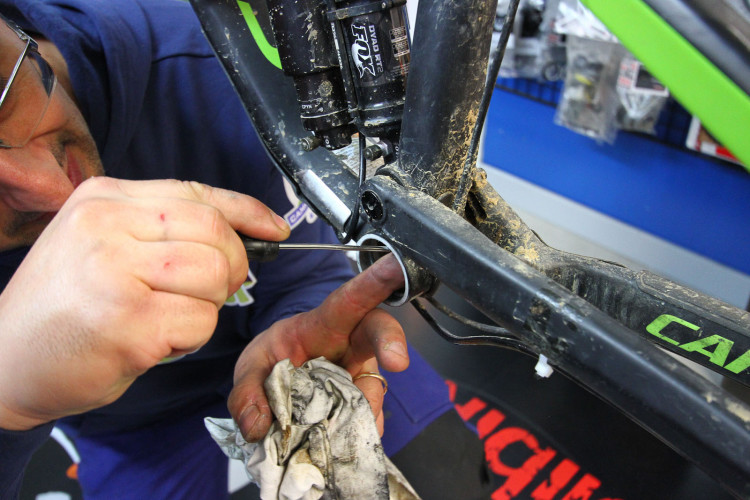
We remove the retaining clips.
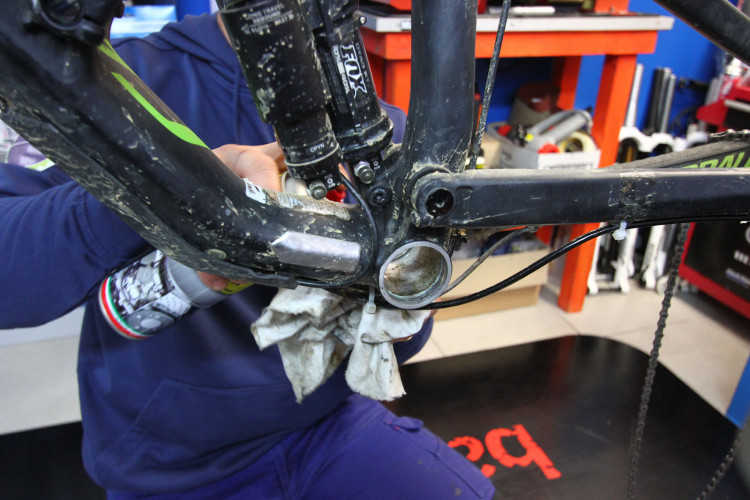
Now we thoroughly spray and clean the cup area, removing all signs of dust and dirt. The cups need to be exceptionally clean.
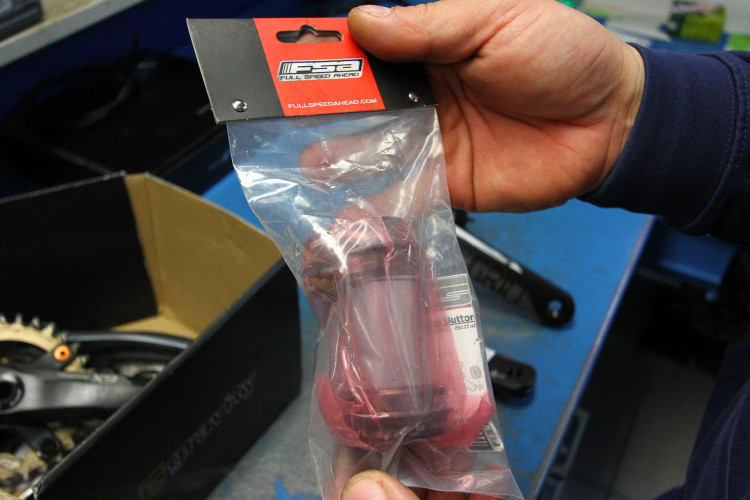
We take a press-fit bottom bracket, in this case a BB30 to 24mm conversion.

Apply a thin layer of grease to the outside surfaces of the cups and to the inner surfaces of the bottom bracket shell. This will keep it creak free and makes installation a snap.
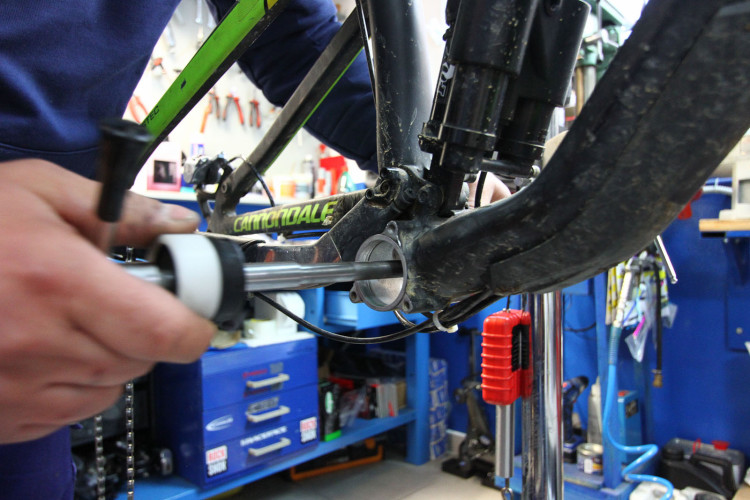
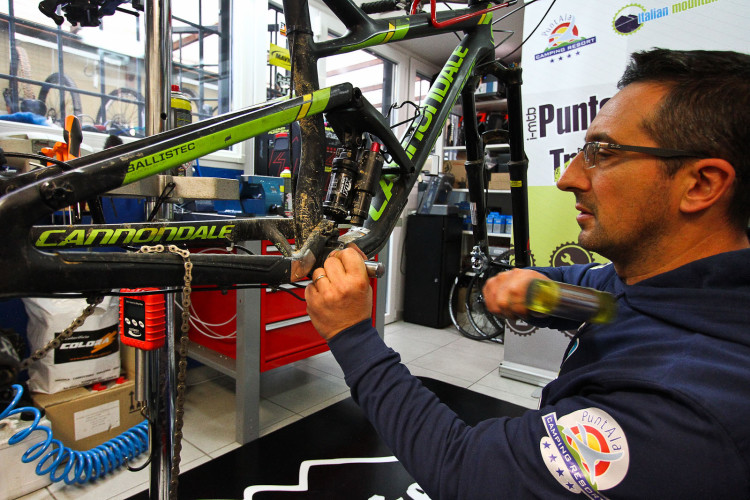
We take our drive side bearing cup only and place it on the mounting tool and pass the tool through the frame.

We then tighten the tool, and slowly drive the bearing race into the BB shell.
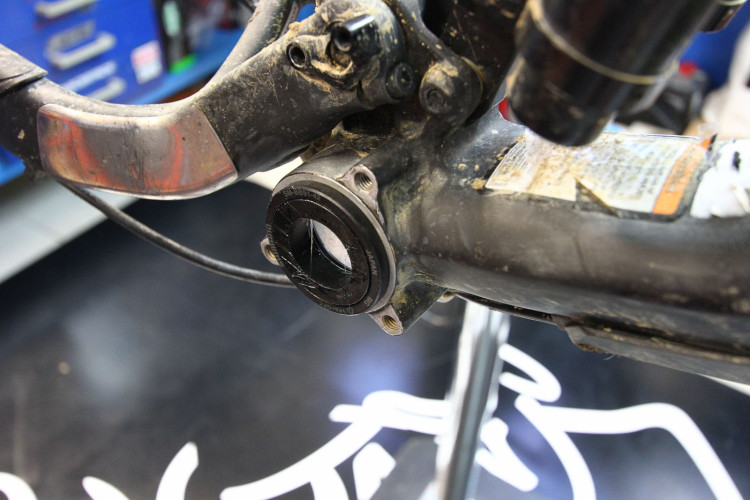
The drive side bearing cup nestled into position.
We follow the same procedure on the non-drive side of the frame. Note : we do each cup one at a time. This ensures that the bearings go in straight every-time.
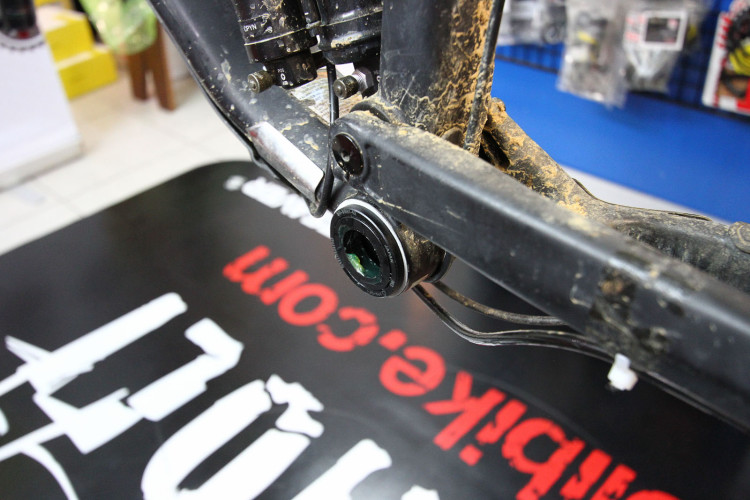
The non-drive side bearing cup in position.
A small amount of grease is required to apply to the surfaces of the axle and the keyed interface that the non-drive side crank accepts.
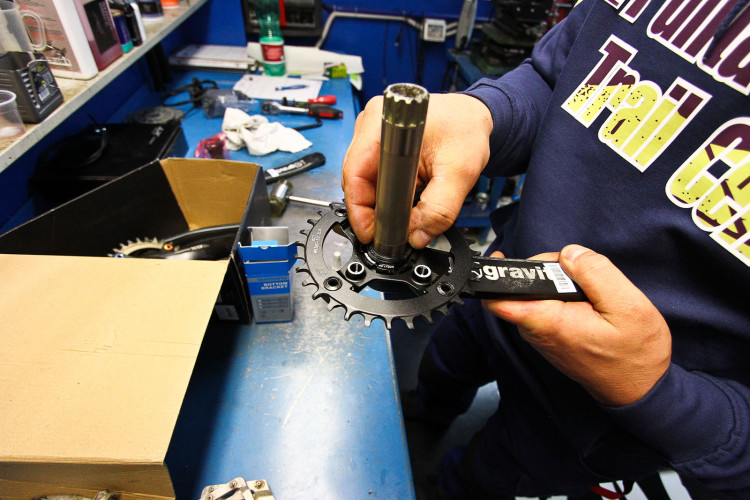
We place on one spacer for our chain line conversion. This will vary with each bike and setup based off of whether you are using things like front derailleurs and/or chainguides which inherently make changes to your chainline.

Insert the crankset.
Place the other crank arm in position and tighten.
Tighten the crank arms down, reassemble your drivetrain, give it a quick shifting check and you are done!
Notes: make sure that all surfaces are really dry and clean with no grease before starting. Press fit success and prevention of creaking can depend a lot on the tolerances of the frame and cups, in this case they are very tight so the likely-hood of creaking is low.
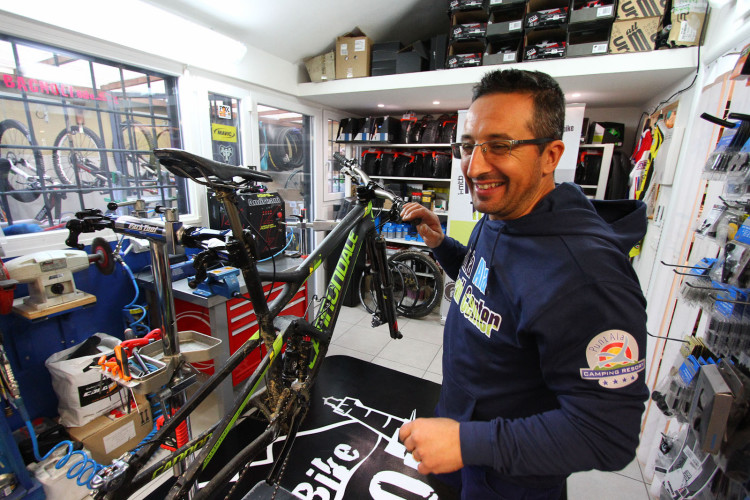
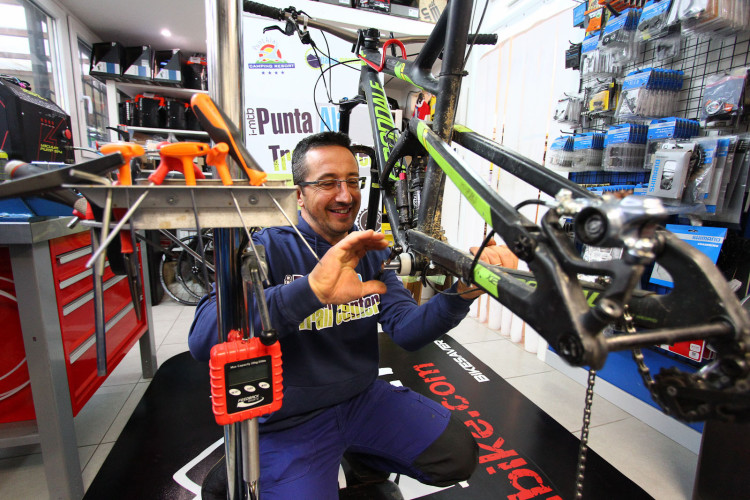
Mechanic Provided by : Punta Ala Trail Center
[ad45]